Yarisworld
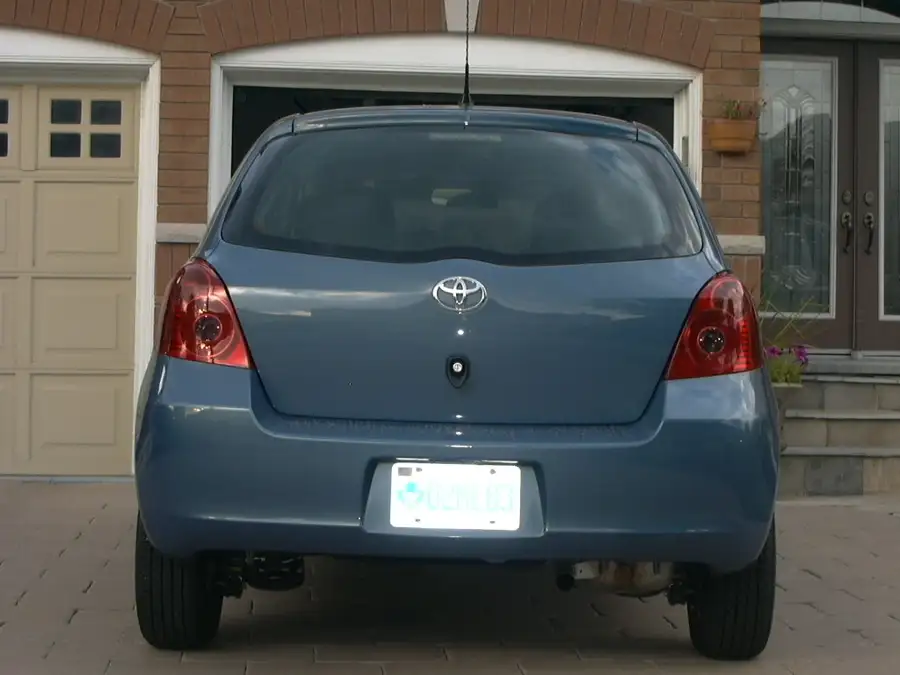
I searched and couldn't find an install guide for these things, so I decided to make one myself. I'm in IT, so when it comes to installing stuff, I suck. I can build a secure multi-site VPN, but I can't change my own oil. This install is mega easy... was going to get my friend to help me with but I was impatient.
Stuff you'll need:
JDM RS Tail Lights (duh!)
2 x JDM Wiring Connector Part #82824-52050
10mm wrench
Flathead screwdriver
Small allen key.
First step is to open the trunk, and get access to the tail lamps. Using your flat head screwdriver, carefully pry the top of this cover off:
Picture lost · www.virgeweb.com
This exposes the tail lights assembly:
Picture lost · www.virgeweb.com
Using the wrench, remove the 2 nuts that hold the lamp in place. Be careful not to drop the nut (hehe), it'll be impossible to find. Once the nuts are off, pull the rear cluster out. It's clipped on with a plastic piece so you'll need a bit of force. Don't worry, nothing will break. Once it's out, apply pressure to the top of this connector using your screwdriver:
Picture lost · www.virgeweb.com
And pull the plug out. Make sure when you pulled the cluster out, the white plastic clip stays on the car. If it's stuck on the cluster like so:
Picture lost · www.virgeweb.com
Pry it off with the screwdriver:
Picture lost · www.virgeweb.com
Now, the fun part. You have to wreck your stock connector on the car side. If someone knows how to do this without wrecking it, let me know! It's important that the metal clips at the end of each wire is not broken, thus, it's better to wreck the plastic clip which is replacable if you want to go back to stock. Stick the allen key into the slot with no wire and push up on it:
Picture lost · www.virgeweb.com
This lifts the top clip cover up slightly, use your screwdriver to pry the entire cover up like so:
Picture lost · www.virgeweb.com
Then pull the whole top off:
Picture lost · www.virgeweb.com
Next, use the screwdriver and carefully lift up each of the plastic tabs that hold in the metal clip at the end of the wire:
Picture lost · www.virgeweb.com
Pull the wire out carefully to avoid damage:
Picture lost · www.virgeweb.com
Once all the wires are pulled out, your clip should look mangled like this hehe:
Picture lost · www.virgeweb.com
Grab the new connector:
Picture lost · www.virgeweb.com
Look at it from the end. There are 4 holes on the top row and 2 on the bottom on each corner. I'll number them for reference.
1 2 3 4
5 x x 6
The clip looks like this:
Picture lost · www.virgeweb.com
The passenger side wires are as follows:
2 - Grey
3 - Red
4 - White w/Black Stripe
5 - Orange
6 - Yellow
Picture lost · www.virgeweb.com
The driver side wires are as follows:
2 - Green
3 - Brown
4 - White w/Black Stripe
5 - Purple
6 - Light Green
Picture lost · www.virgeweb.com
Remember the white plug? Make sure it's still on the car. If you had to remove it from the cluster, slap it back on the car like so:
Picture lost · www.virgeweb.com
Plug the new connector into the car. Test the 4 lights. Reverse, lights on (dim brakes), brakes on, and turn signal. Once it's tested, push the cluster in, bolt the 2 nuts back on each side carefully... make sure you don't drop the nuts! Close the covers, and you're done!
Picture lost · www.virgeweb.com
Enjoy!
Stuff you'll need:
JDM RS Tail Lights (duh!)
2 x JDM Wiring Connector Part #82824-52050
10mm wrench
Flathead screwdriver
Small allen key.
First step is to open the trunk, and get access to the tail lamps. Using your flat head screwdriver, carefully pry the top of this cover off:
Picture lost · www.virgeweb.com
This exposes the tail lights assembly:
Picture lost · www.virgeweb.com
Using the wrench, remove the 2 nuts that hold the lamp in place. Be careful not to drop the nut (hehe), it'll be impossible to find. Once the nuts are off, pull the rear cluster out. It's clipped on with a plastic piece so you'll need a bit of force. Don't worry, nothing will break. Once it's out, apply pressure to the top of this connector using your screwdriver:
Picture lost · www.virgeweb.com
And pull the plug out. Make sure when you pulled the cluster out, the white plastic clip stays on the car. If it's stuck on the cluster like so:
Picture lost · www.virgeweb.com
Pry it off with the screwdriver:
Picture lost · www.virgeweb.com
Now, the fun part. You have to wreck your stock connector on the car side. If someone knows how to do this without wrecking it, let me know! It's important that the metal clips at the end of each wire is not broken, thus, it's better to wreck the plastic clip which is replacable if you want to go back to stock. Stick the allen key into the slot with no wire and push up on it:
Picture lost · www.virgeweb.com
This lifts the top clip cover up slightly, use your screwdriver to pry the entire cover up like so:
Picture lost · www.virgeweb.com
Then pull the whole top off:
Picture lost · www.virgeweb.com
Next, use the screwdriver and carefully lift up each of the plastic tabs that hold in the metal clip at the end of the wire:
Picture lost · www.virgeweb.com
Pull the wire out carefully to avoid damage:
Picture lost · www.virgeweb.com
Once all the wires are pulled out, your clip should look mangled like this hehe:
Picture lost · www.virgeweb.com
Grab the new connector:
Picture lost · www.virgeweb.com
Look at it from the end. There are 4 holes on the top row and 2 on the bottom on each corner. I'll number them for reference.
1 2 3 4
5 x x 6
The clip looks like this:
Picture lost · www.virgeweb.com
The passenger side wires are as follows:
2 - Grey
3 - Red
4 - White w/Black Stripe
5 - Orange
6 - Yellow
Picture lost · www.virgeweb.com
The driver side wires are as follows:
2 - Green
3 - Brown
4 - White w/Black Stripe
5 - Purple
6 - Light Green
Picture lost · www.virgeweb.com
Remember the white plug? Make sure it's still on the car. If you had to remove it from the cluster, slap it back on the car like so:
Picture lost · www.virgeweb.com
Plug the new connector into the car. Test the 4 lights. Reverse, lights on (dim brakes), brakes on, and turn signal. Once it's tested, push the cluster in, bolt the 2 nuts back on each side carefully... make sure you don't drop the nuts! Close the covers, and you're done!
Picture lost · www.virgeweb.com
Enjoy!