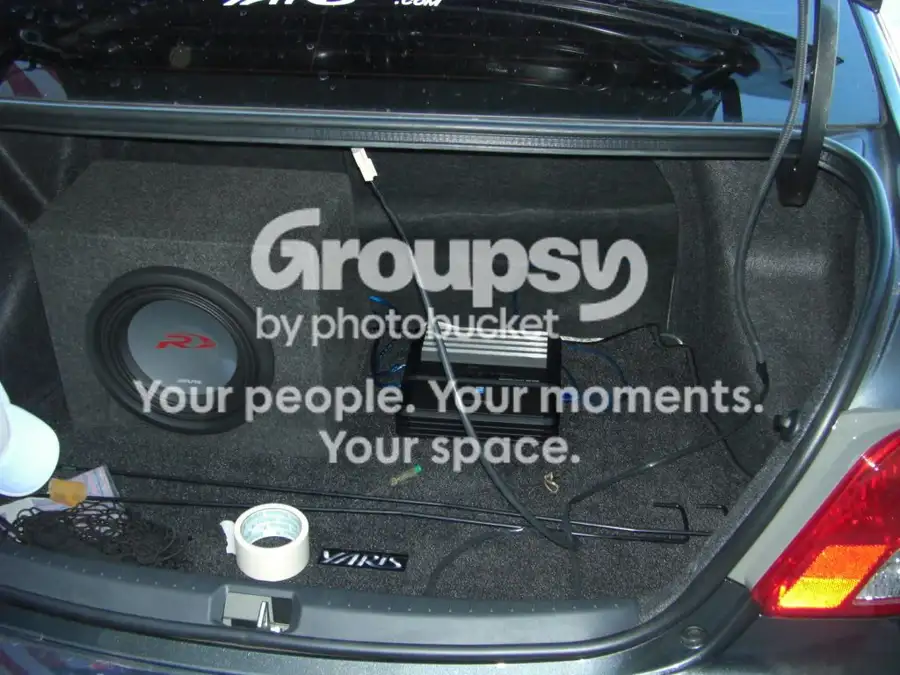
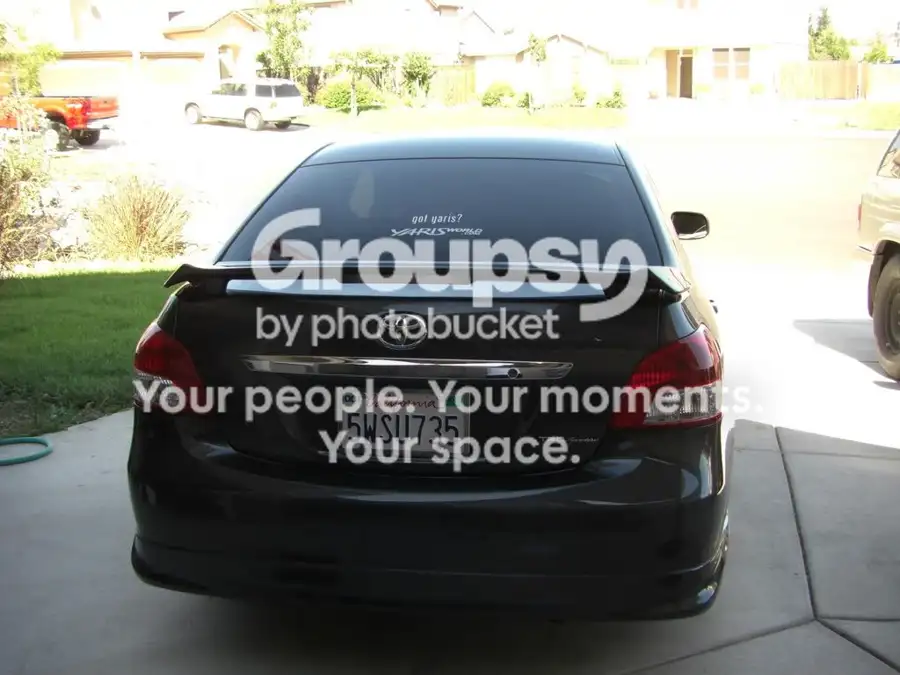
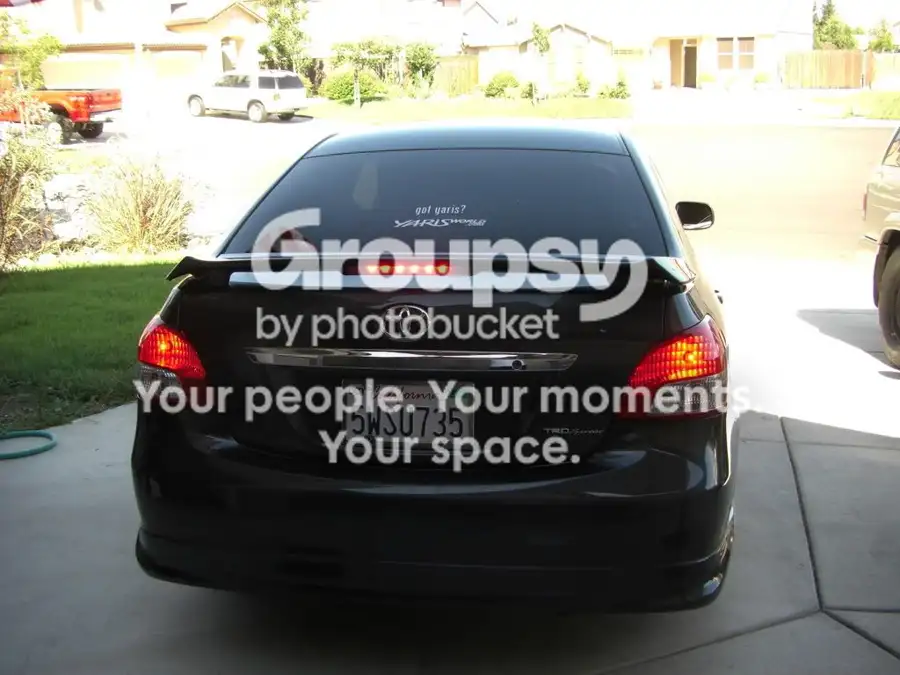
Yarisworld
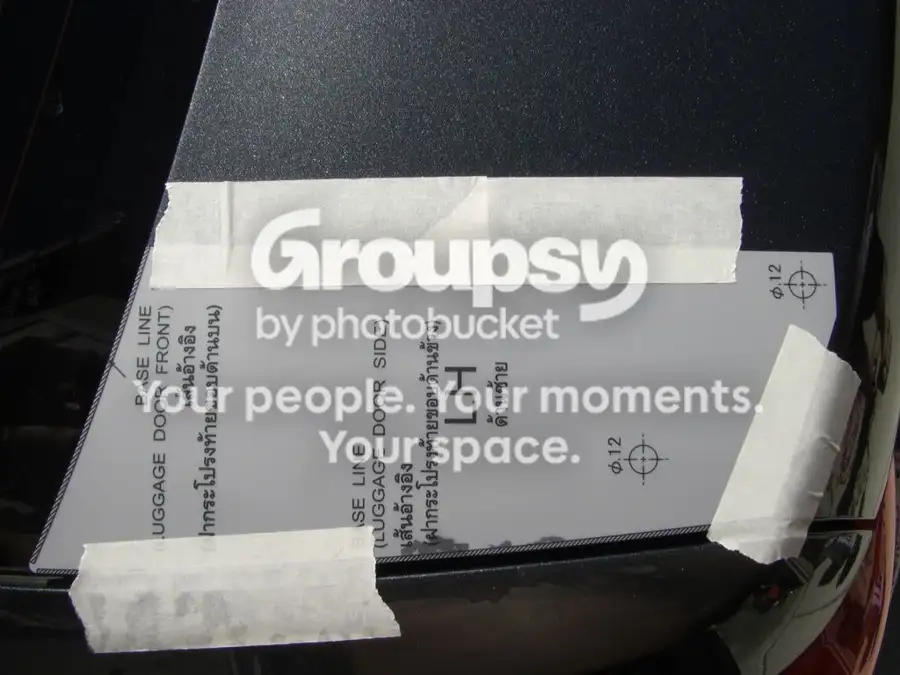
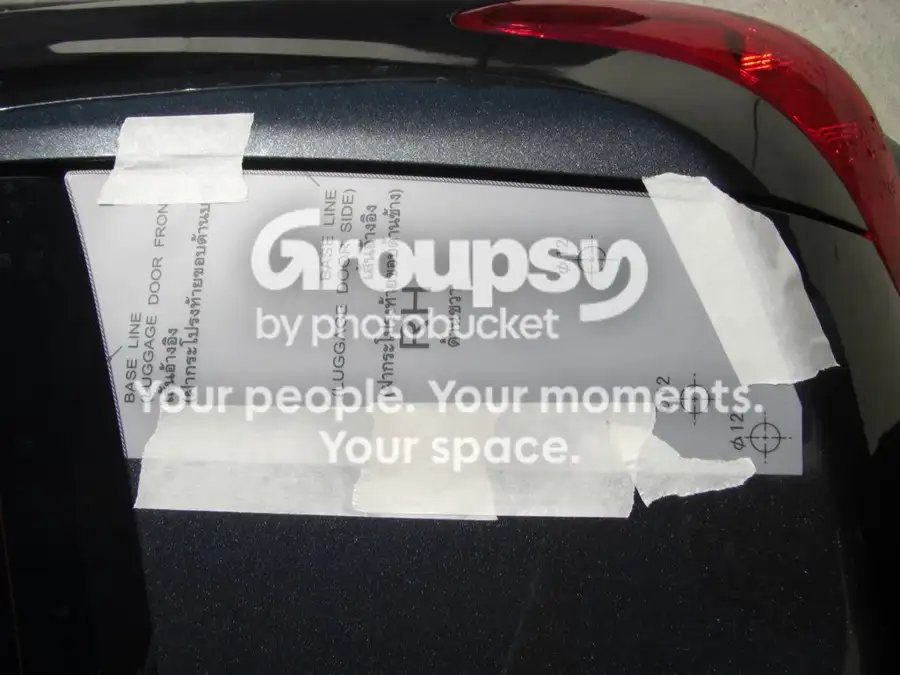
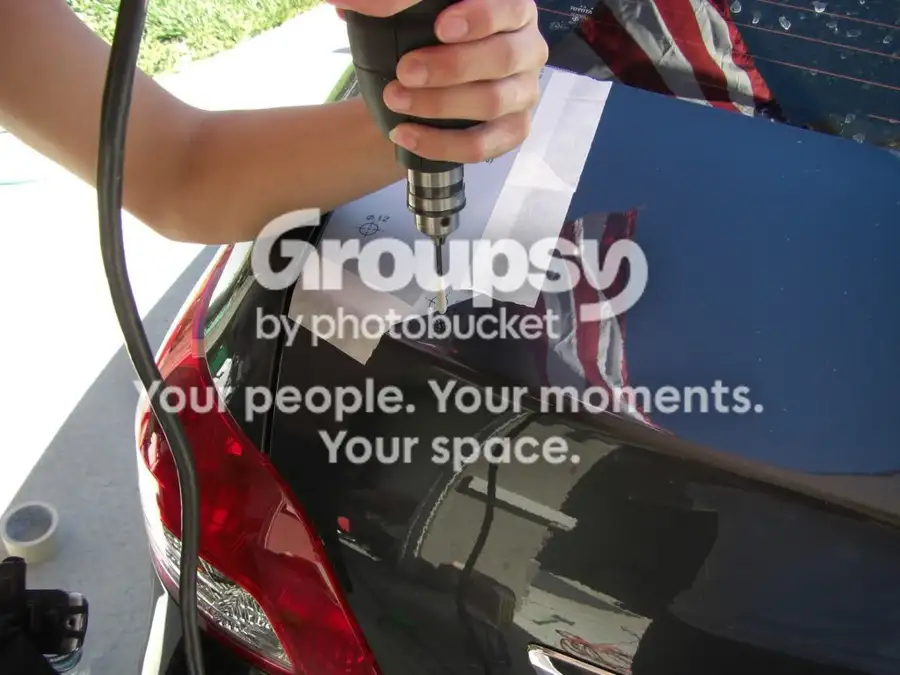
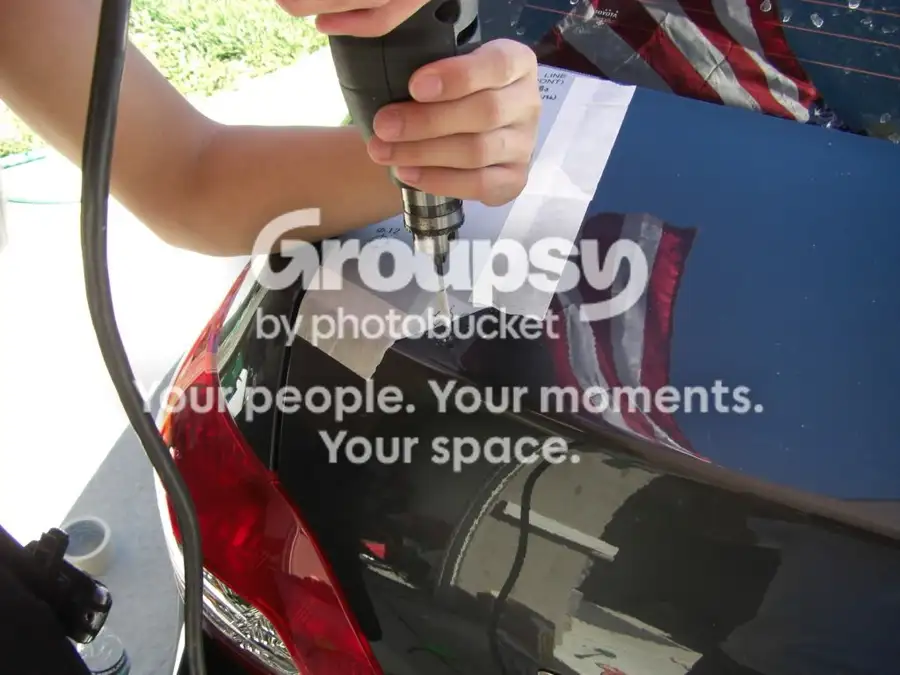
tools needed: most likely will vary, but i used a flat head and Phillips screw drivers, a drill, 3 and 5 mm drill bits, and some elbow grease
time needed: shouldn't be this long if you have a step-bit, we took 4 hours, including several breaks and waiting for the drill to charge back up, some chatting, picture taking, and cleaning up.
amount of gallons of water needed for thirst: at least two gallons for each of us
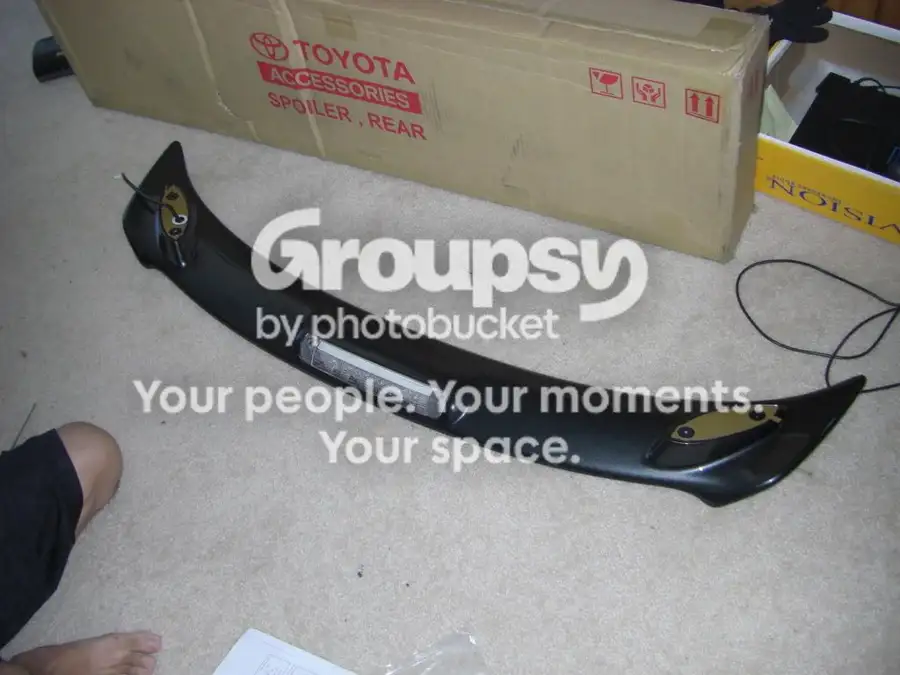
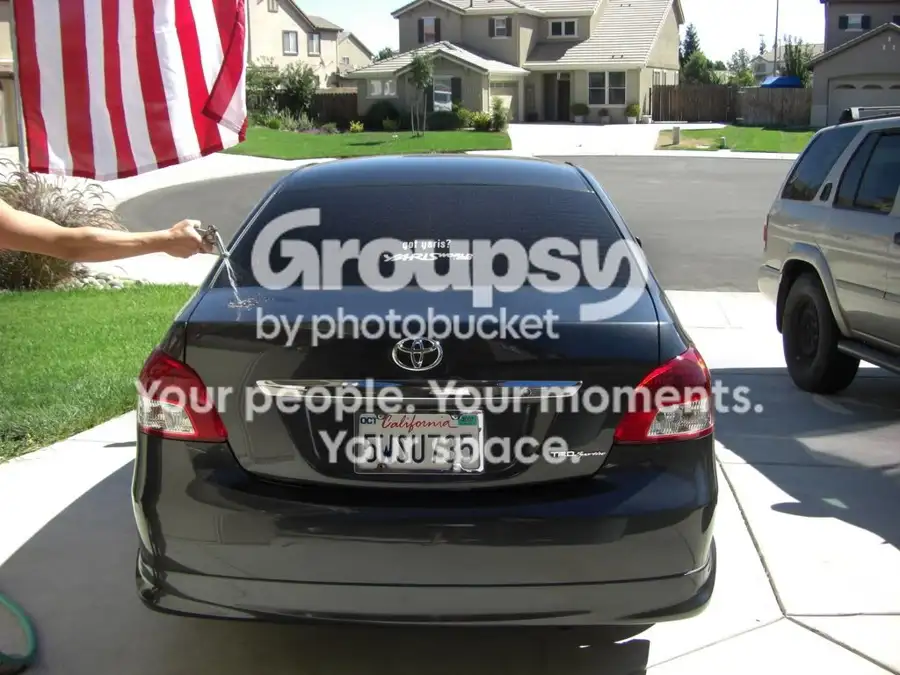
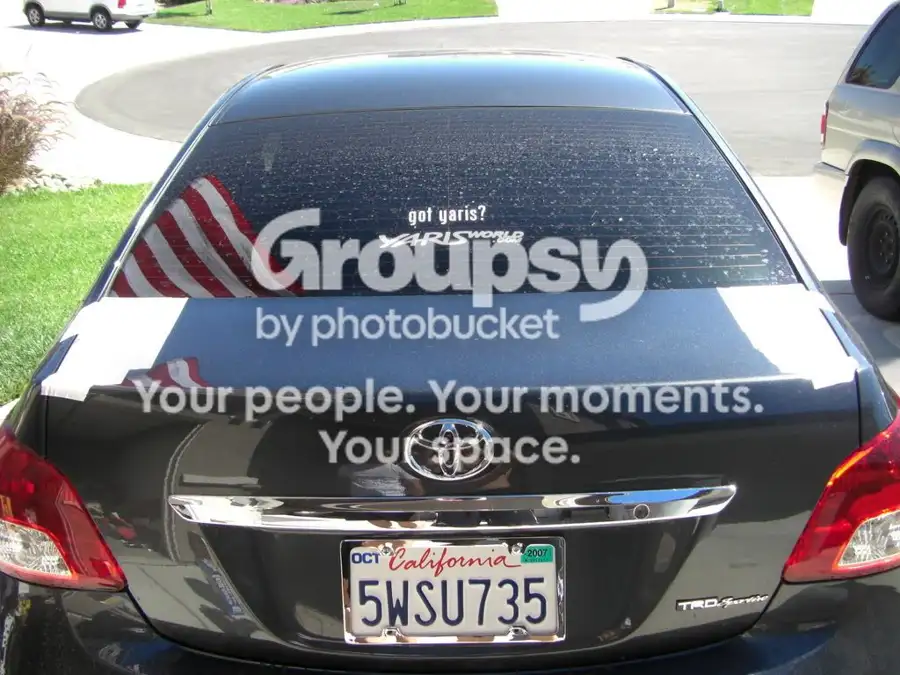
okay, i finally got around to installing my Vios spoiler. i have school tomorrow, so i don't have time to fix the exposure, brightness, etc. i was also pressured in time since i was a couple hours late in helping my friends move (towards the end of the install), so my friend and i may have forgotten to take a pic or two. well here it goes...
Step one:
Get the spoiler painted (I recommend getting it professionally painted, well worth it).
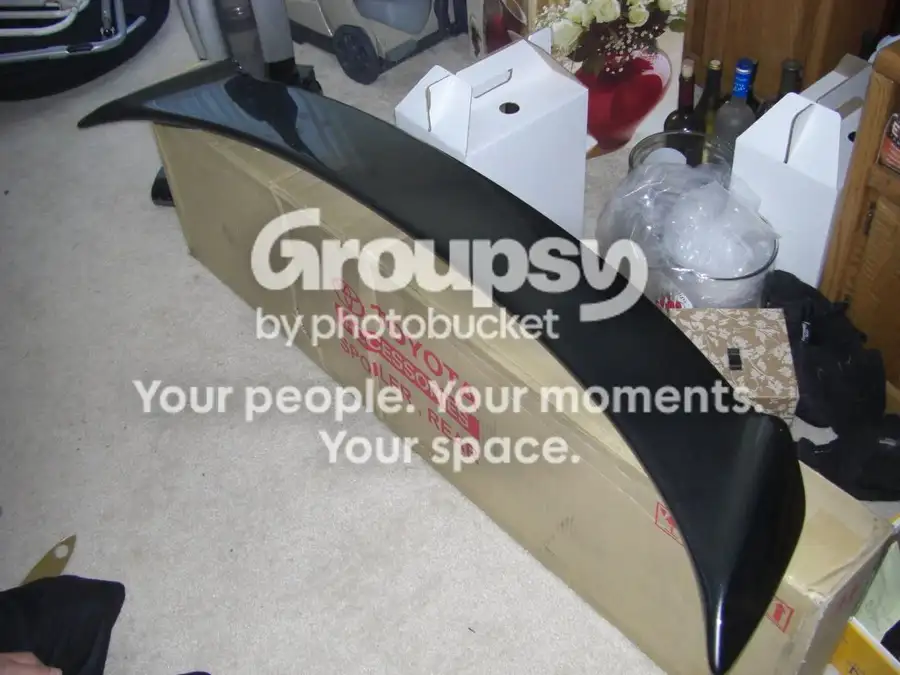
Step two:
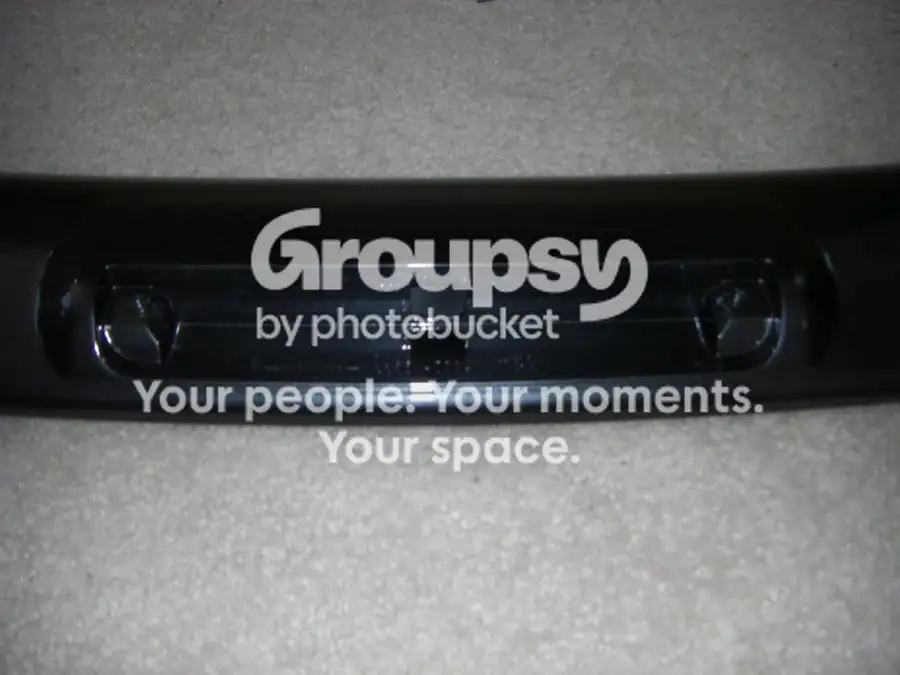
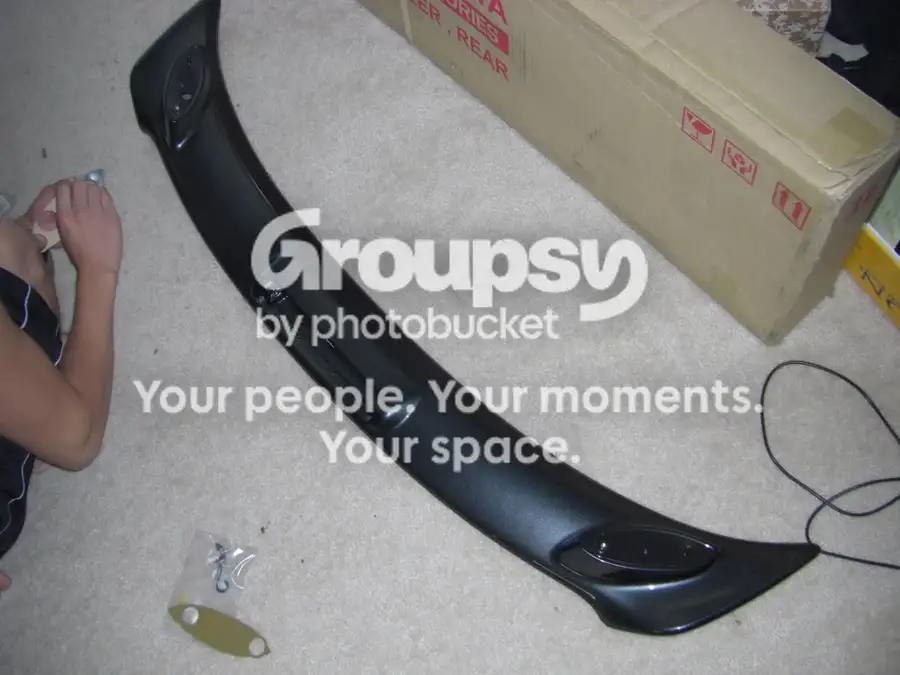
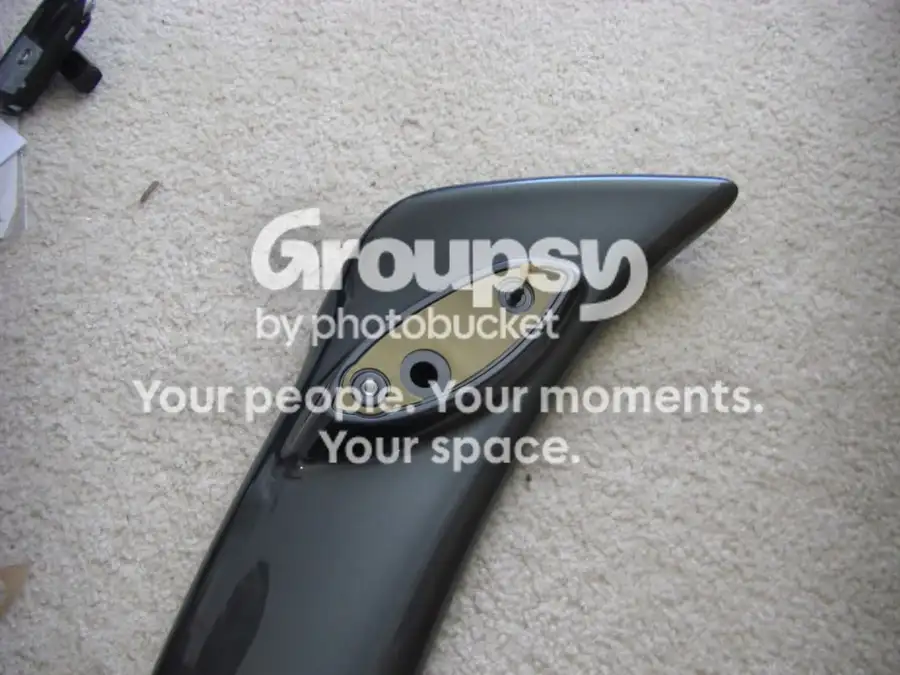
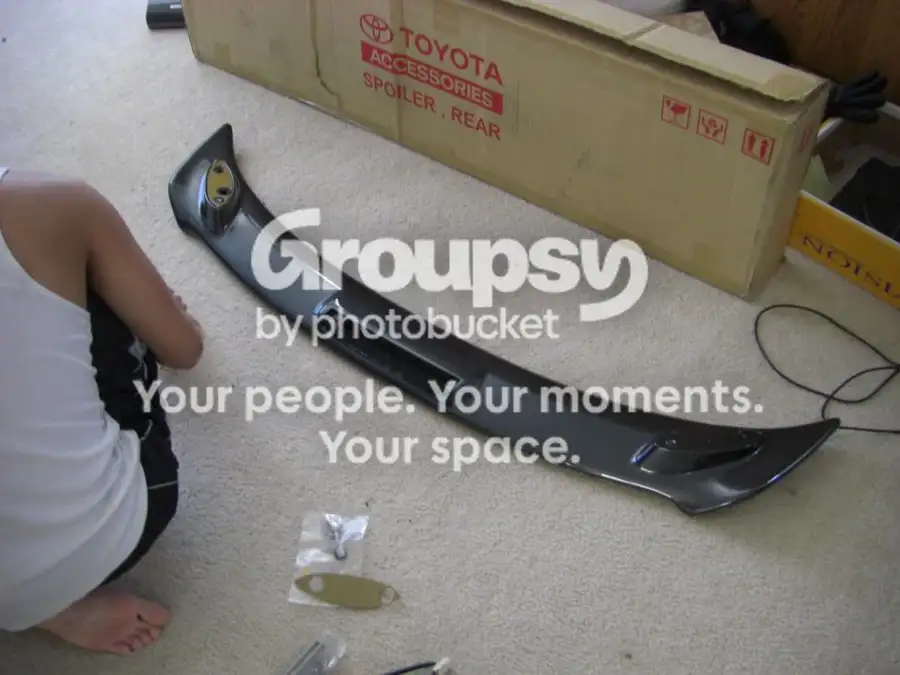
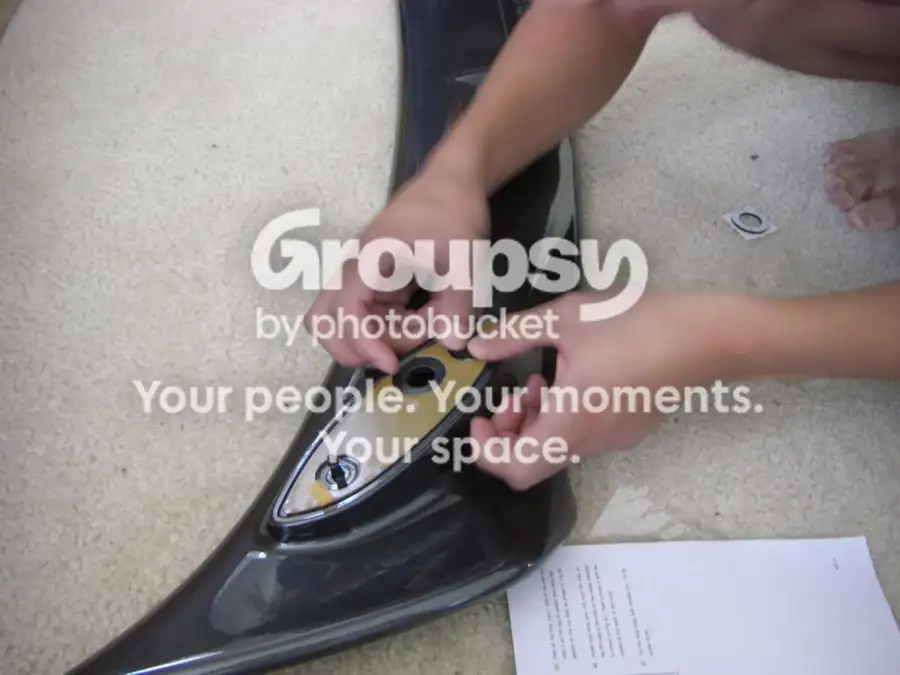
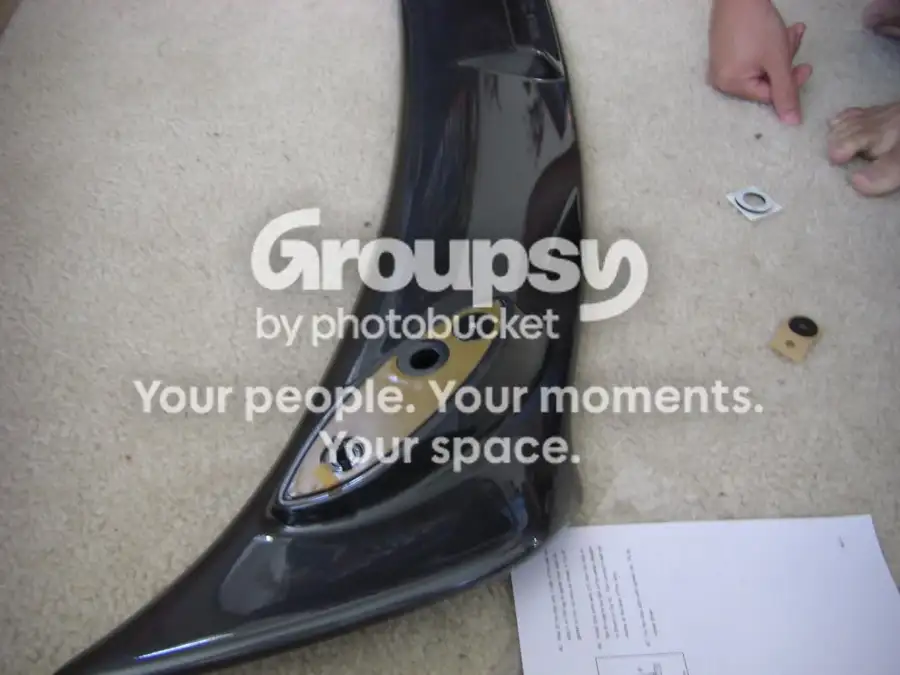
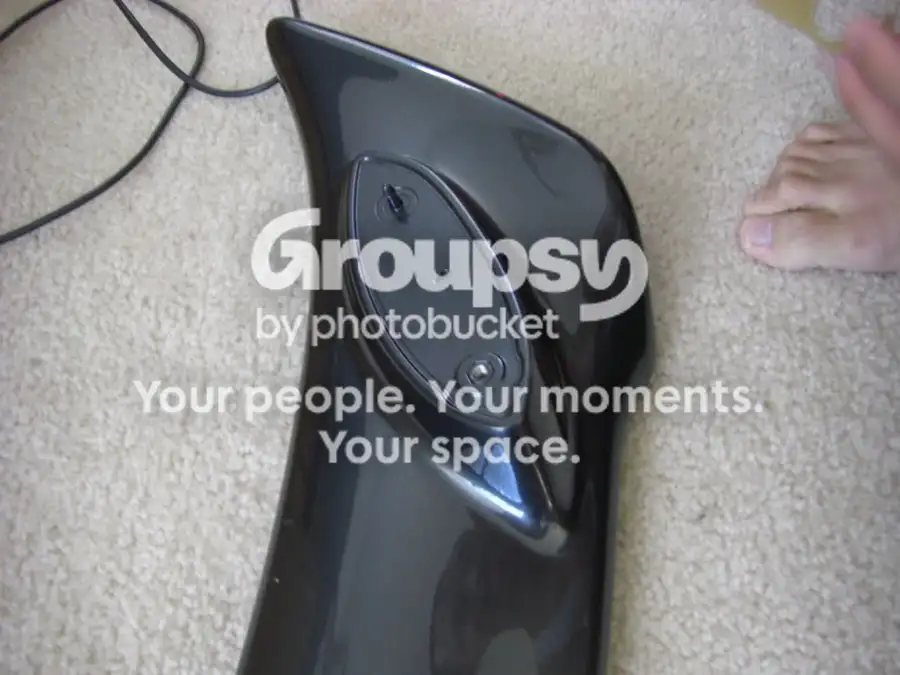
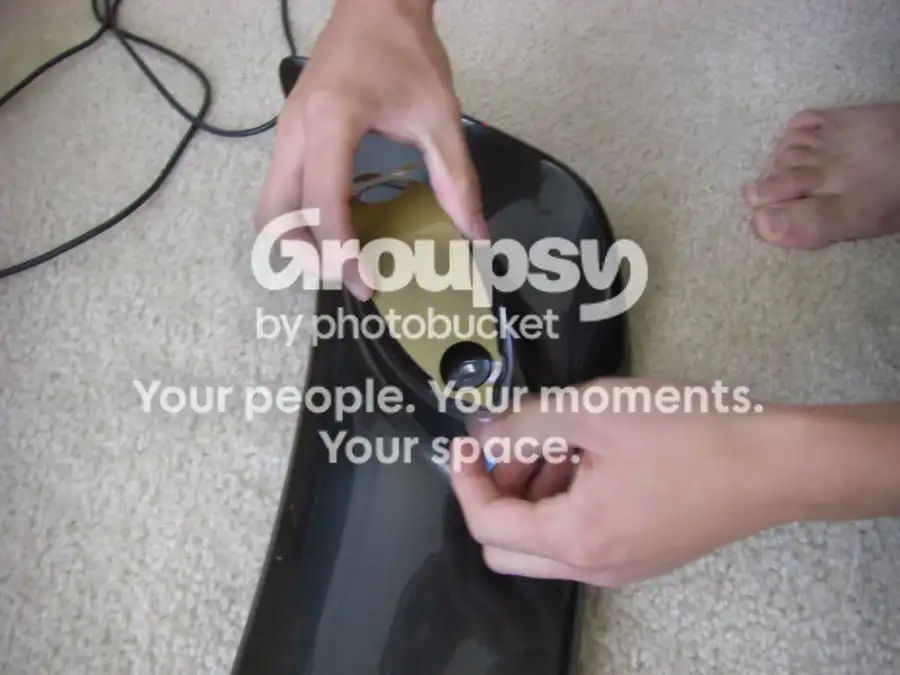
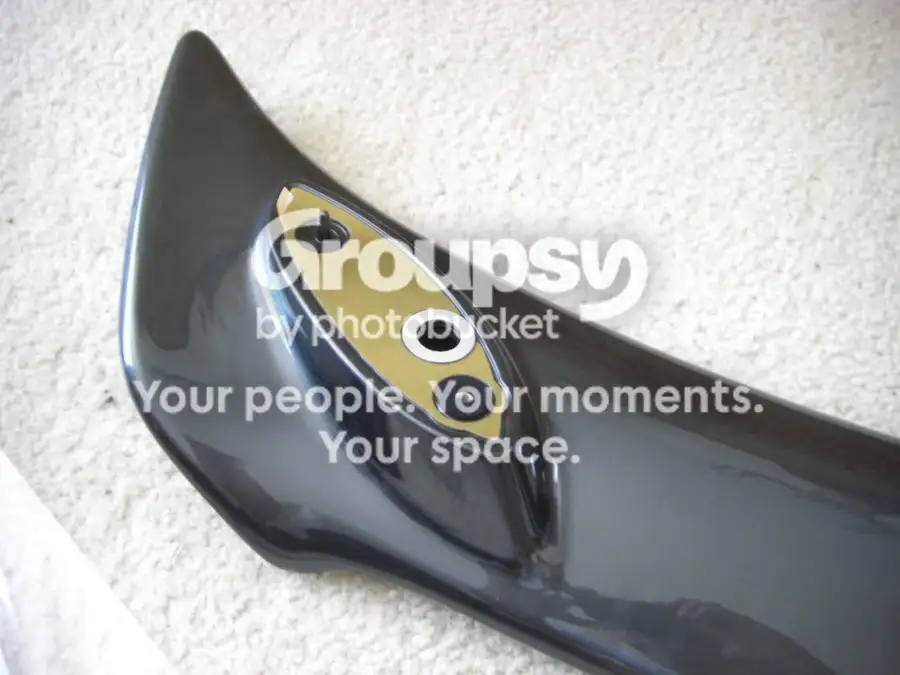
Peal the top side (spoiler side) film strip off of the protector pad (right pad). Peal off the spoiler side only and leave the film strip on the "trunk side". Place the protector (right) on the right legs. For this spoiler, the right leg protector has three holes while the left leg has two. Firmly and evenly press down to "stick" it on.
Step three:
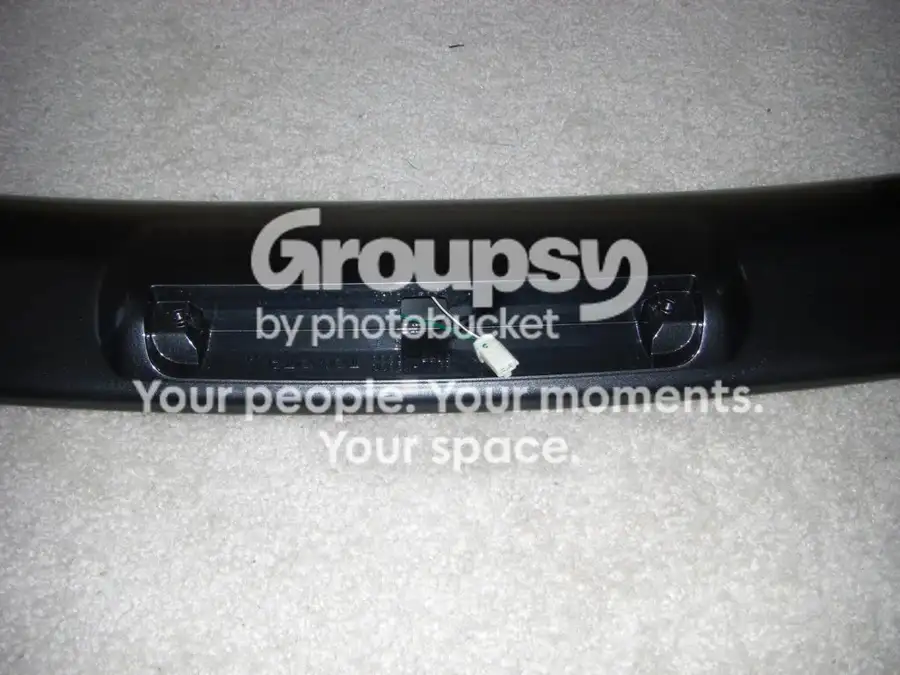
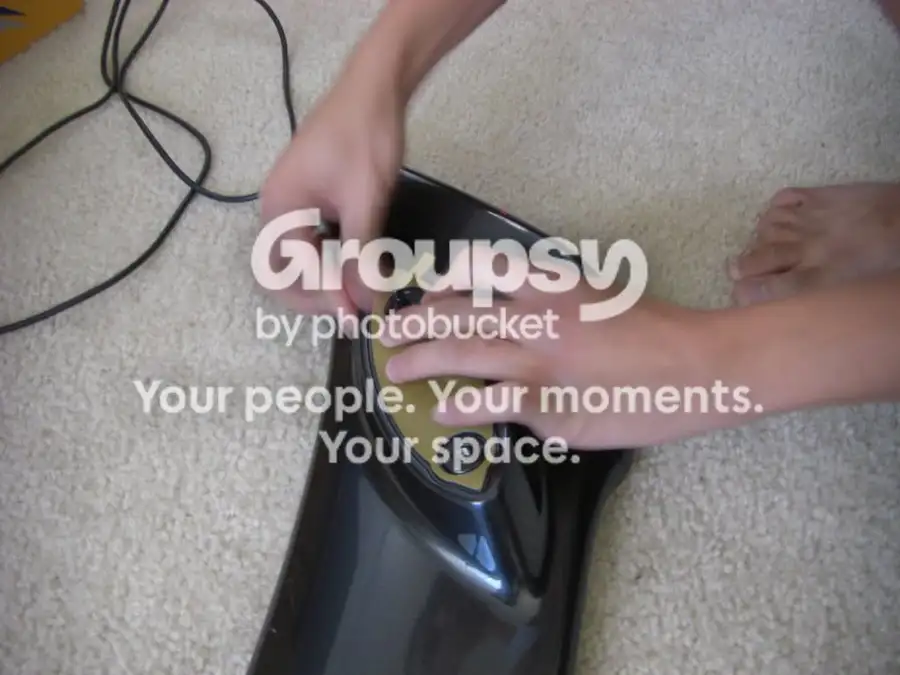
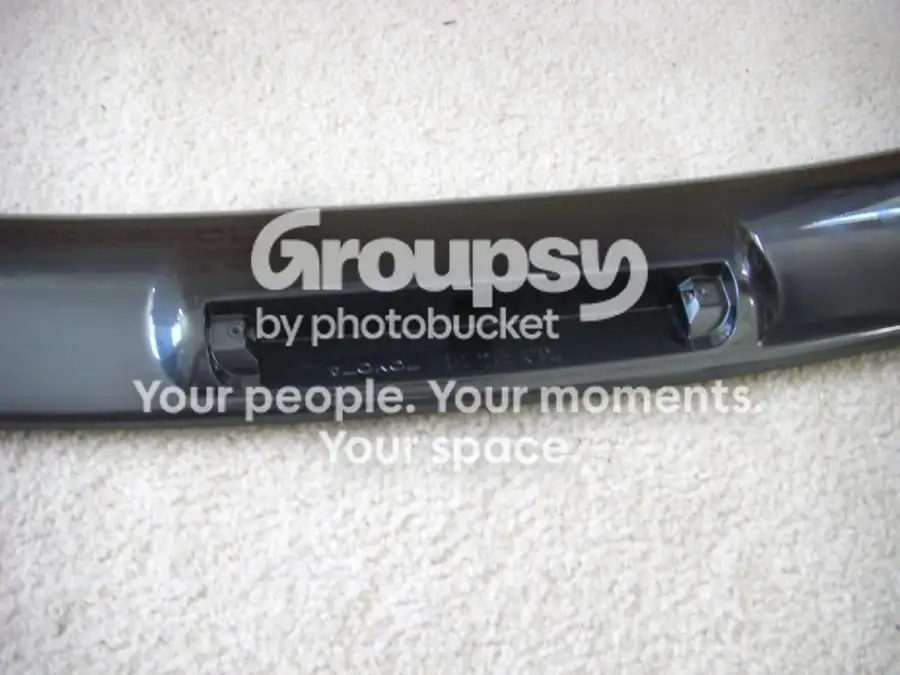
Peal off one film strip on the seal. Place the seal on the right leg. The seal goes to where the nut is (left hole two pictures above).
Again, firmly and evenly press down on it.
Step four:
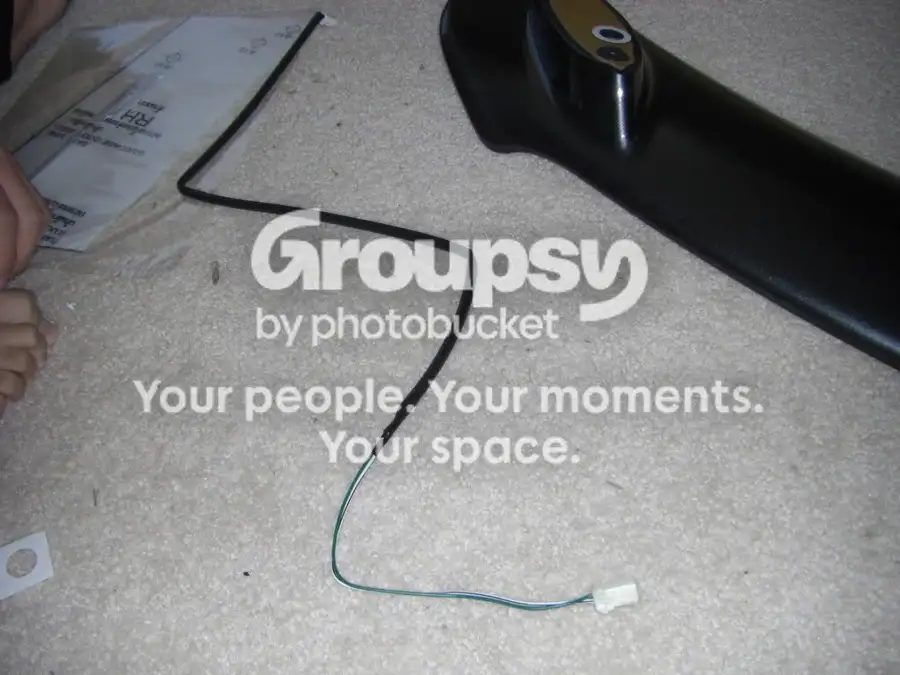
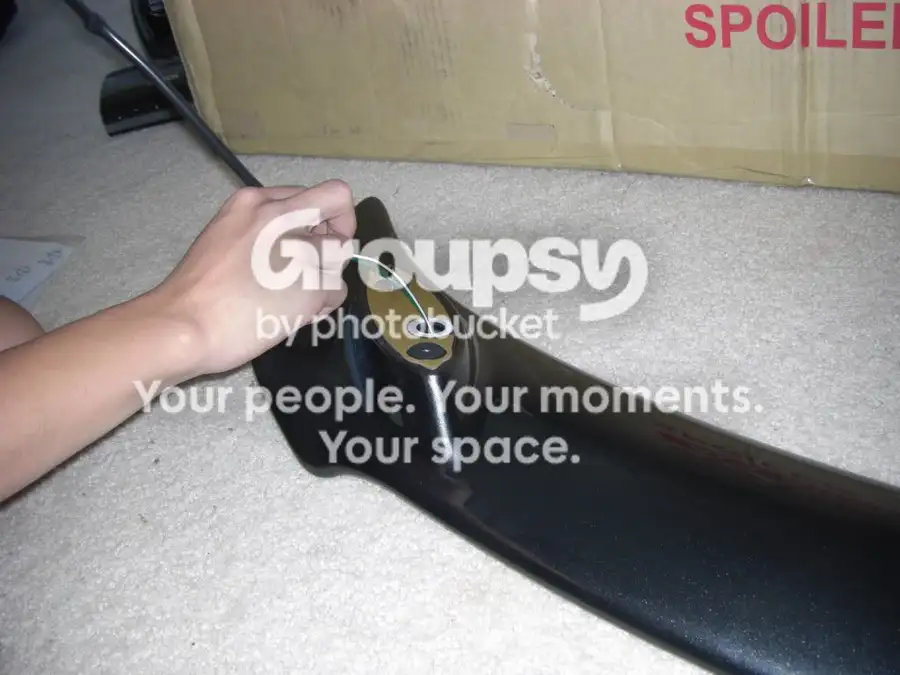
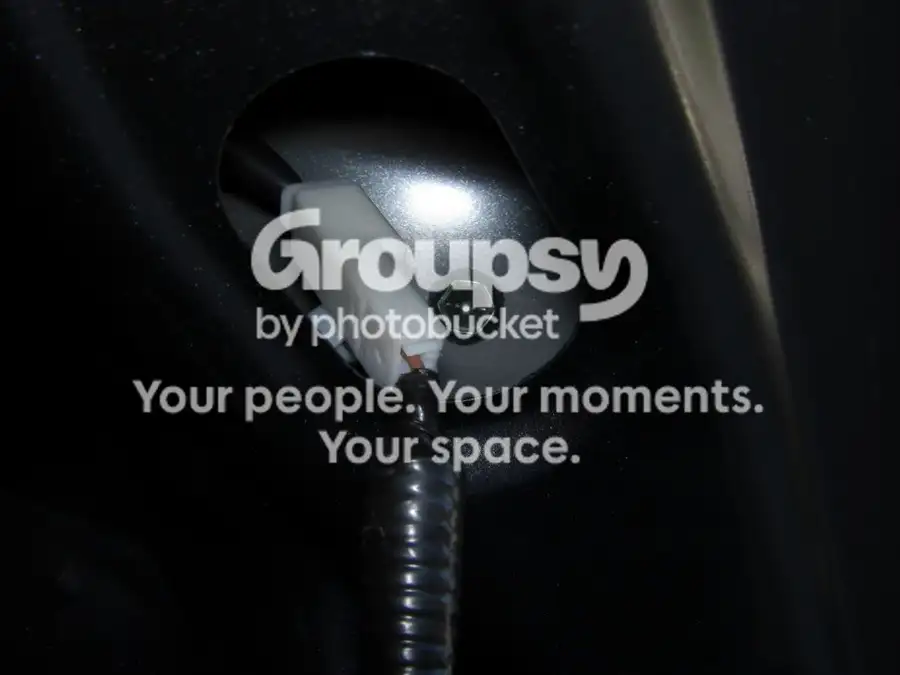
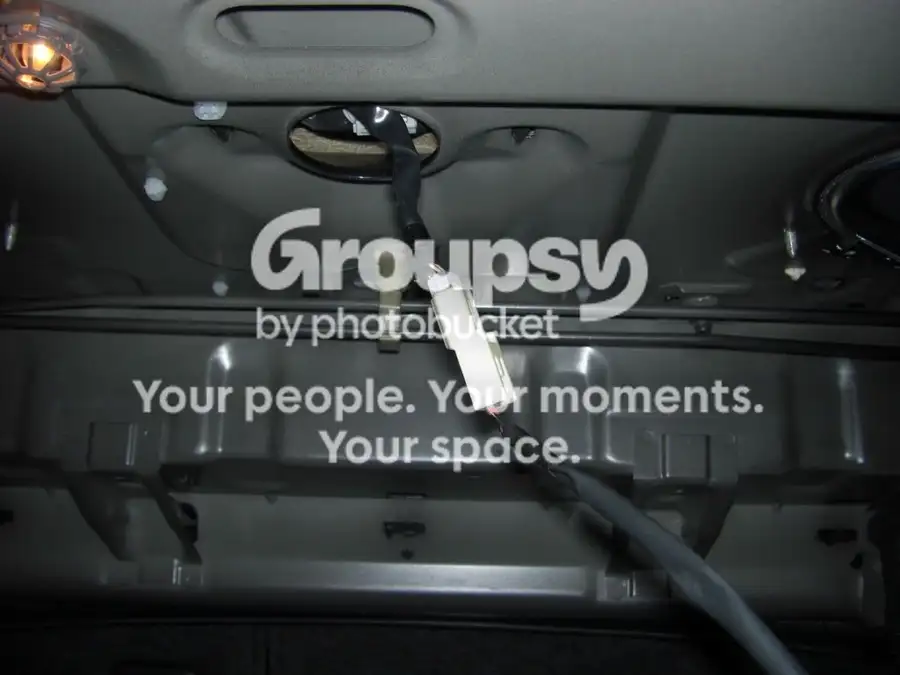
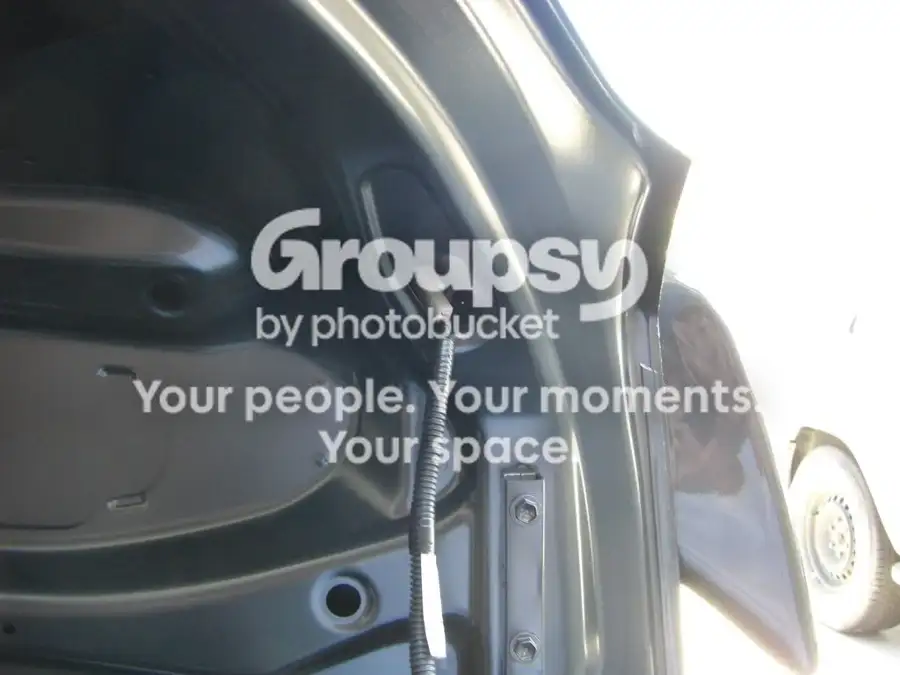
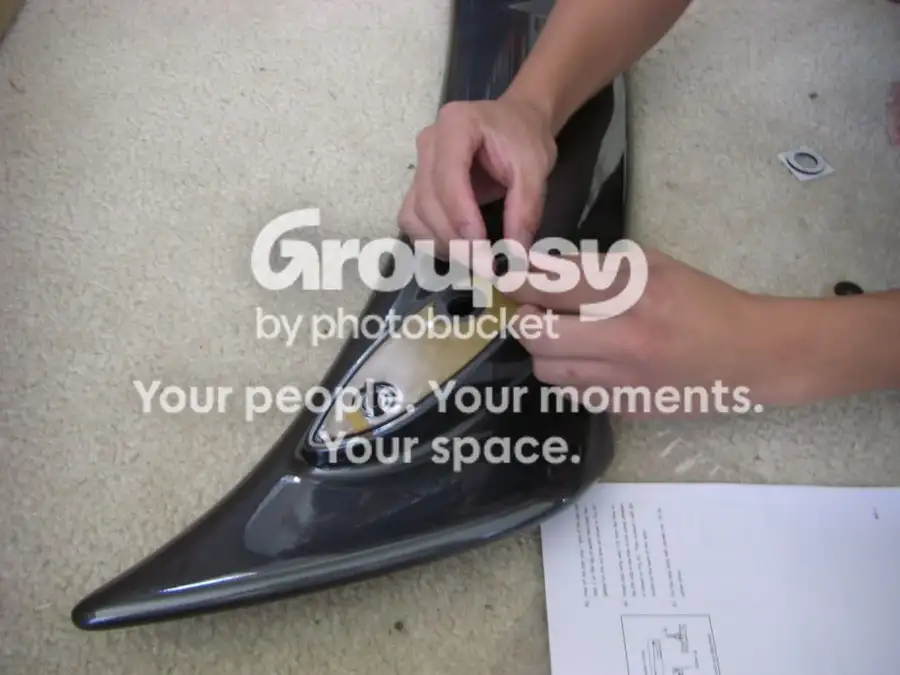
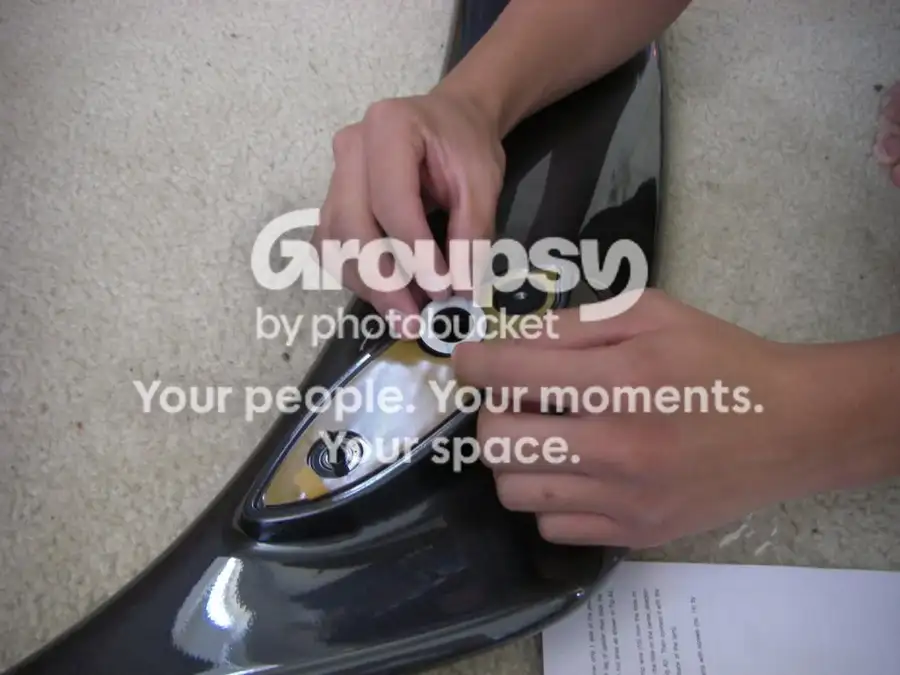
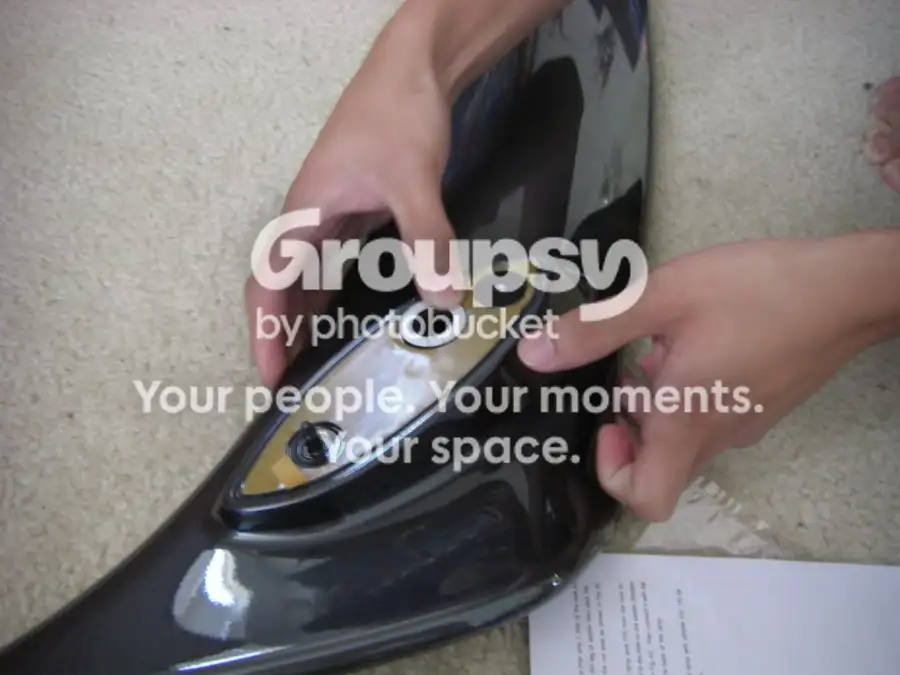
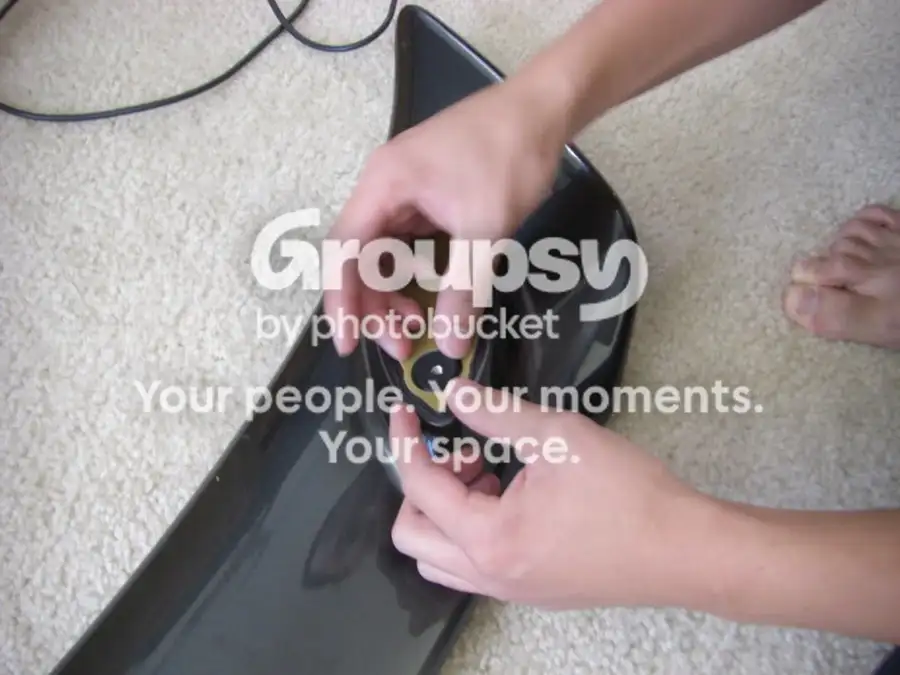
This only applies to the right leg. Peal off the film strip on one side of the gasket. Place the gasket on to the "odd" hole. This hole is for the wiring for the third brake light. Firmly and evenly press down on it.
time needed: shouldn't be this long if you have a step-bit, we took 4 hours, including several breaks and waiting for the drill to charge back up, some chatting, picture taking, and cleaning up.
amount of gallons of water needed for thirst: at least two gallons for each of us
okay, i finally got around to installing my Vios spoiler. i have school tomorrow, so i don't have time to fix the exposure, brightness, etc. i was also pressured in time since i was a couple hours late in helping my friends move (towards the end of the install), so my friend and i may have forgotten to take a pic or two. well here it goes...
Step one:
Get the spoiler painted (I recommend getting it professionally painted, well worth it).
Step two:
Peal the top side (spoiler side) film strip off of the protector pad (right pad). Peal off the spoiler side only and leave the film strip on the "trunk side". Place the protector (right) on the right legs. For this spoiler, the right leg protector has three holes while the left leg has two. Firmly and evenly press down to "stick" it on.
Step three:
Peal off one film strip on the seal. Place the seal on the right leg. The seal goes to where the nut is (left hole two pictures above).
Again, firmly and evenly press down on it.
Step four:
This only applies to the right leg. Peal off the film strip on one side of the gasket. Place the gasket on to the "odd" hole. This hole is for the wiring for the third brake light. Firmly and evenly press down on it.
 .