Yarisworld
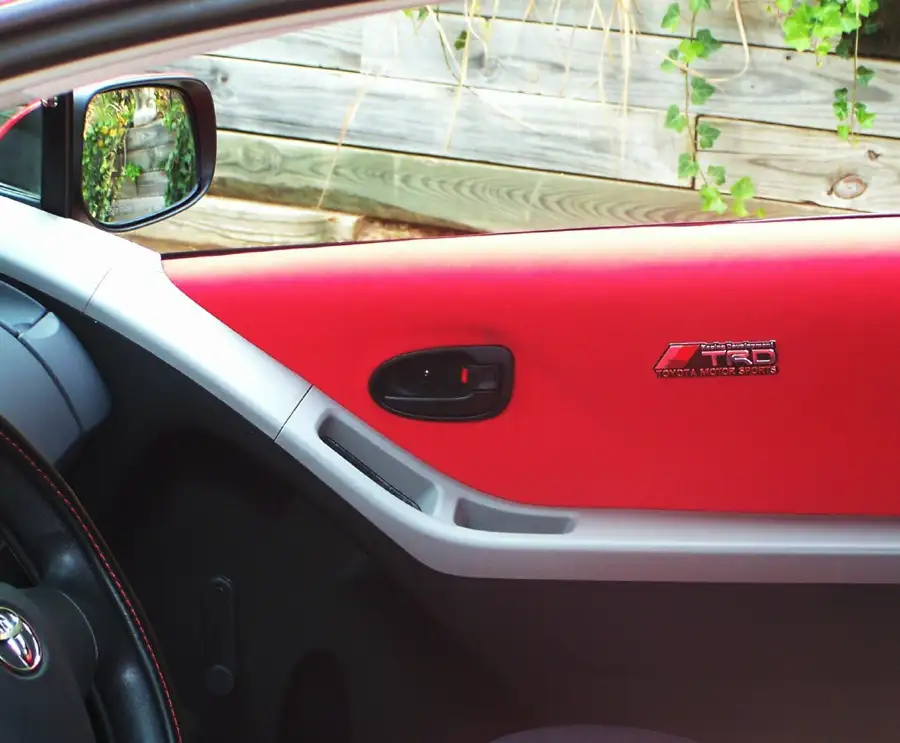
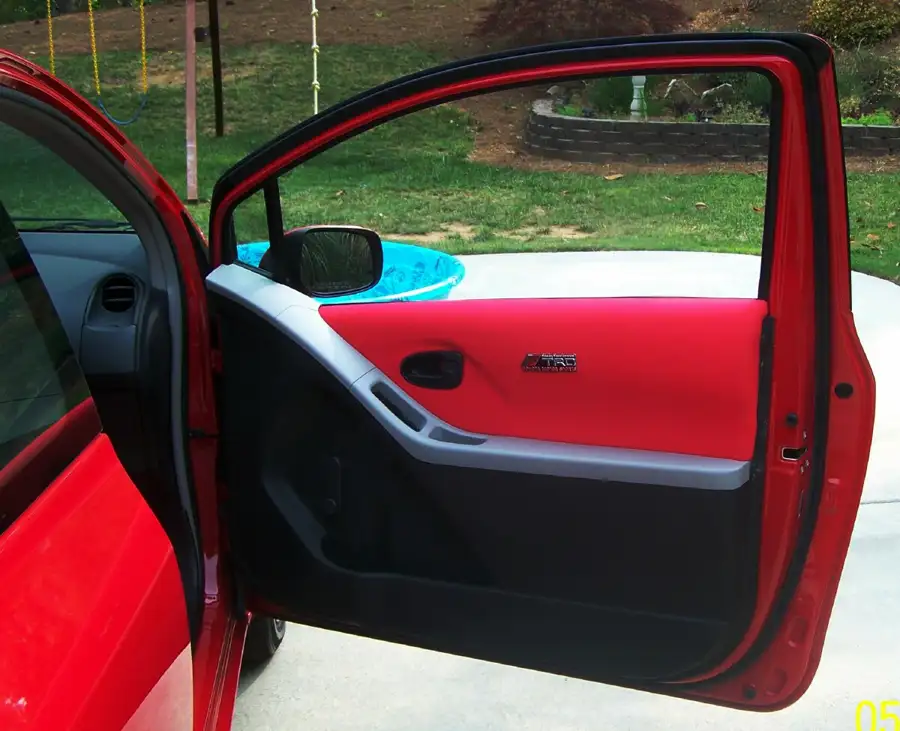
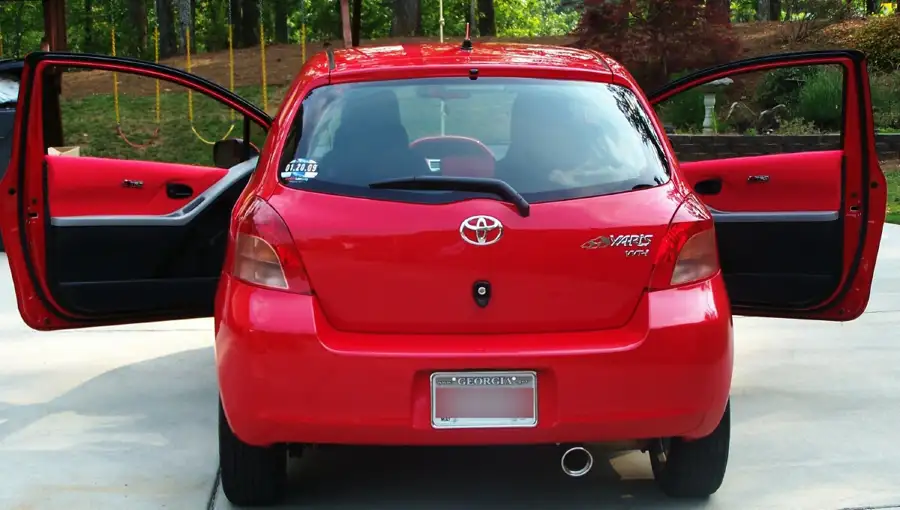
Heres one for all Yaris polka-dot haters. This DIY is for recovering the interior door panels for your liftback (I would assume its the same process for the sedan but I don't know for sure). This one will take about 3 hours start to finish.
Supplies: Gloves and a can of headliner spray adhesive, and one yard of whatever fabric you wish to recover the door accent panels in (make sure the fabric is thick enough that the glue will not soak through). I chose 3mm thick neoprene for my fabric replacement.
1. Remove both your door panels. Refer to the DIY on Yarisworld for this 30 seconds door panel removal (Liftback) . Its very easy!!!
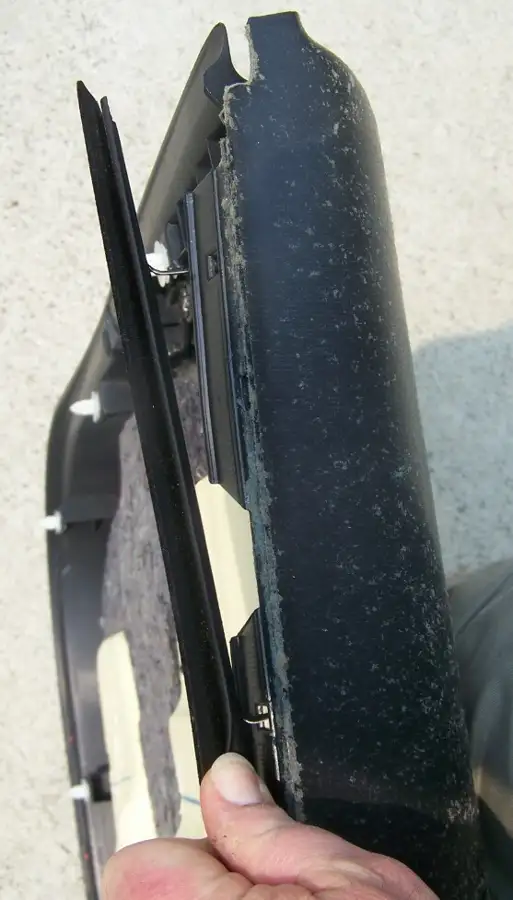
2. Remove the plastic window trim piece on the interior of the door panel near the top. Its held on with a few small prongs you can carefully bend to remove this trim piece.
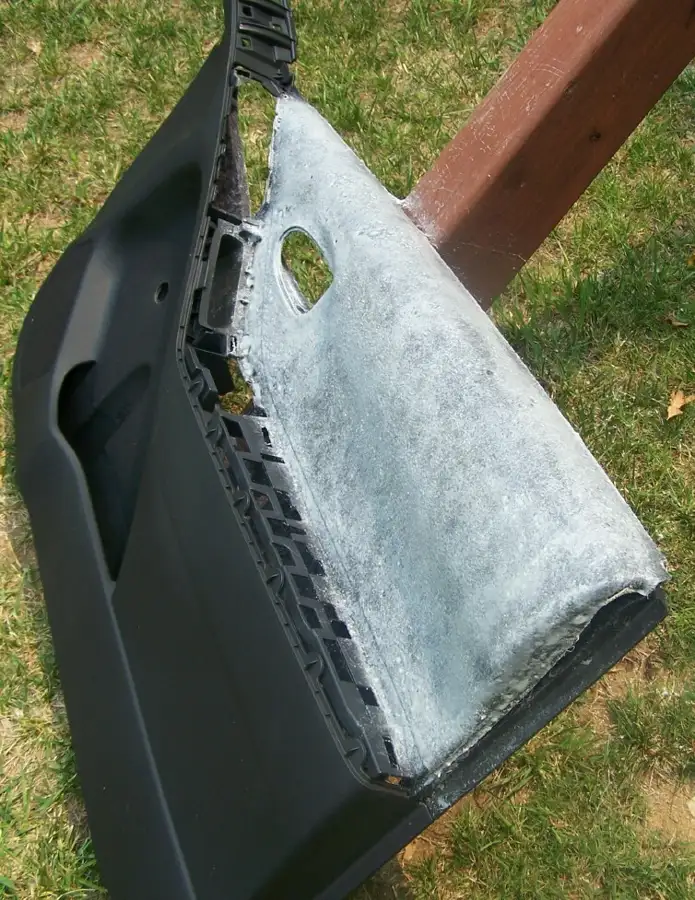
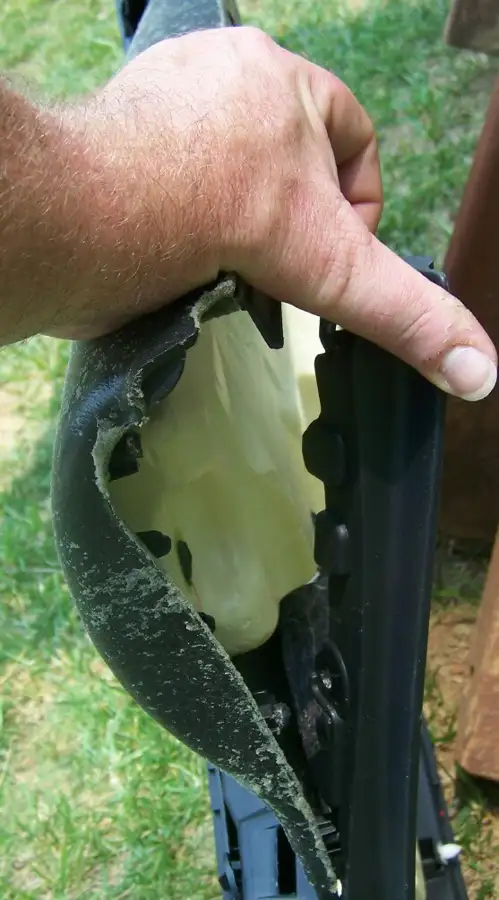
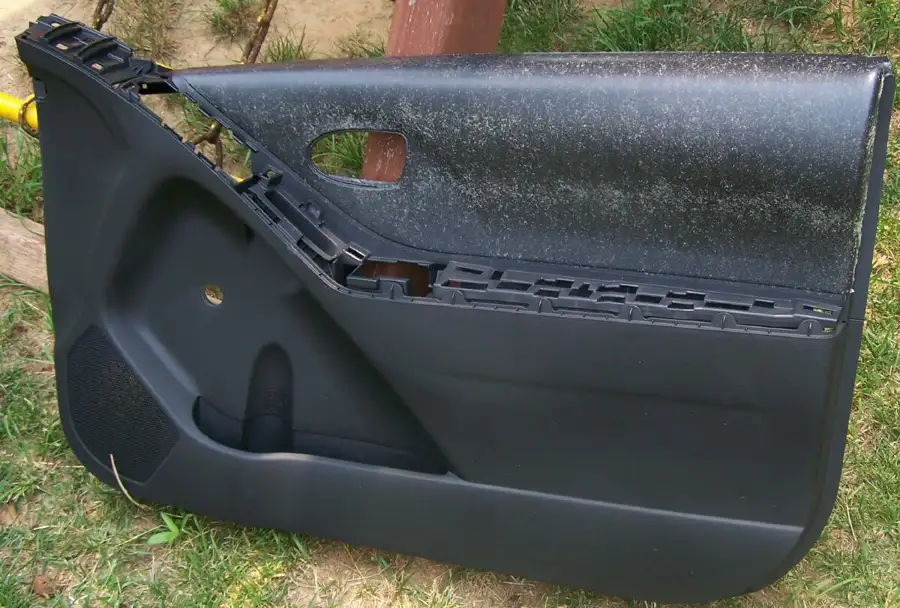
3. Now begin stripping the polka dot fabric off the door panel. Be careful not to rip it because you'll need the entire piece to use as a pattern for your new fabric. Needle nose pliers will help you grab tucked-in pieces where your fingers wont reach. Dont worry about the remaining glue on the door panel unless you want to add another hour to this project removing it.
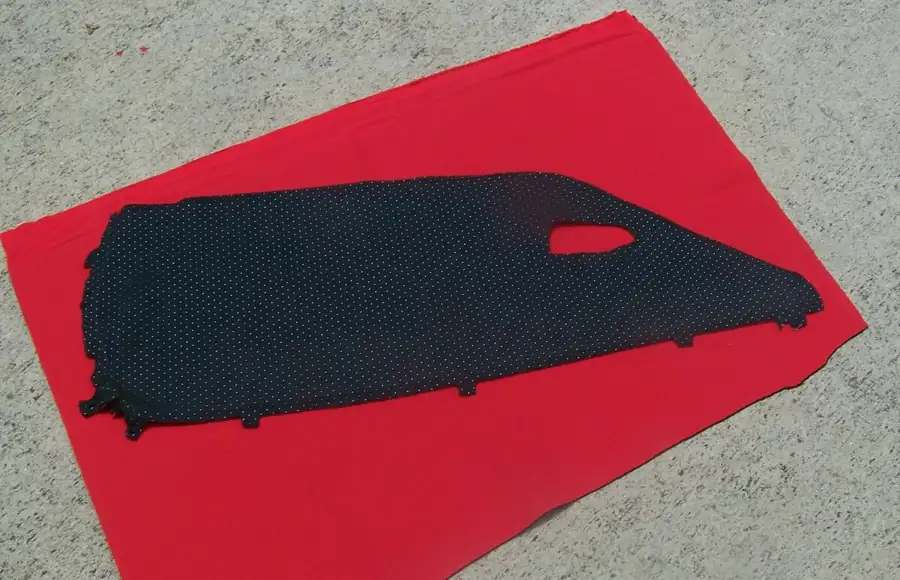
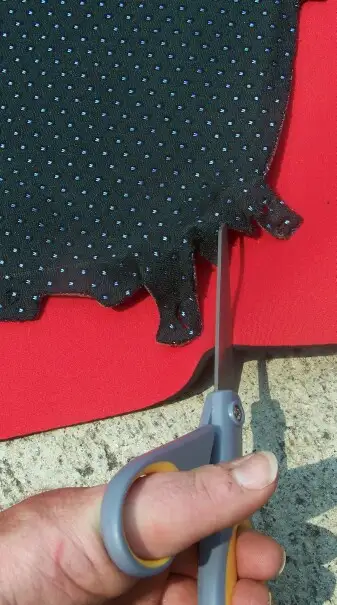
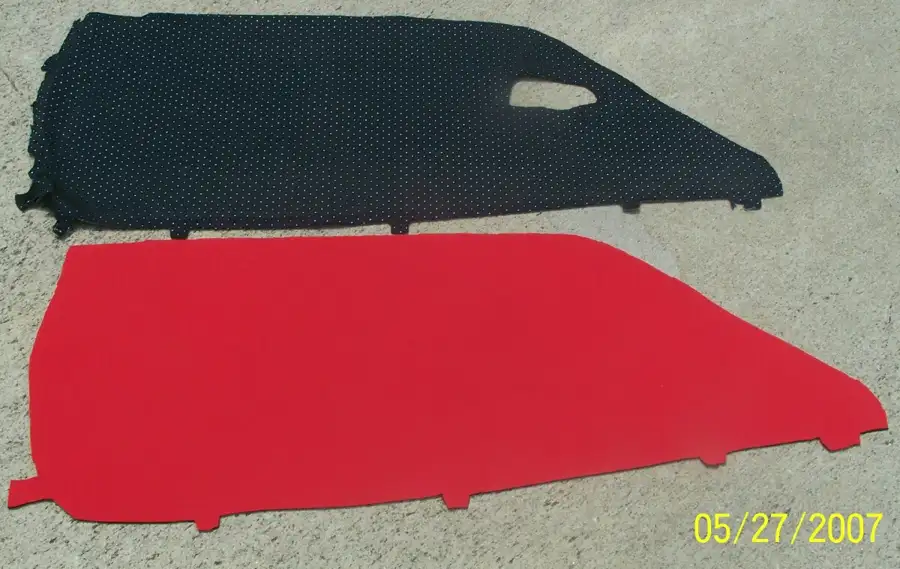
4. Lay the removed polka dot fabric on your new replacement fabric and cut closely (but not too close) to it to make your new fabric pattern. Dont worry...it doesnt have to be exact! Make note of the tabs on the old fabric and cut these out also (the tabs tuck under the door panel trim to assist in holding the fabric in place. Keep your old polka dot fabric patterns...you never know when you might need them again! NOT.
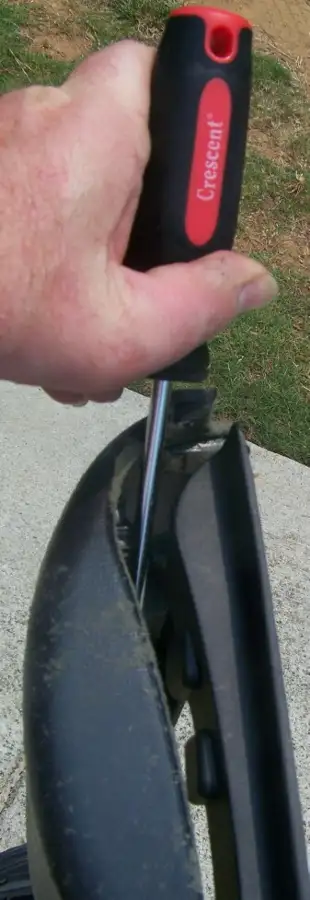
5. You will have a problem with the trim nearest the rear part of the door. I had to break it loose with a screwdriver to remove this area of fabric. Now I have to drill 3 trim screws (each door) back into it to hold it. No problem. I dont know how you cover this area without breaking this piece free.
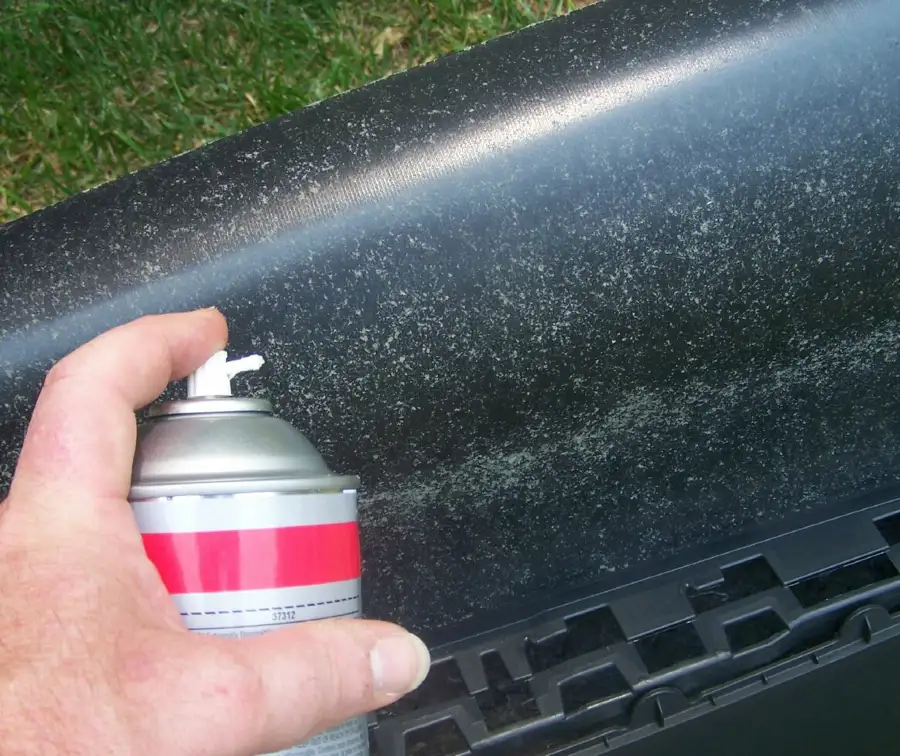
6. Spray the exposed fabric area of the door panel with the headliner adhesive. I coated it well but not soaking wet. Allow 5 minutes minumum for sprayed adhesive to become tacky to touch. The adhesive does not bond instantly so you have a little working time with it.
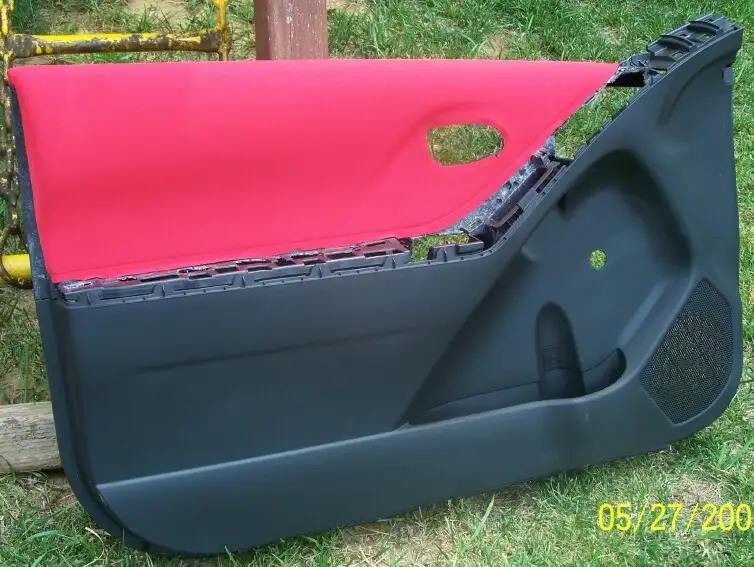
7. Lay your new fabric pattern on the wet adhesive door panel. You get about 2 minutes working time. Press the fabric down and smooth it out on the panel. Make sure you smooth the area immediately by the door handle opening (there is a noticeable ridge there the fabric needs to contour to).
***NOTE: If you are using neoprene like I did there is no need to stretch it, let it lay normally over the door panel. Stretching it will cause stress on the glued area.***
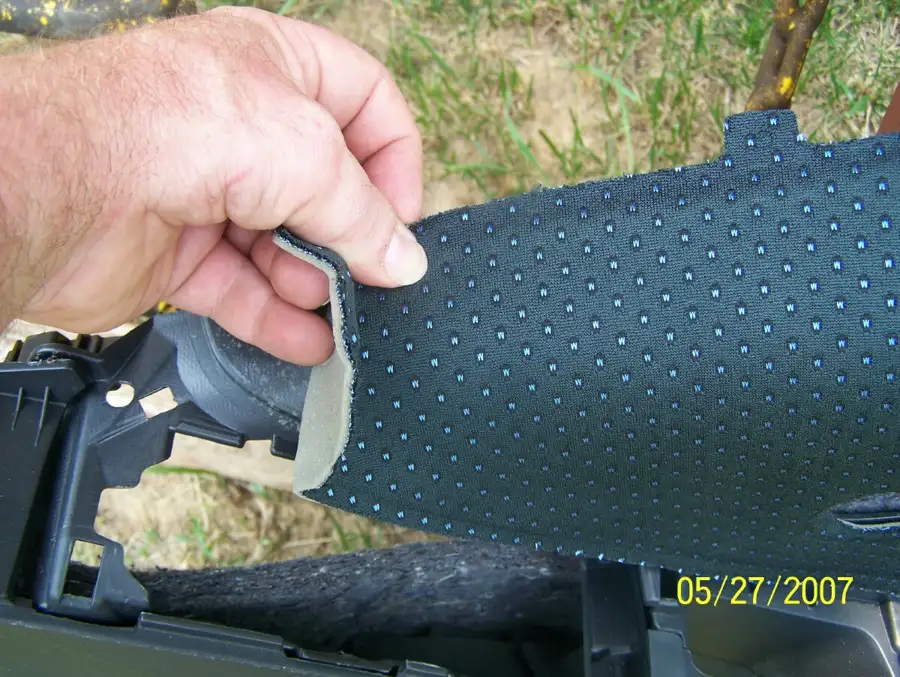
8. Spray interior of door panel and tuck over top of door and side of door, cutting to fit. Tuck corners to hide where trim will cover up. Use adhesive liberally on this step.
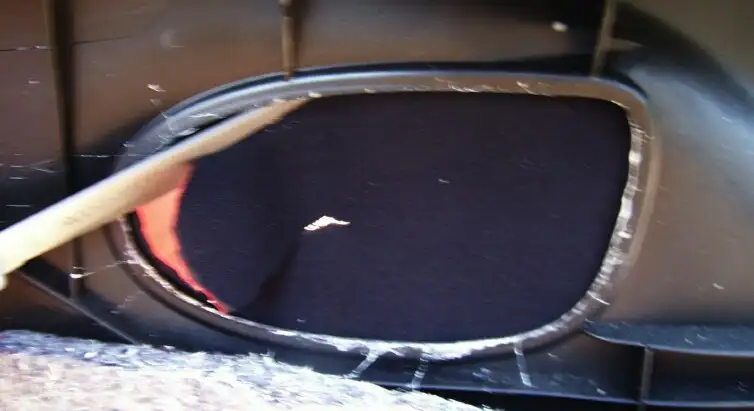
9. From the inside of the door panel poke a hole in the door handle cutout and cut the door handle opening leaving enough overlap for the door handle to cover from the inside of the door. DO NOT cut the hole too close to the panel cutout!
10. Test fit door handle trim to ensure fabric coverage all around. Let dry for at least one hour before putting door panels back in car.
11. Clean up any visible adhesive overspray from interior door panel with glue removal product such as 'Goof Off'.
12. Enjoy your non-polka dotted doors!!!! Now cover your seats to match!🤘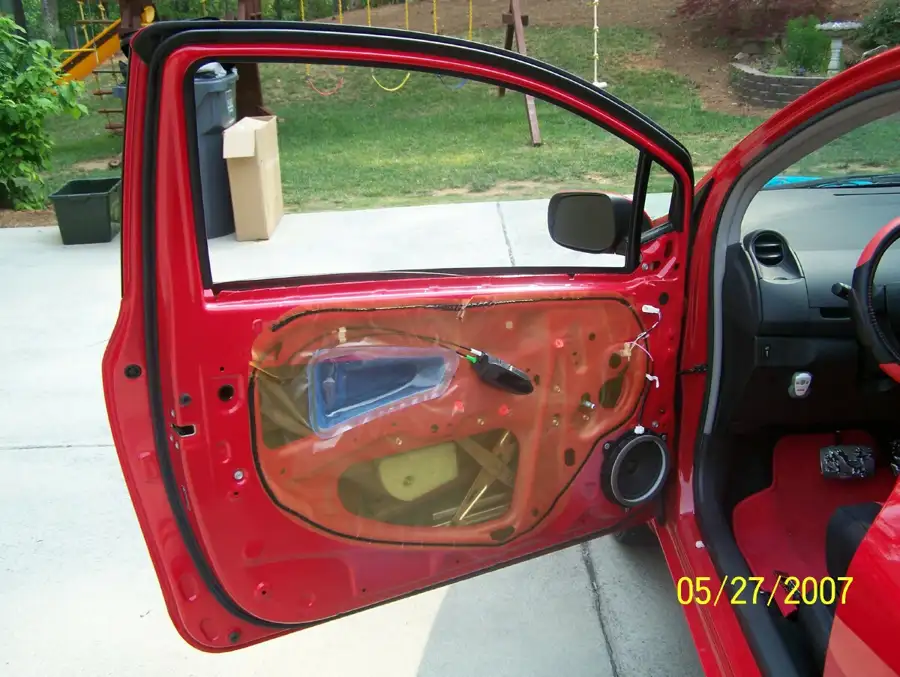
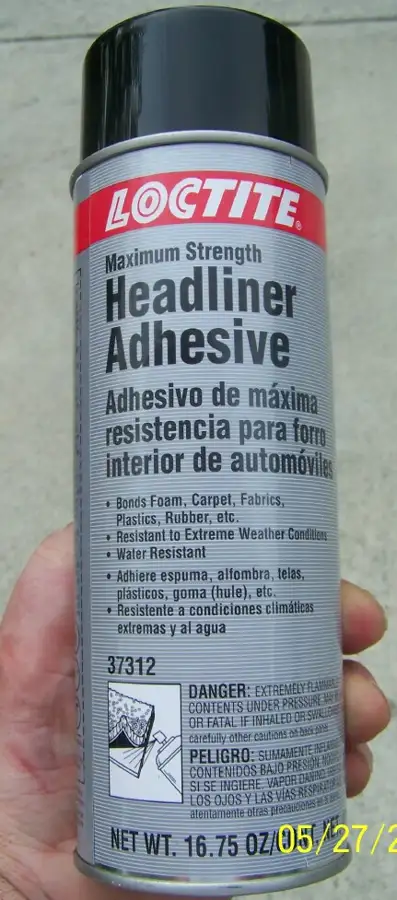
Supplies: Gloves and a can of headliner spray adhesive, and one yard of whatever fabric you wish to recover the door accent panels in (make sure the fabric is thick enough that the glue will not soak through). I chose 3mm thick neoprene for my fabric replacement.
1. Remove both your door panels. Refer to the DIY on Yarisworld for this 30 seconds door panel removal (Liftback) . Its very easy!!!
2. Remove the plastic window trim piece on the interior of the door panel near the top. Its held on with a few small prongs you can carefully bend to remove this trim piece.
3. Now begin stripping the polka dot fabric off the door panel. Be careful not to rip it because you'll need the entire piece to use as a pattern for your new fabric. Needle nose pliers will help you grab tucked-in pieces where your fingers wont reach. Dont worry about the remaining glue on the door panel unless you want to add another hour to this project removing it.
4. Lay the removed polka dot fabric on your new replacement fabric and cut closely (but not too close) to it to make your new fabric pattern. Dont worry...it doesnt have to be exact! Make note of the tabs on the old fabric and cut these out also (the tabs tuck under the door panel trim to assist in holding the fabric in place. Keep your old polka dot fabric patterns...you never know when you might need them again! NOT.
5. You will have a problem with the trim nearest the rear part of the door. I had to break it loose with a screwdriver to remove this area of fabric. Now I have to drill 3 trim screws (each door) back into it to hold it. No problem. I dont know how you cover this area without breaking this piece free.
6. Spray the exposed fabric area of the door panel with the headliner adhesive. I coated it well but not soaking wet. Allow 5 minutes minumum for sprayed adhesive to become tacky to touch. The adhesive does not bond instantly so you have a little working time with it.
7. Lay your new fabric pattern on the wet adhesive door panel. You get about 2 minutes working time. Press the fabric down and smooth it out on the panel. Make sure you smooth the area immediately by the door handle opening (there is a noticeable ridge there the fabric needs to contour to).
***NOTE: If you are using neoprene like I did there is no need to stretch it, let it lay normally over the door panel. Stretching it will cause stress on the glued area.***
8. Spray interior of door panel and tuck over top of door and side of door, cutting to fit. Tuck corners to hide where trim will cover up. Use adhesive liberally on this step.
9. From the inside of the door panel poke a hole in the door handle cutout and cut the door handle opening leaving enough overlap for the door handle to cover from the inside of the door. DO NOT cut the hole too close to the panel cutout!
10. Test fit door handle trim to ensure fabric coverage all around. Let dry for at least one hour before putting door panels back in car.
11. Clean up any visible adhesive overspray from interior door panel with glue removal product such as 'Goof Off'.
12. Enjoy your non-polka dotted doors!!!! Now cover your seats to match!🤘