I took a few pictures after I finished with brake fluid flush + speed bleeder valves + stainless steel line install. I've never done a DIY before, so for the fun of it, here follows DIY/report on what I did.
(#) tools: nose plier, wrench set. I used an adjustable wrench for one nut on top of the brake line that comes from the engine compartment in top of wheel well, but one is supposed to have a special wrench for the soft metal nut (very easy to strip). You cannot use adjustable wrench or any large wrench on the rear bleeder valve; small wrench required. A flexible plastic tube, about 6-8mm diameter, to properly run brake oil into an empty soda bottle etc.
(#) You're gonna need "speed bleeder valves" to do it the way I did it. It is the cheapest way to bleed by yourself; using the two-person method isn't as fool-proof as this; I paid $32 for a set of four speed bleeder valves locally,
size M7 X 1.0, length 1.38 inch (35.15mm), there are a number of brands available, different every retailer; part number worthless; go by size. Online retailers sell them for as low as $10/pair+shipping. Another option is Motive Flow pressurized oil reservoir, but it costs $50-60+required cap, and then you'll have a big plastic "thing" that takes up space... and it can get messy.
(#) Brake fluid of choice. I used Valvoline type 3&4 synthetic, used entire 32 oz bottle.
(#) jack up car, remove wheel (this can all be done without removing wheel; just jacking up and accessing behind the wheel through the gap; I did that after I familiarized myself the first time).
(#) remove rubber cap on top of OEM bleeder valve. Attach rubber hose to bleeder valve, and use a wrench to turn it 1/4 to 1/2 turn. Let oil run out into a soda bottle until it stops, then remove the OEM bleeder valve altogether.
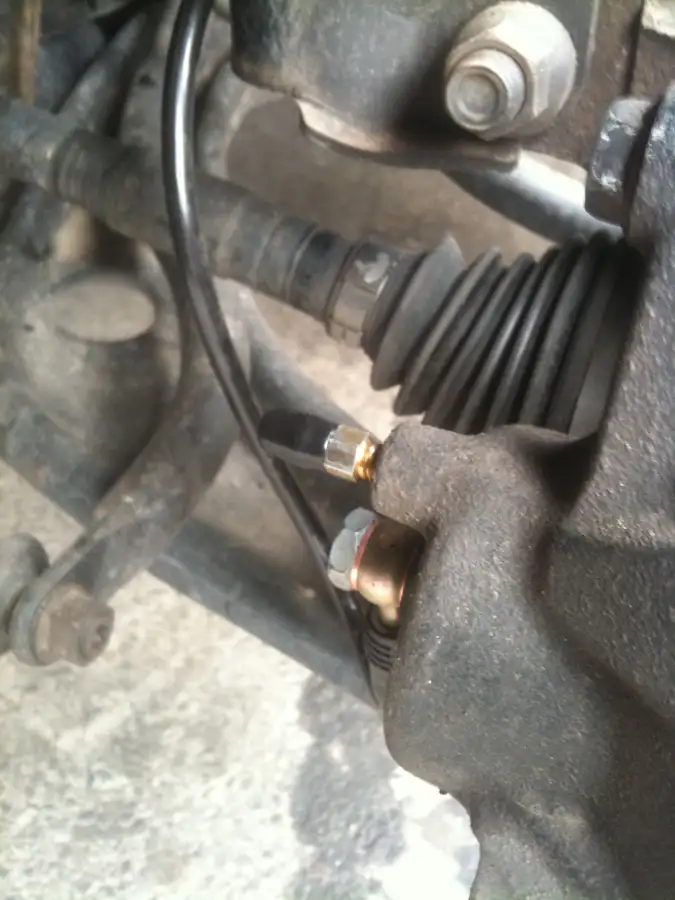
Picture: New speed bleeder valve on top. Stainless steel line bottom.
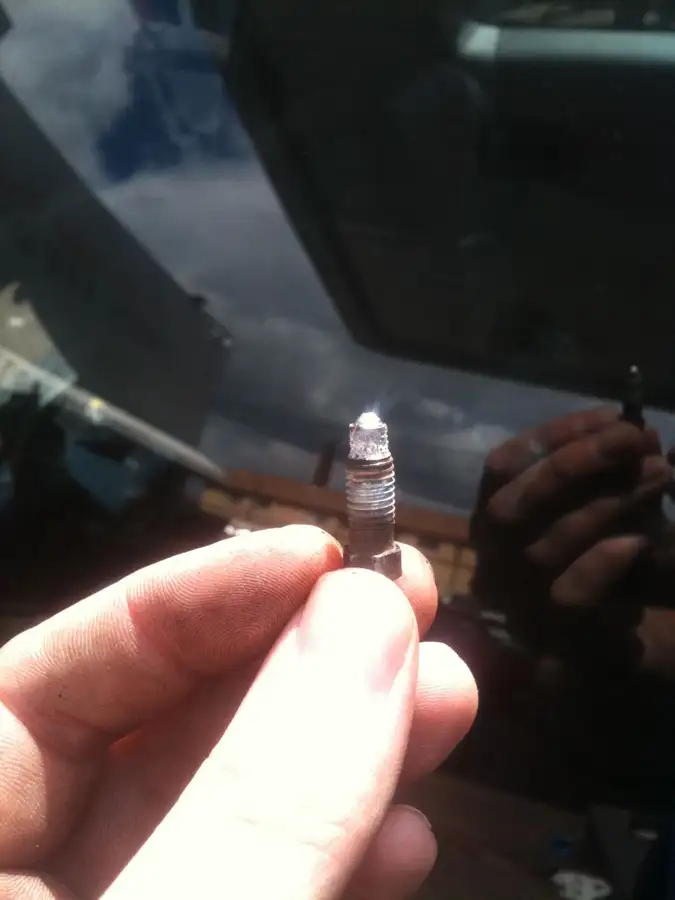
Picture: Old OEM bleeder valve after 4 years. White residue of some sort: this was only on one of my calipers, the other bleed valves were cleaner. Something may have corroded on that side, I guess!
(#) Insert new speed bleeder valve, turning it all the way in, then back out 1/4 to 1/2 inch. Repeat for all four wheels, and perform bleeding (see below) each before moving to next one. Btw. the brake lines on the rear wheels are stiff/stainless steel the whole way; no need to upgrade those brake lines.
(#)
If not installing stainless steel lines, skip ahead. If installing Micro Image online stainless steel lines, go buy a pair of M8.0 nuts needed to attach the brake line bracket to the shock attachment bracket.
(#) Minimize leakage by sealing the brake fluid reservoir (cap on with plastic wrap over it). Speaking of... to get access to it, gently remove the rubber strip on top of the engine bay on the driver side; gently undo the clips holding the driver side engine bay cover; then violently drag it out of the rear retainer clips. Beware the brake fluid reservoir cap is not attached to anything: when removing, do not let go of it or lose it into the engine bay.
(#) Remove original rubber hose from the engine bay attachment point, by first removing the clip that secures it (using nose pliers), then use a wrench to hold the soft nut on top, while using another wrench to unscrew the hose from the bottom.
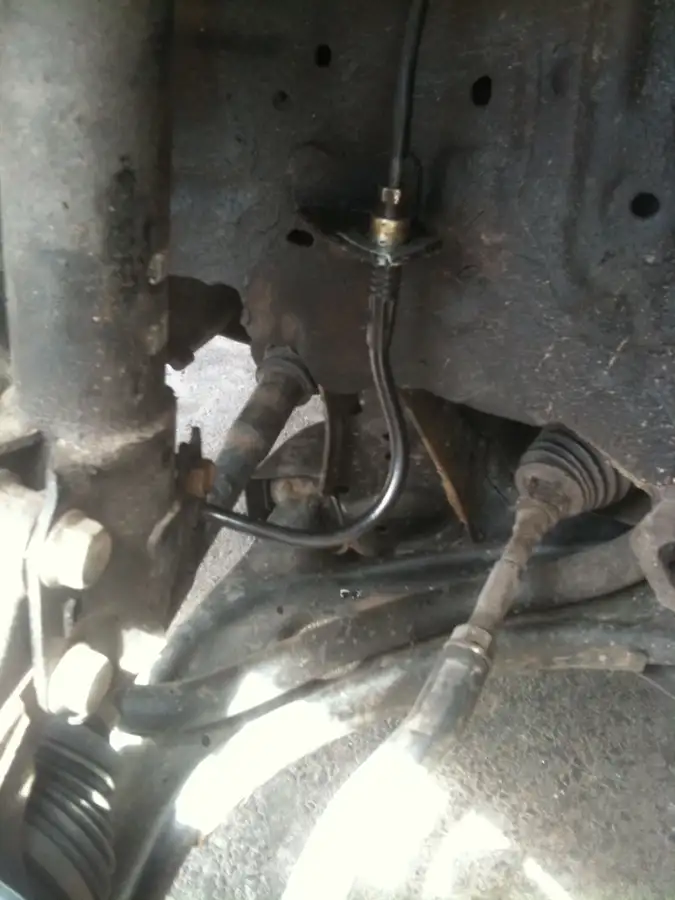
Picture: Stainless steel going into engine bay attachment:
(#) Use a wrench to remove the single bolt that holds the shock attachment bracket. Only the bolt (visible in picture) on the rear side of the bracket is "wrenchable"; the front side nut is welded to bracket.
(#) Use a standard wrench to remove the bolt going into the caliper; old brake line is now removed.
(#) Install stainless steel brake line from Micro Image to the caliper with new included bolt, new washers etc.
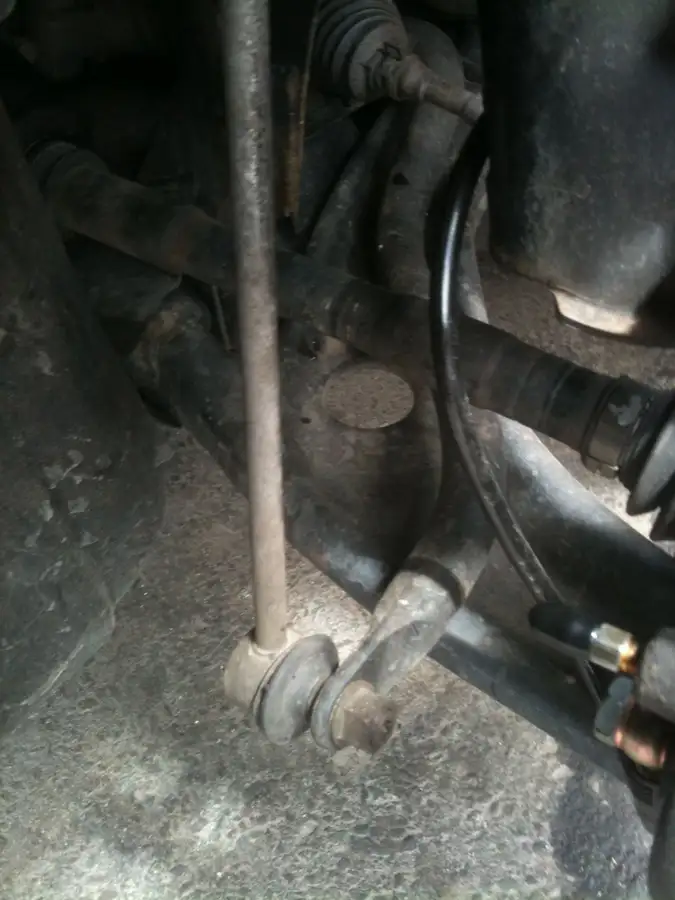
Picture: Stainless steel brake line going from caliper to shock attachment bracket. Notice I routed it down and back up towards the bracket... more appropriate would be to route it up and away from the spinning thingy.
(#) Reuse the old bracket bolt to attach the new M.I. bracket. New nut is not included, and OEM nut is welded on. So you must buy 8.0mm nuts... for about $1.
(#) ... the hard part. Attach new line to the brake line from the engine compartment. Screw the little nut on the attached line from the engine as high up as possible. Then insert the new brake line and screw it as high up as you need to get the clip back in on top of the bracket. Then tighten with the top nut.
(#)
Bleeding the brake lines. With the speed bleeder valves installed and open 1/4-1/2 inch, just fill the reservoir, pump brake pedal about 10 times, re-fill/check reservoir and pump some more until the fluid coming out is crystal clear and clean. First wheel I did was rear left, and it took considerably more pumps to get clean fluid from the first wheel than the subsequent wheels.
(#) Once clean fluid and no "recent" air is observed in the attached plastic line, just tighten the speed bleeder valve and put on the rubber cover. Refill reservoir and
its done. Re-attach wheels, test the brakes and park on clean pavement and look for leakage.
Important: The warnings about brake fluid eating paint... I figured "yeah yeah, it eats paint, so I'll go to the car wash later and spray down the wheel well." Uhm, just the few drops that got on my caliper was enough to eat my caliper paint... which looks kinda cool as they get the "shiny metal look".
 Yarisworld