Yarisworld
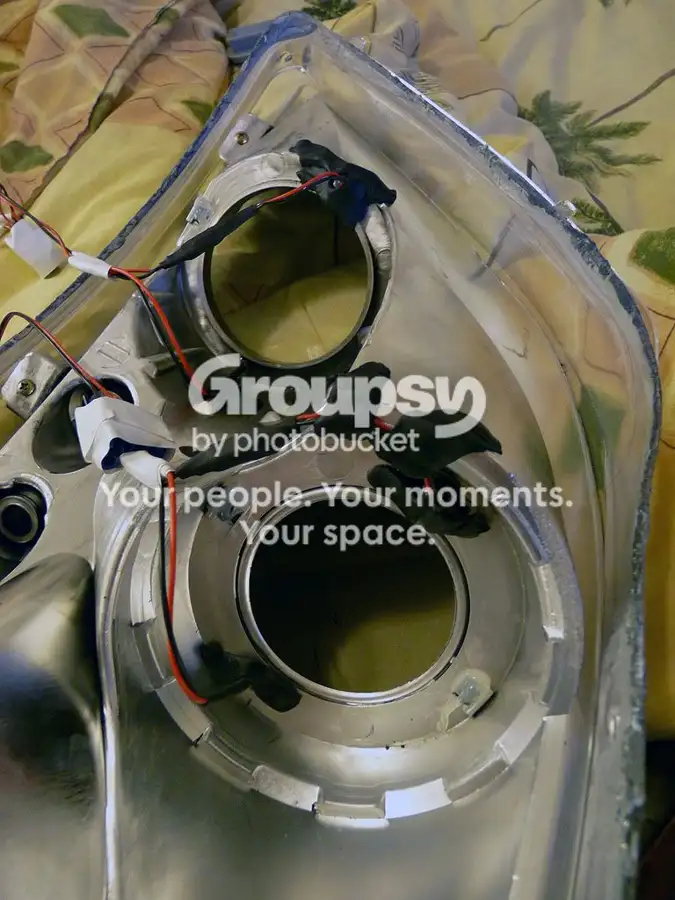
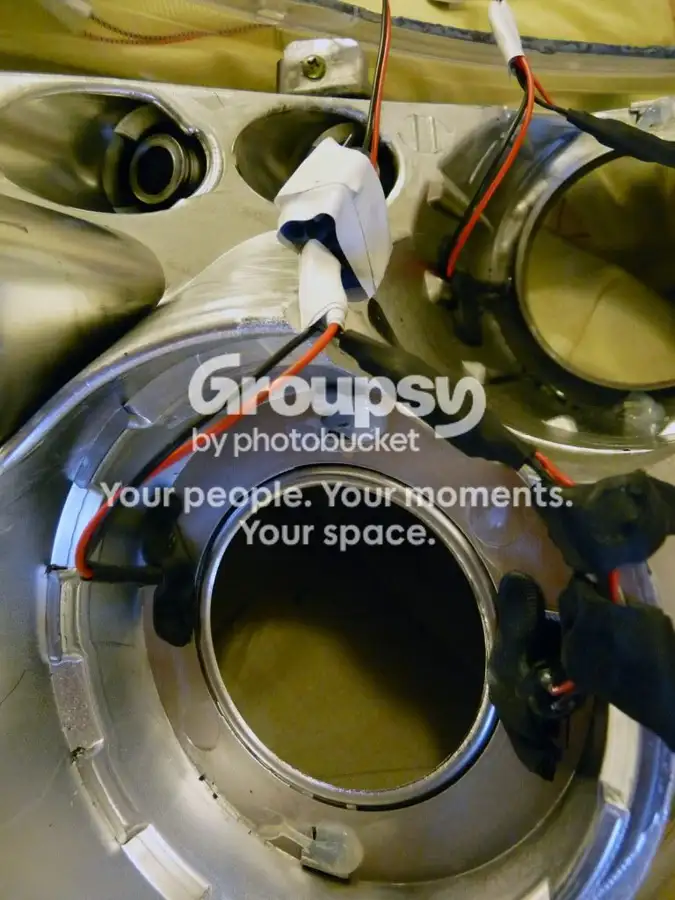
Well I've gotten tired of how the 'ol Depot Projectors are looking so I've started the project and gotten pretty far in one day.
I will also be adding the super legitimate audi style side emitting flexible LED strip.
My main gripes are as follows
- The clearcoat layer is peeling away and looks like crap
- The Halo's are dim and yellow and effectively pointless
- Moisture would clearly get inside and...well that sucks
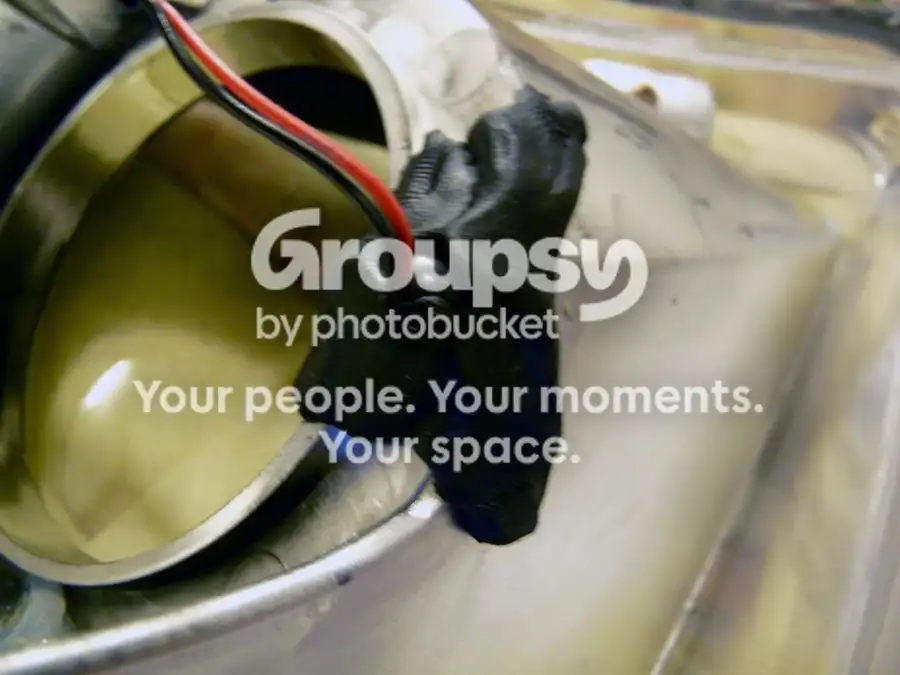
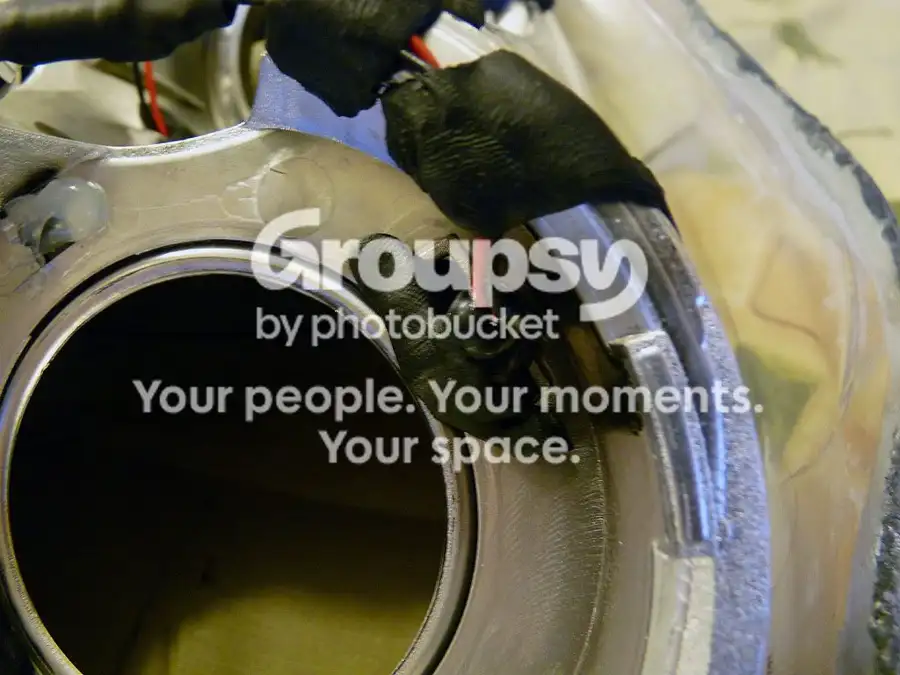
- I wanted to clean up and hide the wiring
Pro's are
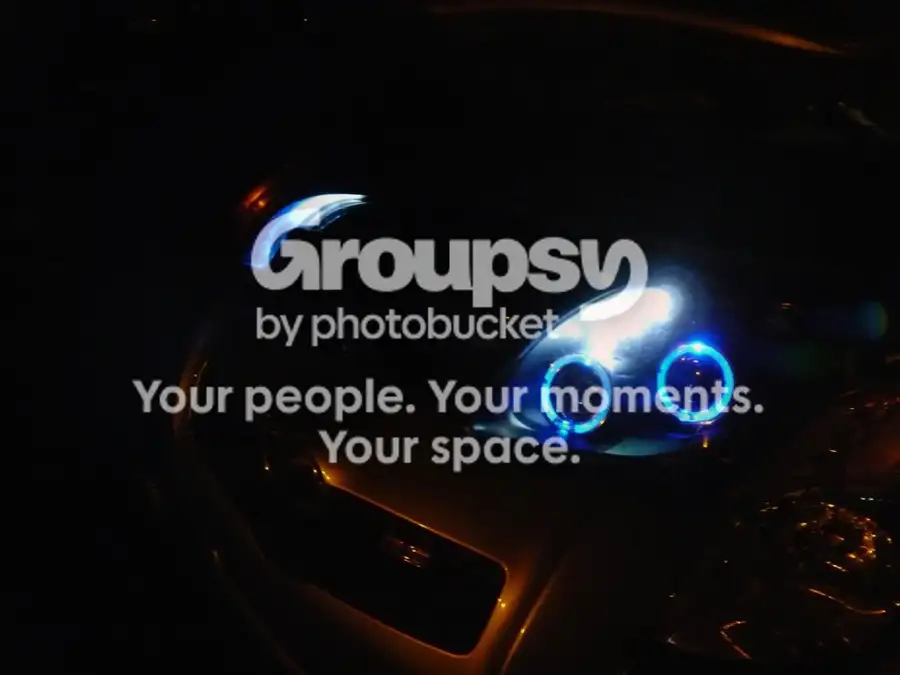
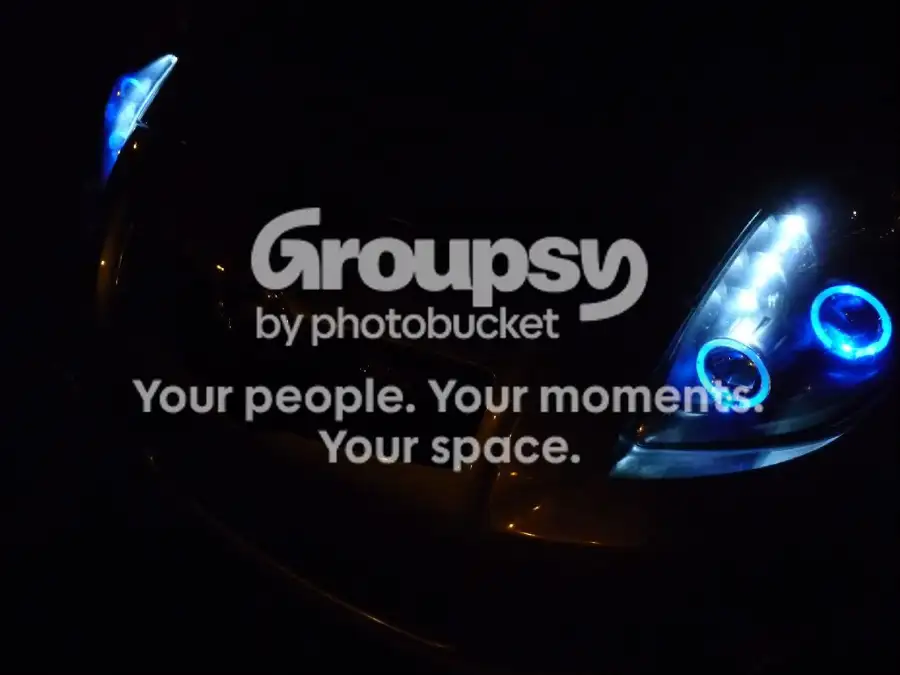
- The angel eye led's are still performing well
- With an HID kit the projectors put out a good amount of light with a nice cutoff
- They look sweet when they are in good condition.
Process:
I went out and got a few things to make this all possible and I also ordered a few things online. This is the laundry list:
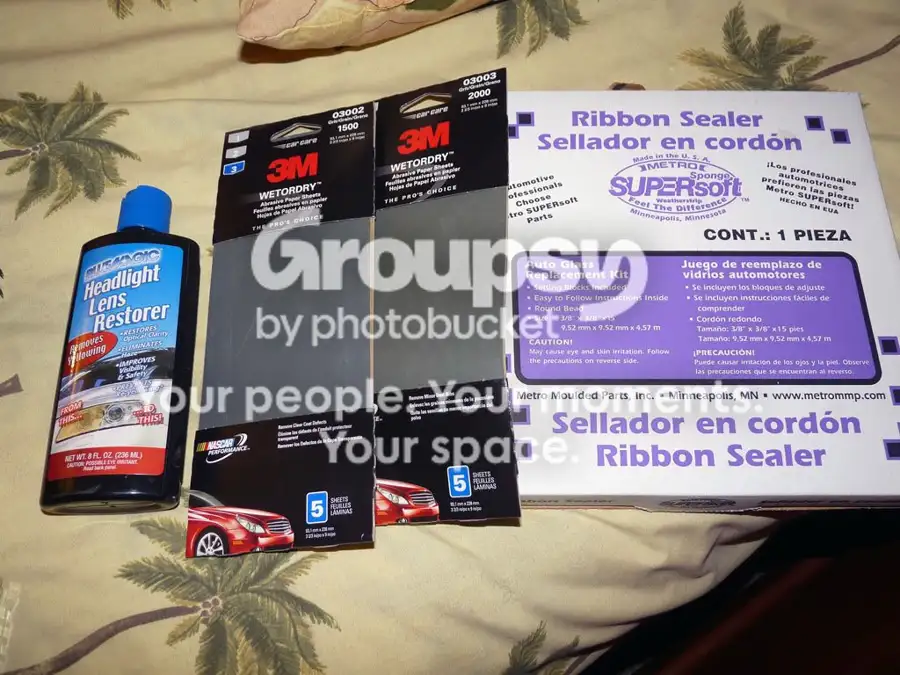
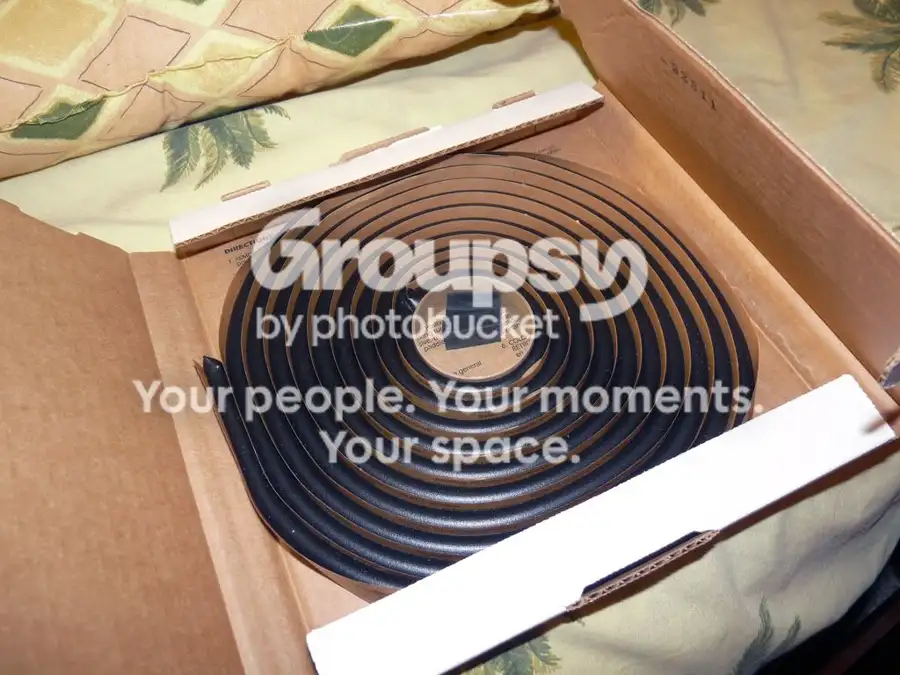
- Ribbon Sealer from an Auto Parts Store (to seal EVERY SINGLE HOLE)
- 1500 and 2000 grit sandpaper
- A dedicated Headlight polisher/wax
- 6 Hyperflux Blue LED's & 6 3MM Super Bright Standard LED's from Oznium (just to be sure of fitment)
- Assload of zip ties if you want to be organized
- Basic Tools
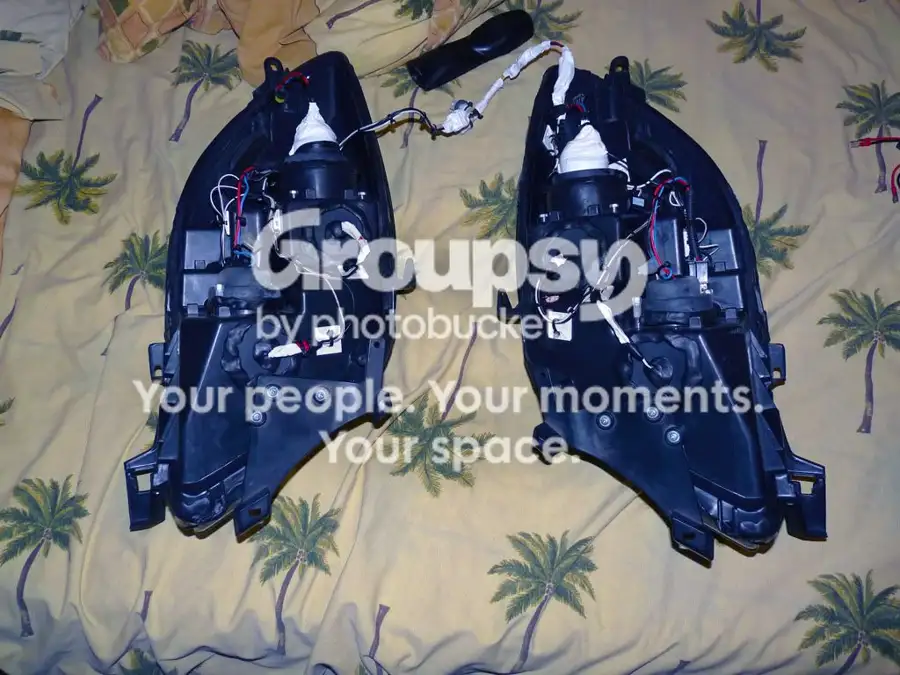
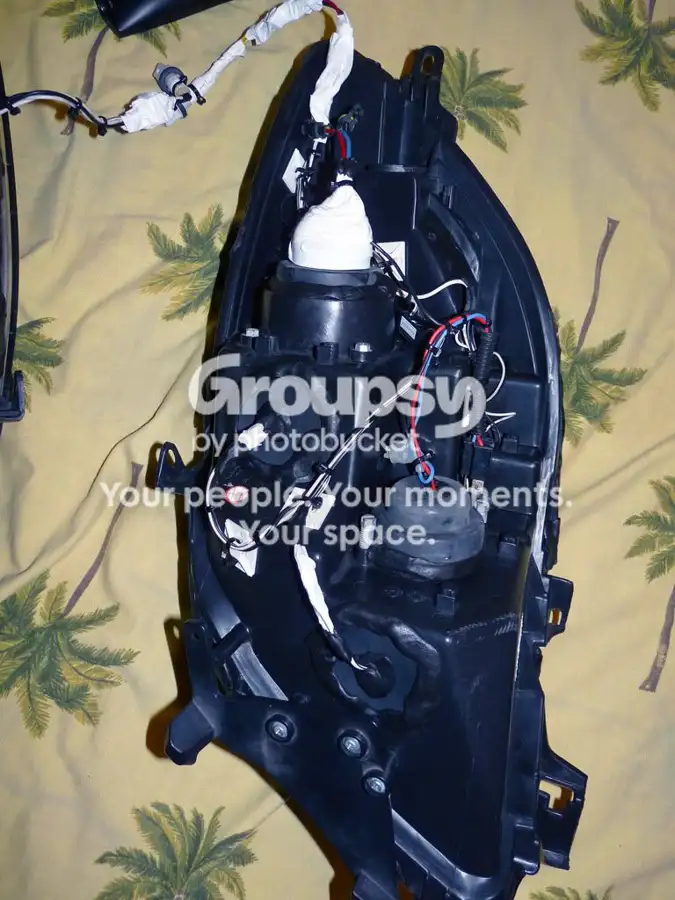
I have so far gotten the headlights apart into their 3 respective pieces.
To do this I removed the smallest and probably rusted for you too screw there is near the top of the housing underneath.
Remove the entire stalk of cables and the bulbs...remove it all...everything..good.
I then took the biggest cookie tray i could fit in my oven and covered in it a wet wash cloth and put it in the over at 275 degrees for 3-5 minutes...I would say 4 minutes.
The washcloth will also introduce moisture into the oven so as to keep things from truly burning.
Once i removed the headlight(s) i then took a flat head screw driver and started to go around the ENTIRE perimeter and separate the housing from the lens.
Be very careful and take your time, the glue wont harden all that fast but once you see them starting clearly separate just pull it apart with both hands slowly.
You will then have 2 parts, with the part that has the lens and the other thing there are two small phillips head screw somewhere along the edge, find them and remove them and then remove the piece from inside the lens, you now have 3 pieces.
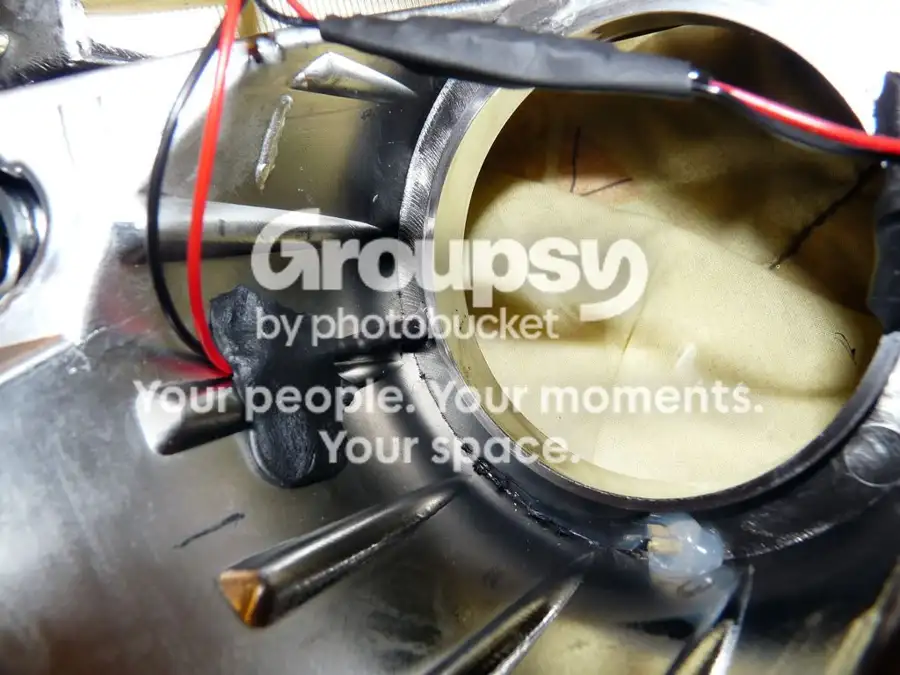
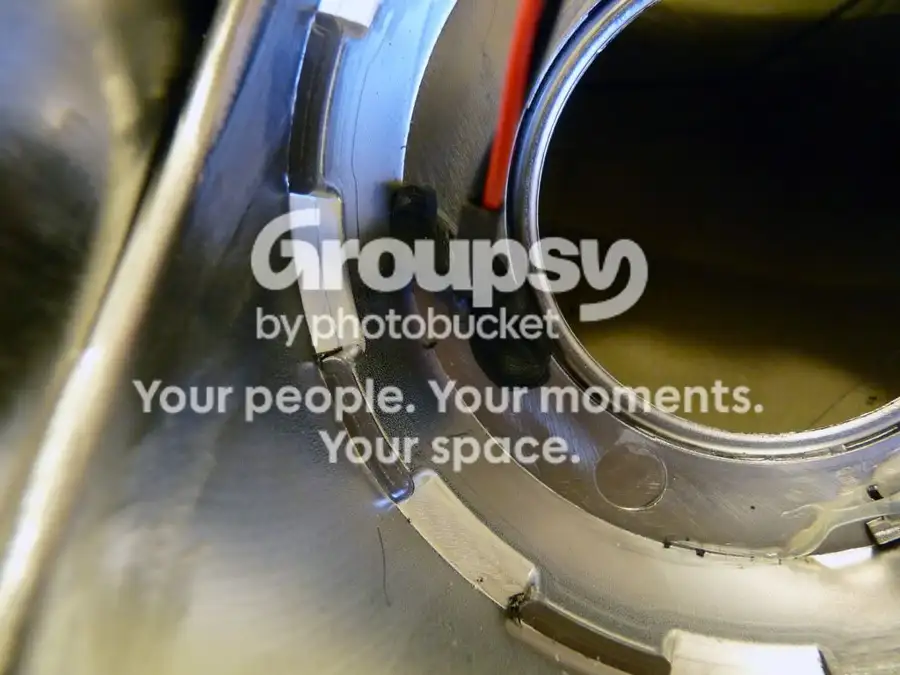
This is as far as I have gotten and I am waiting to receive my LED's and ill starting polishing the lenses tomorrow.
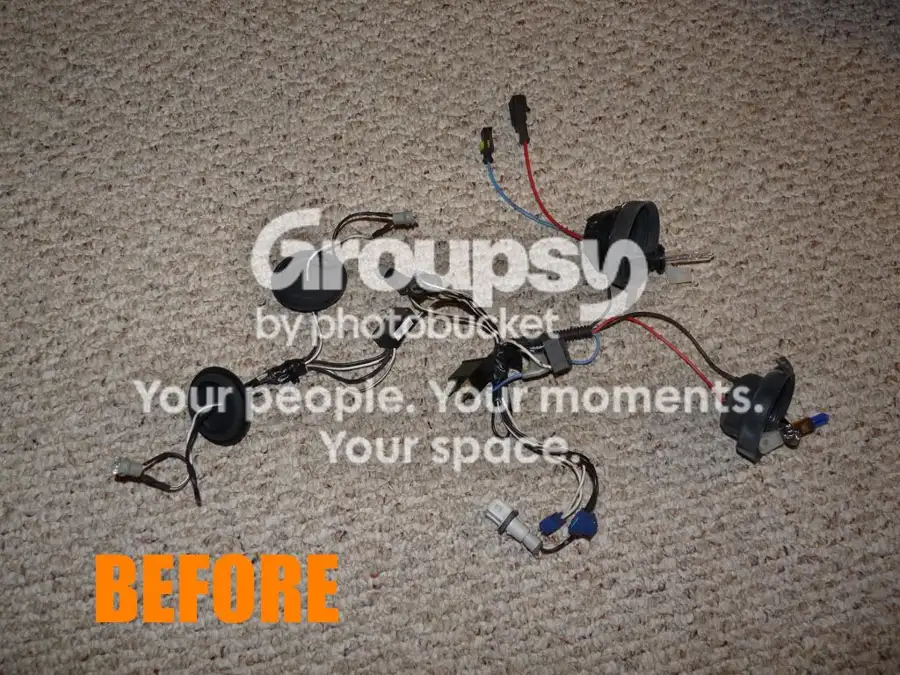
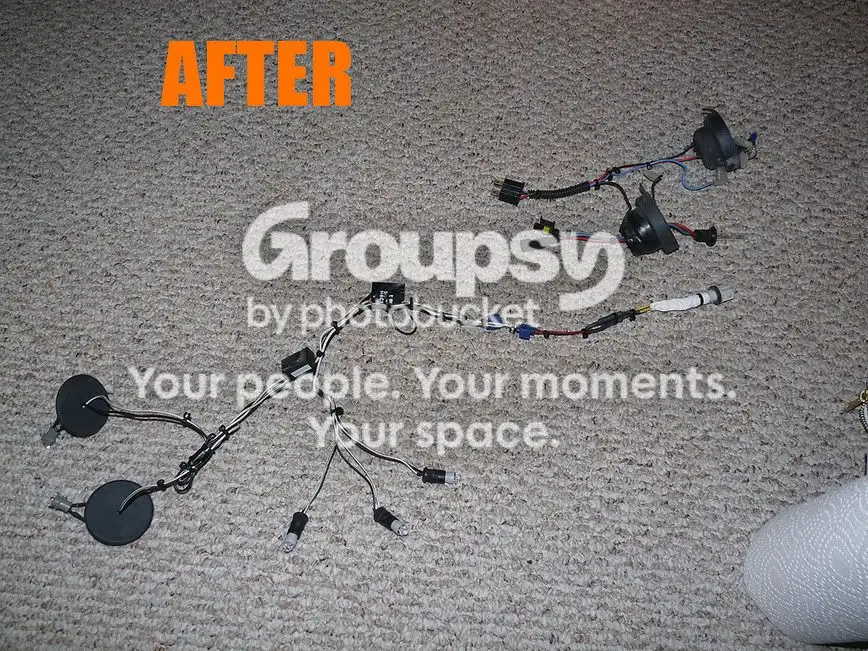
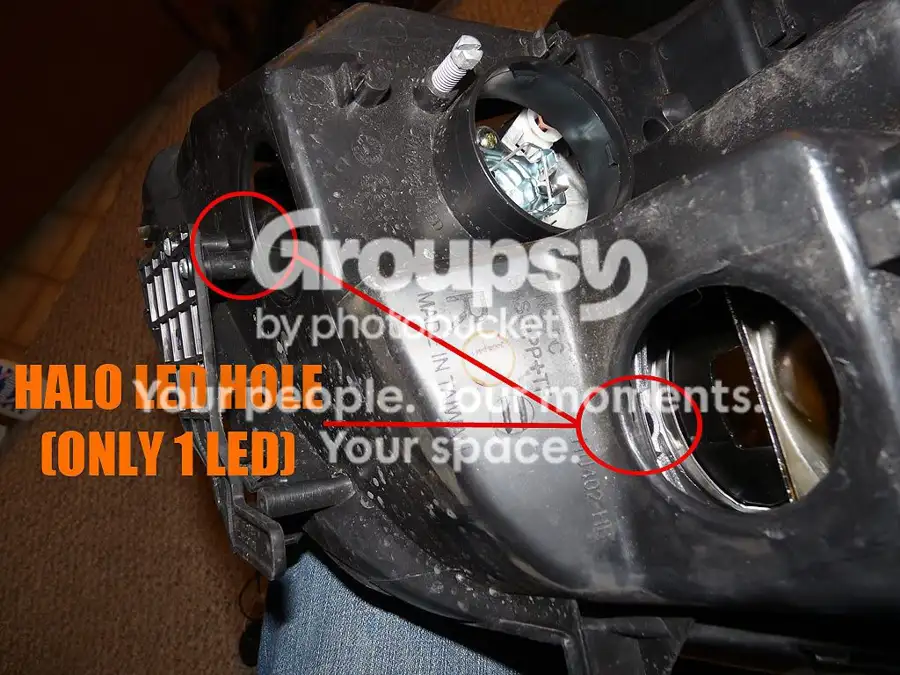
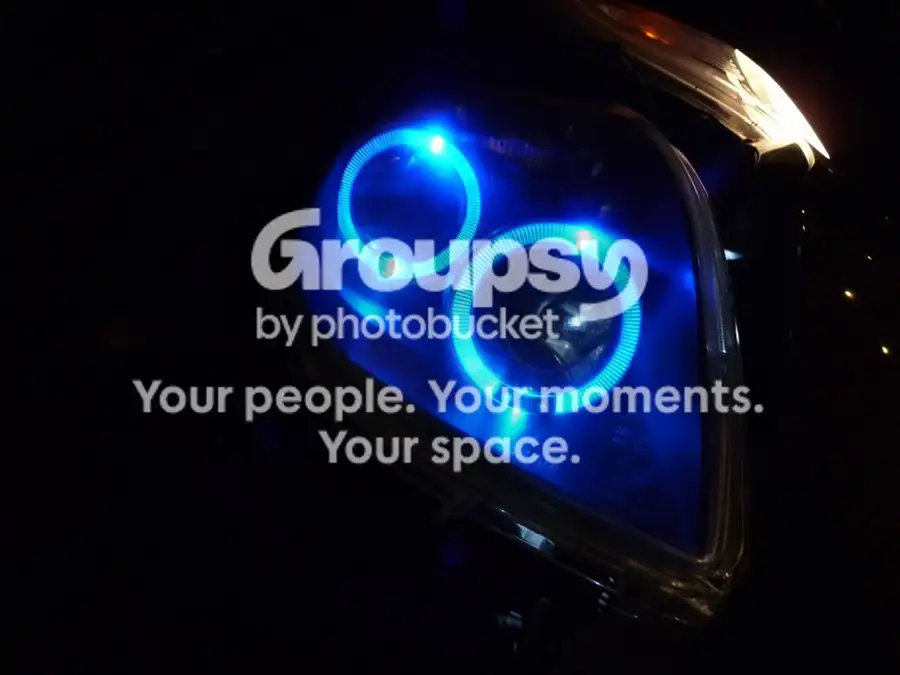
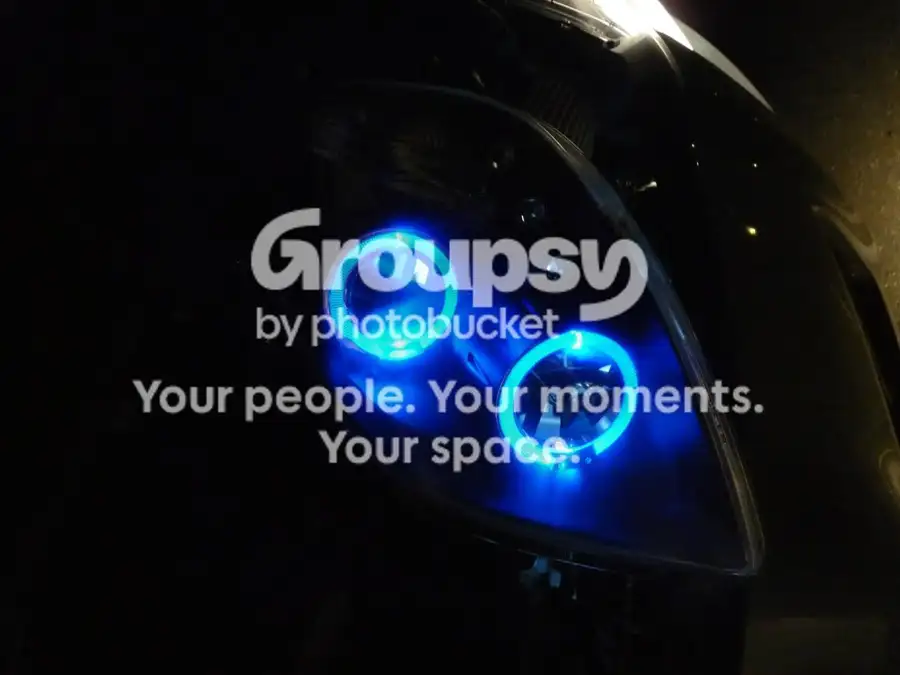
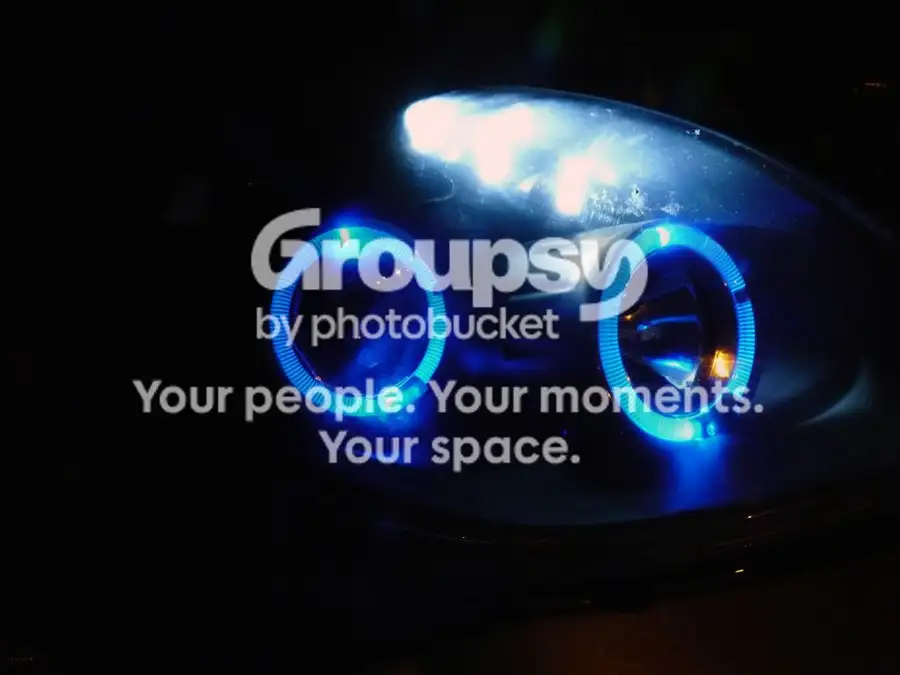
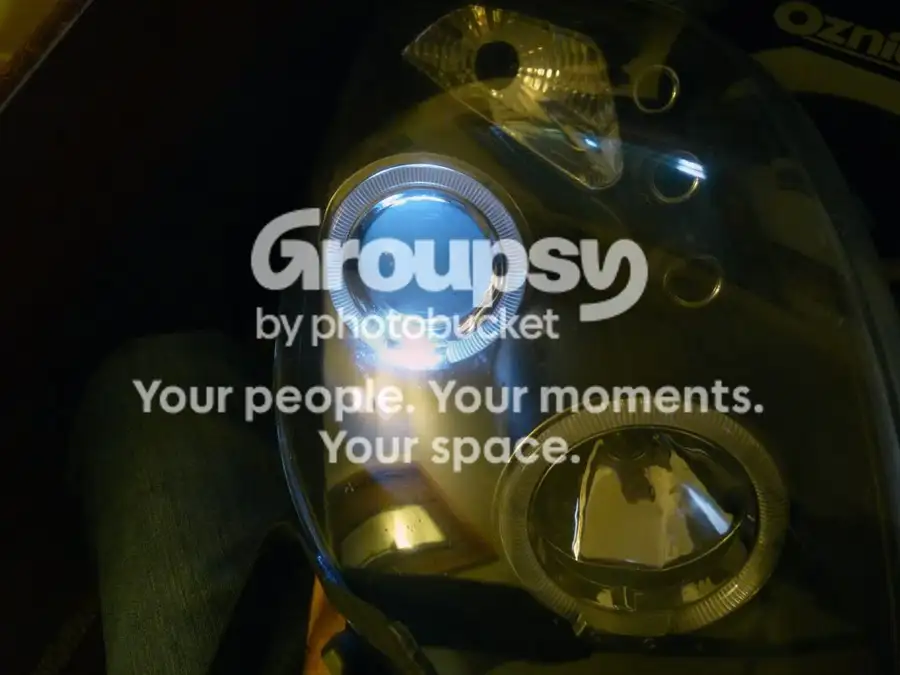
MY LED Flashlight is brighter than what came with it and Im just holding it sorta in the opening....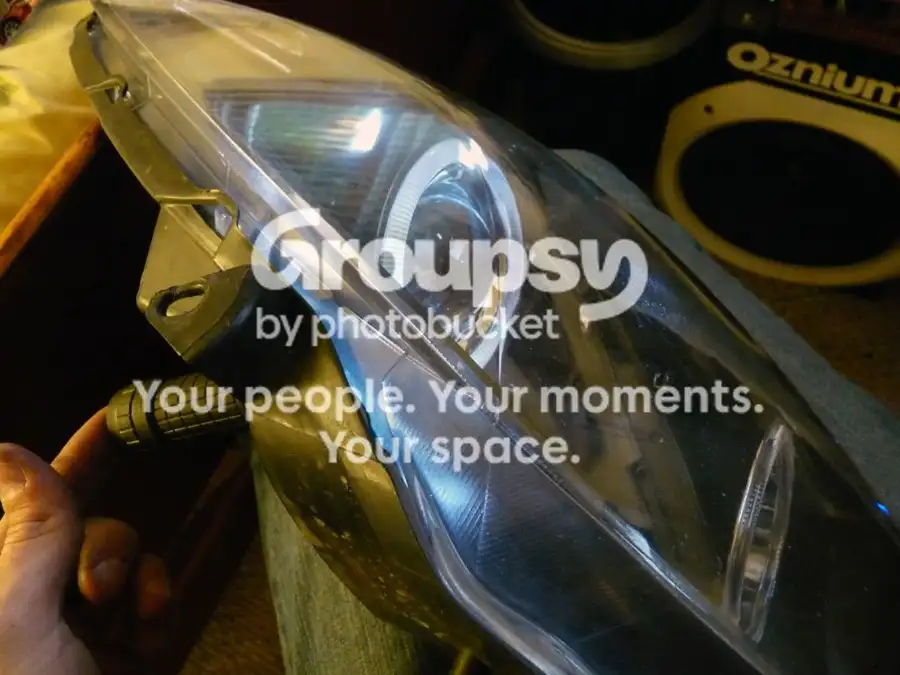
I will also be adding the super legitimate audi style side emitting flexible LED strip.
My main gripes are as follows
- The clearcoat layer is peeling away and looks like crap
- The Halo's are dim and yellow and effectively pointless
- Moisture would clearly get inside and...well that sucks
- I wanted to clean up and hide the wiring
Pro's are
- The angel eye led's are still performing well
- With an HID kit the projectors put out a good amount of light with a nice cutoff
- They look sweet when they are in good condition.
Process:
I went out and got a few things to make this all possible and I also ordered a few things online. This is the laundry list:
- Ribbon Sealer from an Auto Parts Store (to seal EVERY SINGLE HOLE)
- 1500 and 2000 grit sandpaper
- A dedicated Headlight polisher/wax
- 6 Hyperflux Blue LED's & 6 3MM Super Bright Standard LED's from Oznium (just to be sure of fitment)
- Assload of zip ties if you want to be organized
- Basic Tools
I have so far gotten the headlights apart into their 3 respective pieces.
To do this I removed the smallest and probably rusted for you too screw there is near the top of the housing underneath.
Remove the entire stalk of cables and the bulbs...remove it all...everything..good.
I then took the biggest cookie tray i could fit in my oven and covered in it a wet wash cloth and put it in the over at 275 degrees for 3-5 minutes...I would say 4 minutes.
The washcloth will also introduce moisture into the oven so as to keep things from truly burning.
Once i removed the headlight(s) i then took a flat head screw driver and started to go around the ENTIRE perimeter and separate the housing from the lens.
Be very careful and take your time, the glue wont harden all that fast but once you see them starting clearly separate just pull it apart with both hands slowly.
You will then have 2 parts, with the part that has the lens and the other thing there are two small phillips head screw somewhere along the edge, find them and remove them and then remove the piece from inside the lens, you now have 3 pieces.
This is as far as I have gotten and I am waiting to receive my LED's and ill starting polishing the lenses tomorrow.
PICS
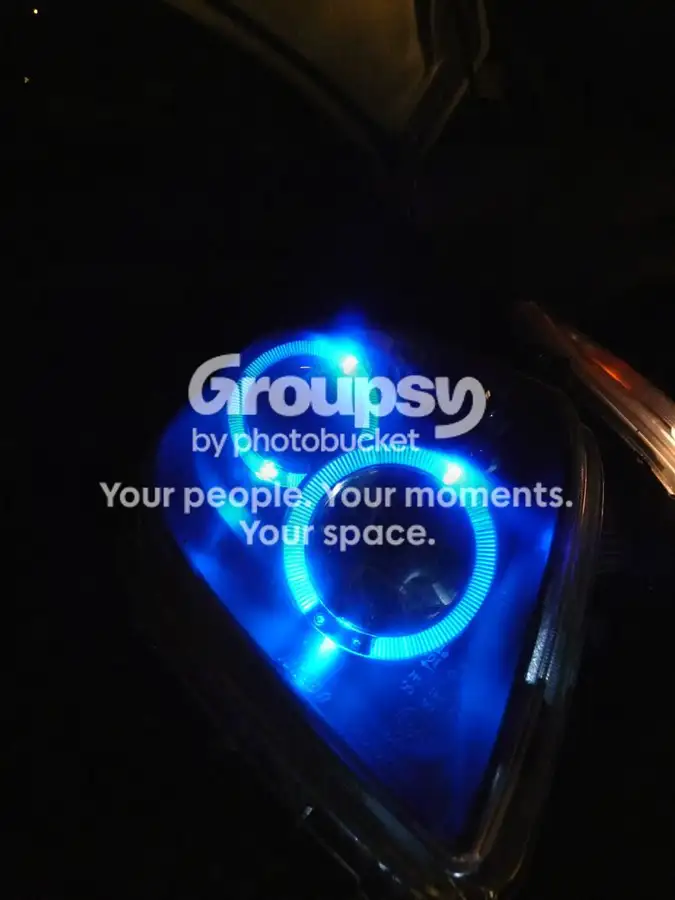
MY LED Flashlight is brighter than what came with it and Im just holding it sorta in the opening....