Yarisworld
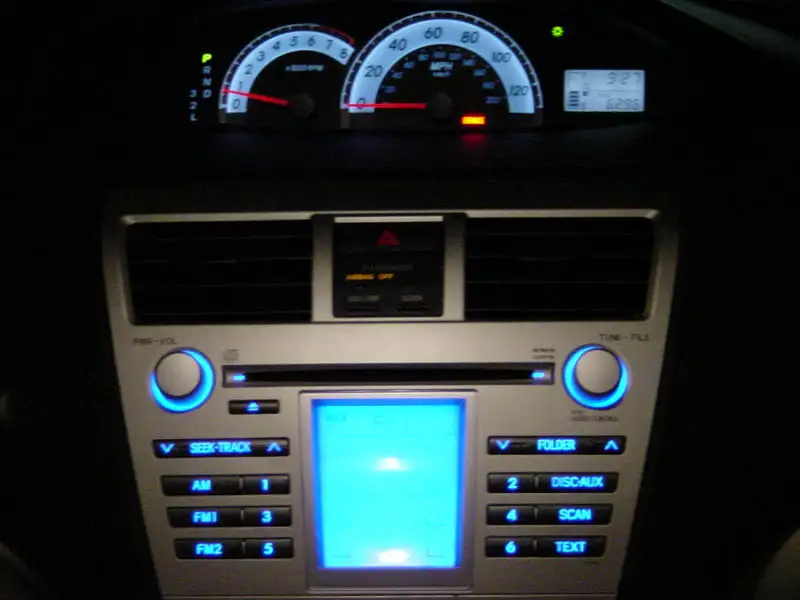
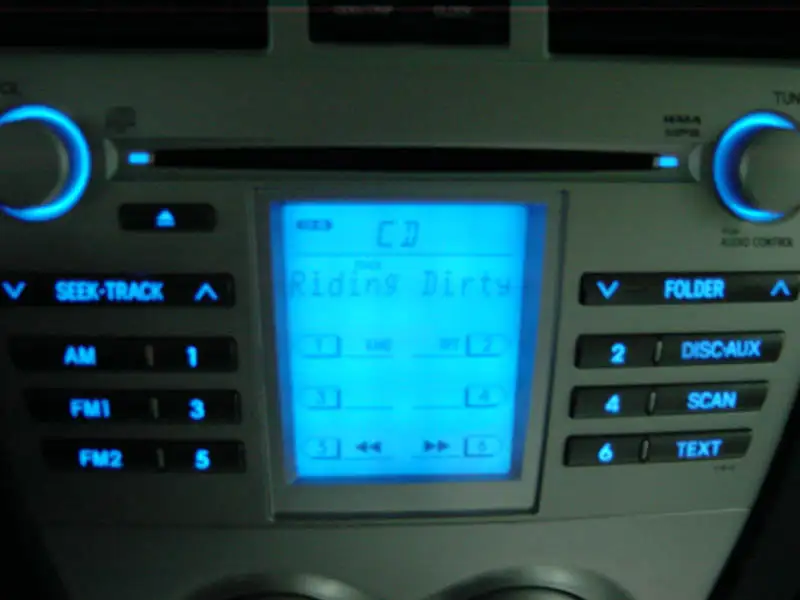
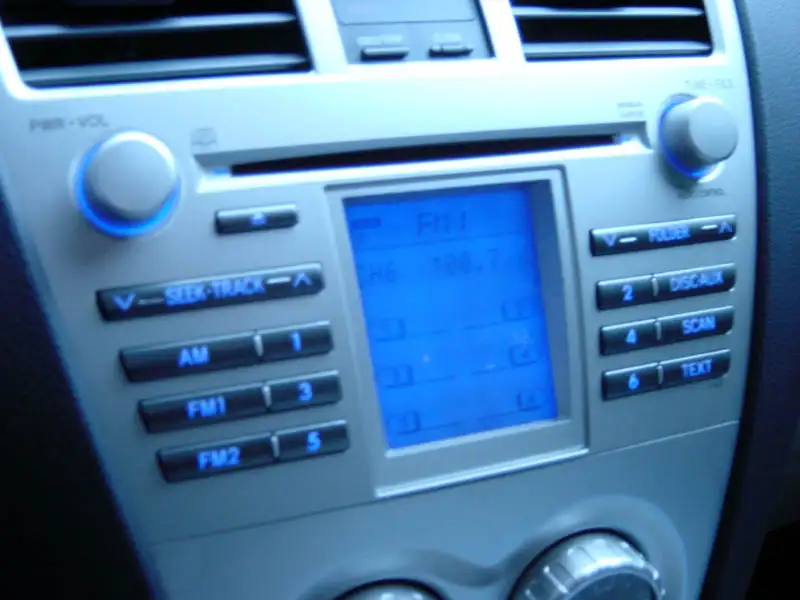
Change LCD/Radio Color
The Goal: Replace the stereo’s nasty 80’s green color with a bitch’n white (or whatever color you want - blue may cause your LCD text to display "dimmer")
Tools Needed:
- Hand’s
- butter knife
- 10mm socket
- soldering iron (with fine tip)
- solder
- small needle nose pliers/tweezers
- masking tape (or some sort of removable marker)
- 70 New LEDs (I went white for all but on each of the CD slot, which I went blue; also the closer count needed is around 64-68)
*** I ordered these White LEDS - http://www.eled.com/product.asp?cata...EPT2012RWF%2DA
*** I ordered these Blue LEDs - http://www.eled.com/product.asp?cata...=EP2012PBC%2DA
The Guide:
1. Remove bottom of center console (pull from side)
Picture lost · kgillette.googlepages.com
Picture lost · kgillette.googlepages.com
2. Remove “side skirts”; pull from bottom to the top
Picture lost · kgillette.googlepages.comPicture lost · kgillette.googlepages.com
Picture lost · kgillette.googlepages.com
3. Remove gauge “shell,” pull out
Picture lost · kgillette.googlepages.com
4. Remove 4 screws holding in stereo (10mm socket)
Picture lost · kgillette.googlepages.com
5. Remove “warning/seatbelt” wiring; pinch and pull
Picture lost · kgillette.googlepages.com
Picture lost · kgillette.googlepages.com
6. Pull stereo out; pinch and pull all wires going into back of stereo (antenna not shown)
Picture lost · kgillette.googlepages.com[
7. Bring the stereo inside to where ever you are going to work on it, make sure to choose a place free of static; or atleast be sure to ground yourself (I choose my coffee table; prob not the best place :-)) and start the disassembly. Use a butter knife to “pop” the 6 tabs (goes all around the stereo;4 in front: 2 in back)
Picture lost · kgillette.googlepages.comPicture lost · kgillette.googlepages.com
(place stereo aside; as it’s the “board” the has the LCD and radio button LED’s)
Picture lost · kgillette.googlepages.com
8. Remove screws holding the board to the plastic front of the stereo
Picture lost · kgillette.googlepages.com
9. Remove the board from the plastic housing
Picture lost · kgillette.googlepages.com
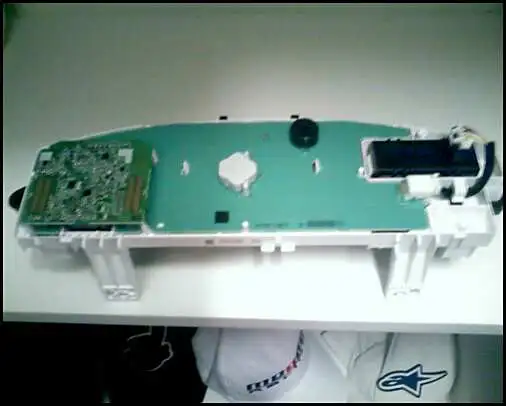
10. Put a piece of masking tape at the top of the LCD, then flip the board over and straighten the “pegs” holding down the LCD to the board with pliers.
Picture lost · kgillette.googlepages.com
Picture lost · kgillette.googlepages.com
Remove the LCD housing, taking note to make sure you mark every piece at the top (sorry no pics), also remove stereo knobs (mark one of the knobs, they only fit one way)
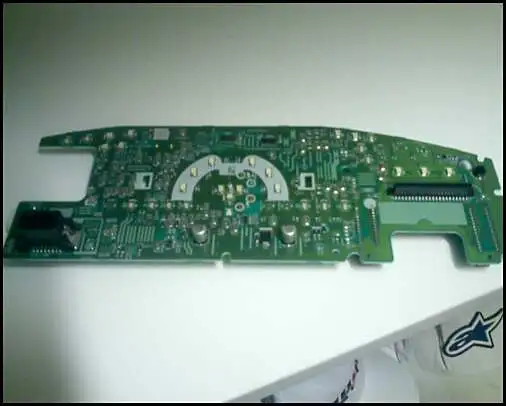
11. Un-solder the LEDs (I did a combo of un-soldering the correct way, and simply heating up the whole LED and having it “break apart”) I would google “how to un-soldering
Picture lost · kgillette.googlepages.com
12. This next step is what took me the longest, but is really not that hard. Time to solder the new LEDs on. On the bottom of the LEDs I ordered (eled.com) there is an arrow, point that towards the opening of the half box (see pic) and solder the new one on, you may need to add a dab of solder on the new LED (as the connection point is at the top of the LED, not the bottom)
Picture lost · kgillette.googlepages.com
(I used small pliers to place the new LEDs)
13. Put everything back together the way you took apart, put there stereo back in the car.
edit: when you are putting the LCD "bracket" (last part of step 10) back on the make sure that you bend the "pegs" make enough to make a good connection with the board or else the LCD wont display right (to fix this if it happens all you have to do it open everything back up and simply bend the peg (the one near the "nonworking" section of the screen) in a little more.
Picture lost · kgillette.googlepages.com
I hope this helps those looking for a solution to the soylent green color of the stock stereo.
happy modding 👍
(this was my 500th post )
The Goal: Replace the stereo’s nasty 80’s green color with a bitch’n white (or whatever color you want - blue may cause your LCD text to display "dimmer")
Tools Needed:
- Hand’s
- butter knife
- 10mm socket
- soldering iron (with fine tip)
- solder
- small needle nose pliers/tweezers
- masking tape (or some sort of removable marker)
- 70 New LEDs (I went white for all but on each of the CD slot, which I went blue; also the closer count needed is around 64-68)
*** I ordered these White LEDS - http://www.eled.com/product.asp?cata...EPT2012RWF%2DA
*** I ordered these Blue LEDs - http://www.eled.com/product.asp?cata...=EP2012PBC%2DA
The Guide:
1. Remove bottom of center console (pull from side)
Picture lost · kgillette.googlepages.com
Picture lost · kgillette.googlepages.com
2. Remove “side skirts”; pull from bottom to the top
Picture lost · kgillette.googlepages.comPicture lost · kgillette.googlepages.com
Picture lost · kgillette.googlepages.com
3. Remove gauge “shell,” pull out
Picture lost · kgillette.googlepages.com
4. Remove 4 screws holding in stereo (10mm socket)
Picture lost · kgillette.googlepages.com
5. Remove “warning/seatbelt” wiring; pinch and pull
Picture lost · kgillette.googlepages.com
Picture lost · kgillette.googlepages.com
6. Pull stereo out; pinch and pull all wires going into back of stereo (antenna not shown)
Picture lost · kgillette.googlepages.com[
7. Bring the stereo inside to where ever you are going to work on it, make sure to choose a place free of static; or atleast be sure to ground yourself (I choose my coffee table; prob not the best place :-)) and start the disassembly. Use a butter knife to “pop” the 6 tabs (goes all around the stereo;4 in front: 2 in back)
Picture lost · kgillette.googlepages.comPicture lost · kgillette.googlepages.com
(place stereo aside; as it’s the “board” the has the LCD and radio button LED’s)
Picture lost · kgillette.googlepages.com
8. Remove screws holding the board to the plastic front of the stereo
Picture lost · kgillette.googlepages.com
9. Remove the board from the plastic housing
Picture lost · kgillette.googlepages.com
10. Put a piece of masking tape at the top of the LCD, then flip the board over and straighten the “pegs” holding down the LCD to the board with pliers.
Picture lost · kgillette.googlepages.com
Picture lost · kgillette.googlepages.com
Remove the LCD housing, taking note to make sure you mark every piece at the top (sorry no pics), also remove stereo knobs (mark one of the knobs, they only fit one way)
11. Un-solder the LEDs (I did a combo of un-soldering the correct way, and simply heating up the whole LED and having it “break apart”) I would google “how to un-soldering
Picture lost · kgillette.googlepages.com
12. This next step is what took me the longest, but is really not that hard. Time to solder the new LEDs on. On the bottom of the LEDs I ordered (eled.com) there is an arrow, point that towards the opening of the half box (see pic) and solder the new one on, you may need to add a dab of solder on the new LED (as the connection point is at the top of the LED, not the bottom)
Picture lost · kgillette.googlepages.com
(I used small pliers to place the new LEDs)
13. Put everything back together the way you took apart, put there stereo back in the car.
edit: when you are putting the LCD "bracket" (last part of step 10) back on the make sure that you bend the "pegs" make enough to make a good connection with the board or else the LCD wont display right (to fix this if it happens all you have to do it open everything back up and simply bend the peg (the one near the "nonworking" section of the screen) in a little more.
Picture lost · kgillette.googlepages.com
I hope this helps those looking for a solution to the soylent green color of the stock stereo.
happy modding 👍
(this was my 500th post )