 Yarisworld
I looked and didn't see this already on the list of DIYs, so I thought I would add it!
When you get the cargo net, it comes with instructions that makes it seem WAY more difficult than it has to be (taking out tool compartments by the spare, unscrewing/unbolting more things than necessary, etc). Which is the main reason I wanted to post pictures to show how easy it can be done. After installing cargo nets on both my hatchback and my mom's, it really takes only about 5-10 min max for actual install time.
Step 1
Gather the tools you need and the cargo net.
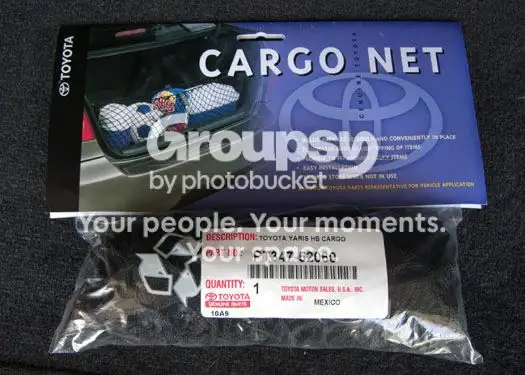

For the tools, I used:
Template (from packaged instructions) & tape
A center punch/hammer combination just to start a spot for drilling
Drill and a 15/64" or 1/4" drill bit (I used the 15/64")
Phillips screwdriver (I used my electric one to make things go that much faster)
Long screwdriver for prying up the panel
Step 2
Tape templates to side panels.
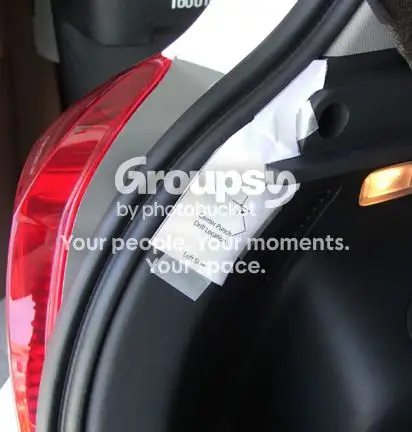

Step 3
Center punch (optional - to ensure accuracy) & Drill! Repeat for both sides.
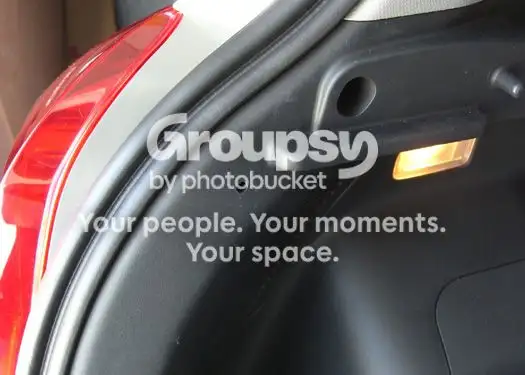
Step 4
Remove the phillips head screw from the side panel, next to where you drilled. Repeat for both sides.
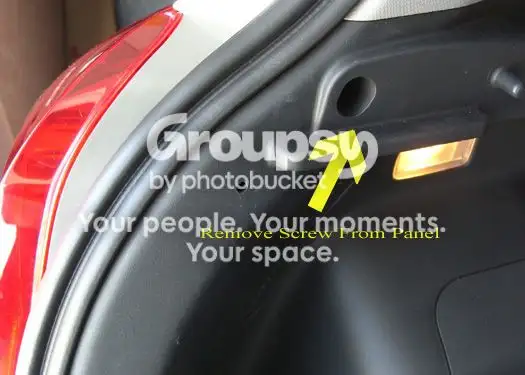
Step 5
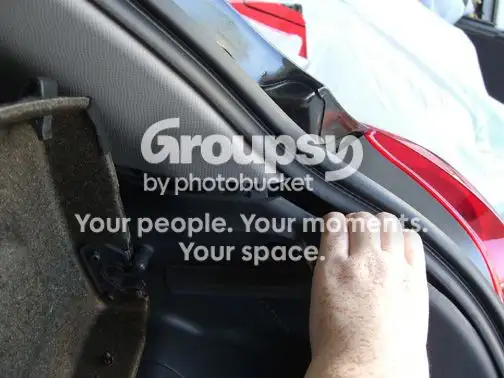
Take the screw/hook that came with the net and install screw portion behind panel. This requires using the long flat head screwdriver to pry the side panel to where you can pull it enough to get your fingers behind (with the screw). Be careful not to drop the screw!!



Step 6
Screw on hook component to screw. Be sure to keep pressure on the back of the screw as you do this, to make sure it's on tight. Repeat steps 5 & 6 for both sides.
Step 7
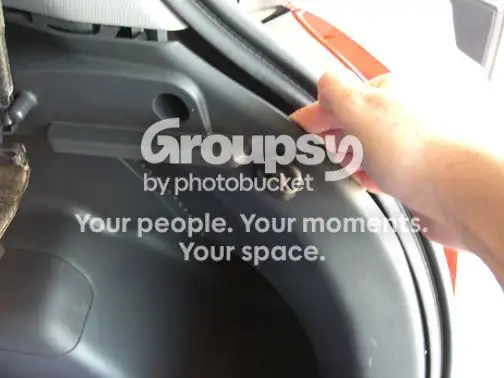
Push/snap side panel back in place. Screw in phillips head screw that you removed in step 4.
Step 8
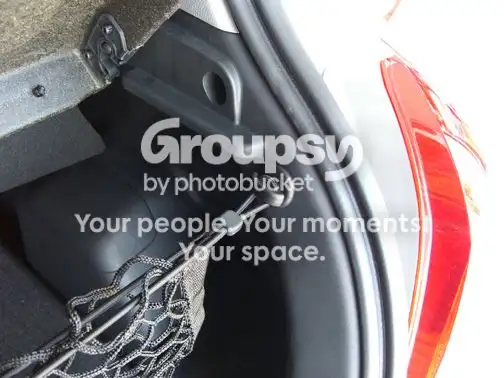
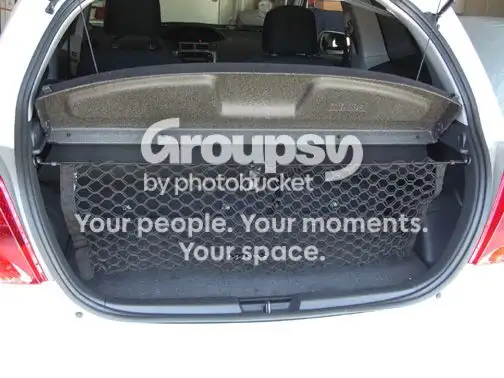
Put cargo net on hooks!
When you get the cargo net, it comes with instructions that makes it seem WAY more difficult than it has to be (taking out tool compartments by the spare, unscrewing/unbolting more things than necessary, etc). Which is the main reason I wanted to post pictures to show how easy it can be done. After installing cargo nets on both my hatchback and my mom's, it really takes only about 5-10 min max for actual install time.
Step 1
Gather the tools you need and the cargo net.
For the tools, I used:
Template (from packaged instructions) & tape
A center punch/hammer combination just to start a spot for drilling
Drill and a 15/64" or 1/4" drill bit (I used the 15/64")
Phillips screwdriver (I used my electric one to make things go that much faster)
Long screwdriver for prying up the panel
Step 2
Tape templates to side panels.
Step 3
Center punch (optional - to ensure accuracy) & Drill! Repeat for both sides.
Step 4
Remove the phillips head screw from the side panel, next to where you drilled. Repeat for both sides.
Step 5
Take the screw/hook that came with the net and install screw portion behind panel. This requires using the long flat head screwdriver to pry the side panel to where you can pull it enough to get your fingers behind (with the screw). Be careful not to drop the screw!!
Step 6
Screw on hook component to screw. Be sure to keep pressure on the back of the screw as you do this, to make sure it's on tight. Repeat steps 5 & 6 for both sides.
Step 7
Push/snap side panel back in place. Screw in phillips head screw that you removed in step 4.
Step 8
Put cargo net on hooks!