Yarisworld Archive

How To Smoked Sedan Headlight -DIY

26 posts · 57,022 views

zulhizainL902SOriginal postKuala Lumpur Malaysia · Feb 3, 2009#1
GUys,

I believe i already post this before, but seems our forums has been hacked..then it was gone. I post it again for your viewing pleasure..hehe

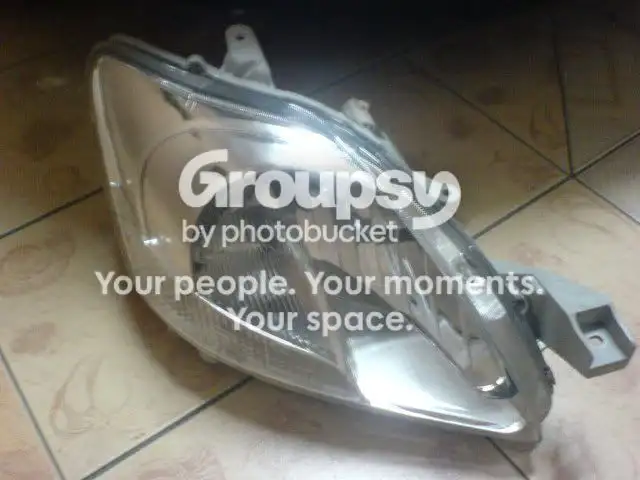
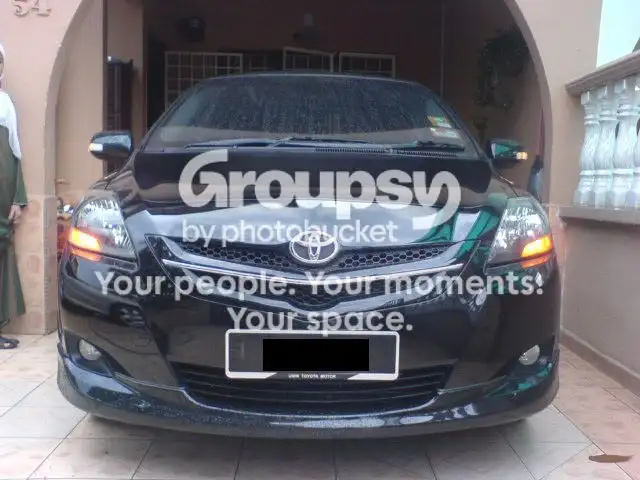
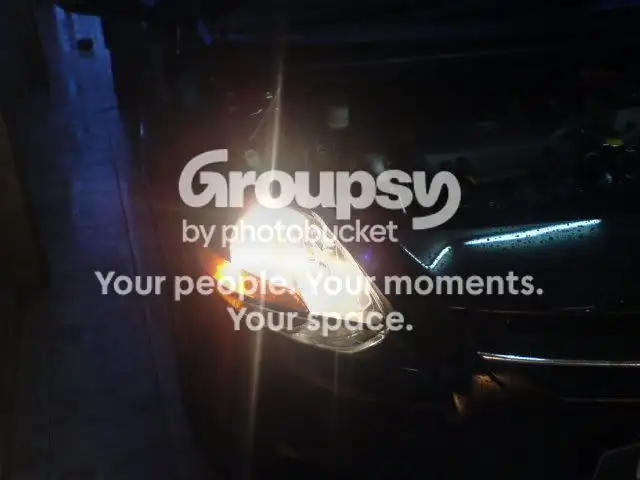
Pic Before
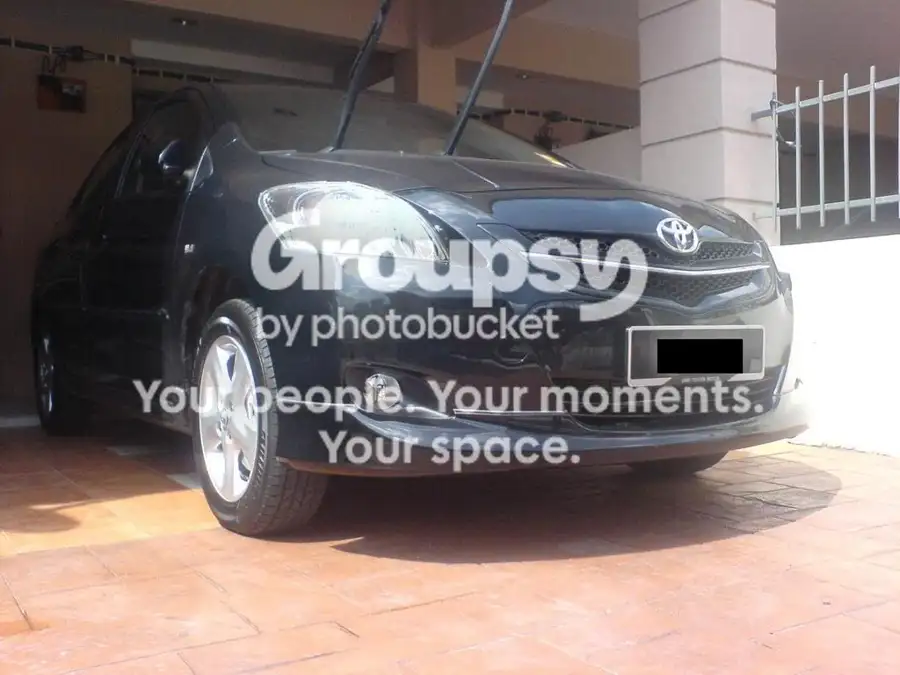


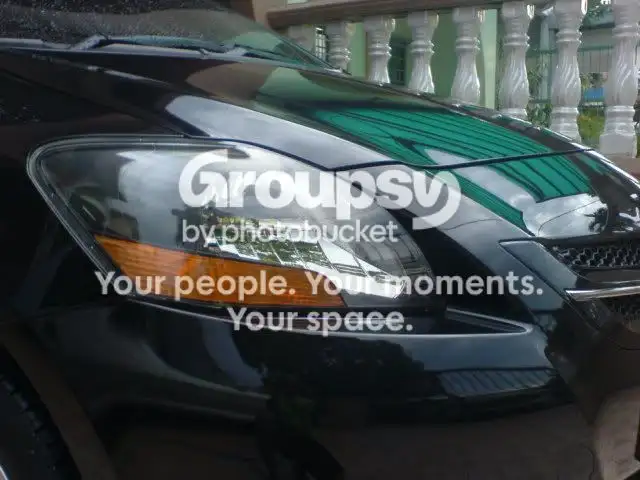
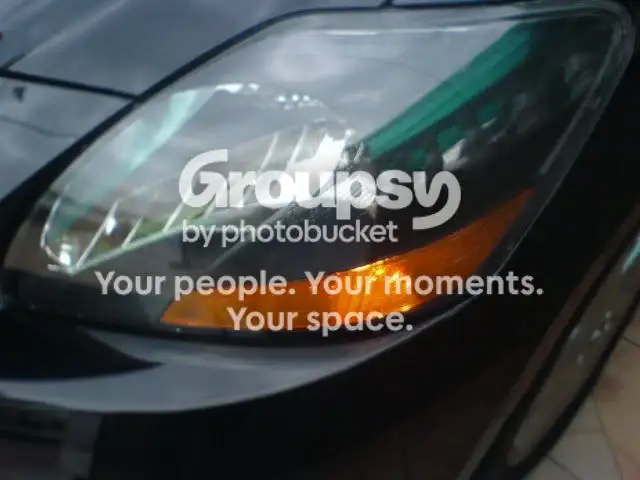
Pic After
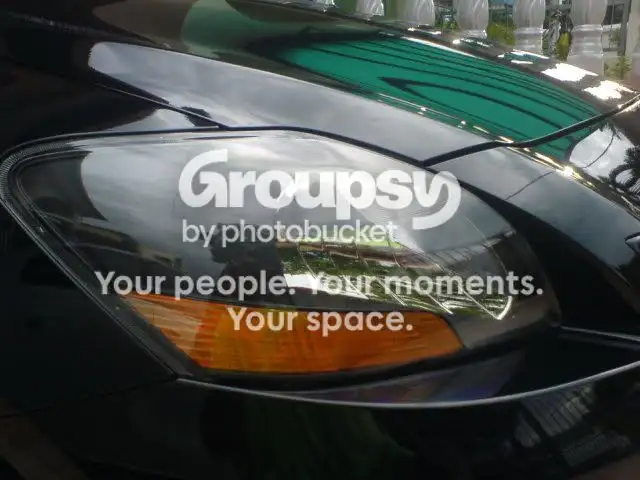


Tools Needed


1. ABRO High Temp Flat Black - RM17.90
2. High Temp Clear Sealant - RM6.00
3. Orange Sticker - RM8.00
4. Hair Dryer
5. 10mm Socket Spanner
6. Philips Screwdriver
7. Scissors
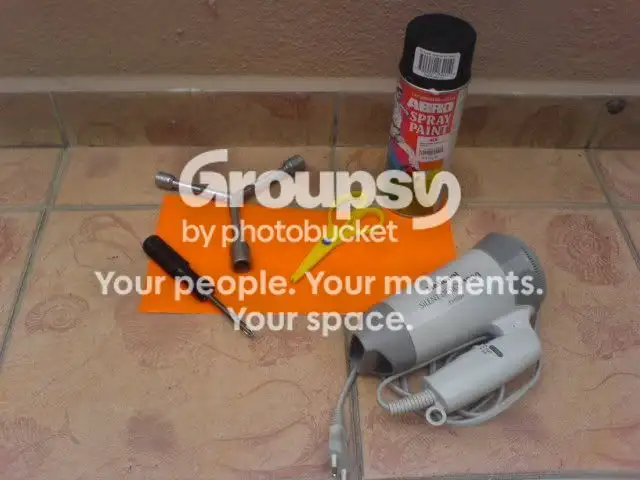
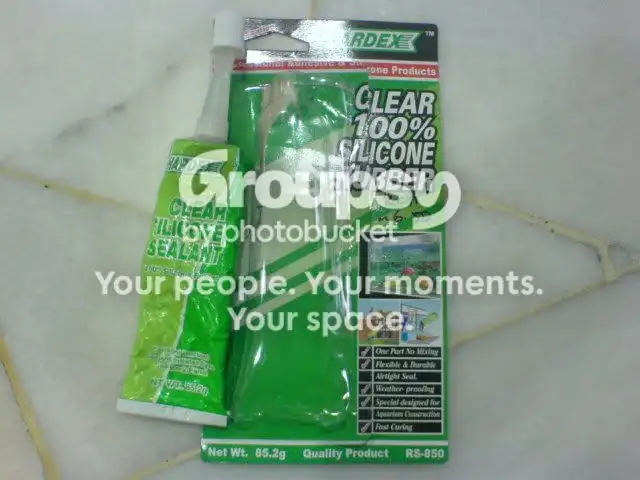


And The Process Begin..

Firstly, we have to unscrew 6 bolts below bumper and 6 clips on top of grill.
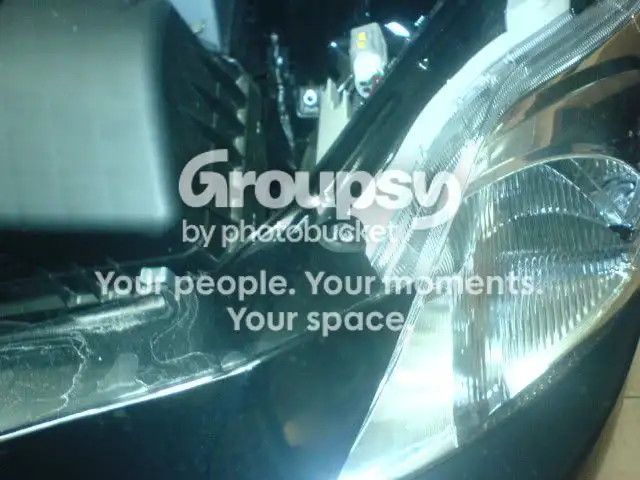

The clips.
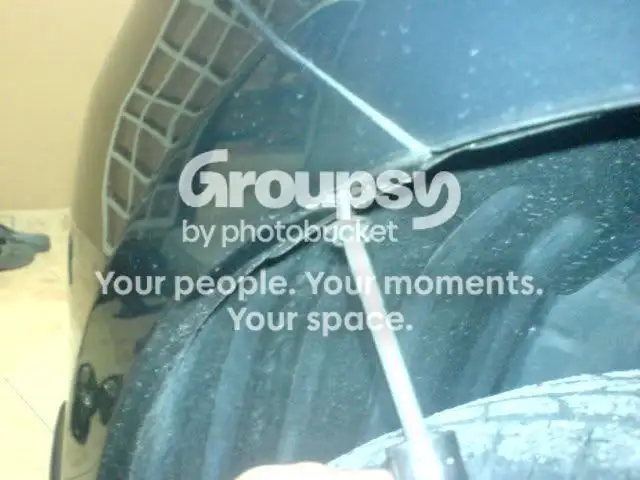

Unscrew this bolts.

Then u have to take out the bumper a bit.


more than enough..

Then, unscrew the headlight screw (3). Then u should able to take out the headlight easily.
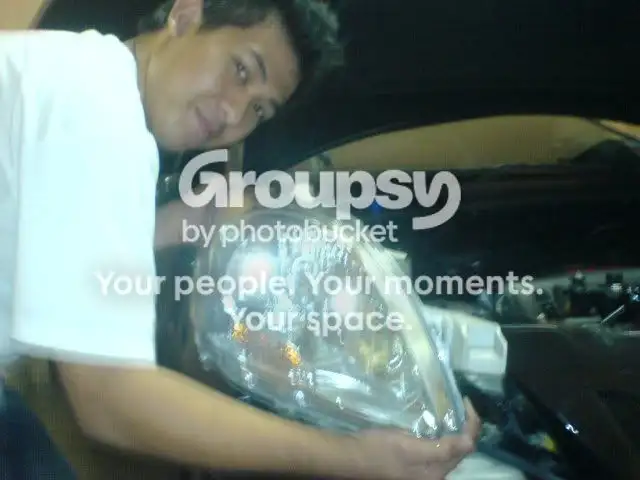

Lucky my brother able to help me a bit.
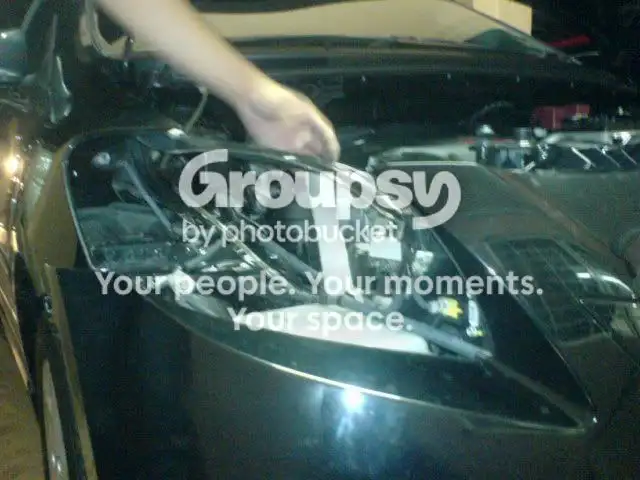


there u go..

meanwhile..
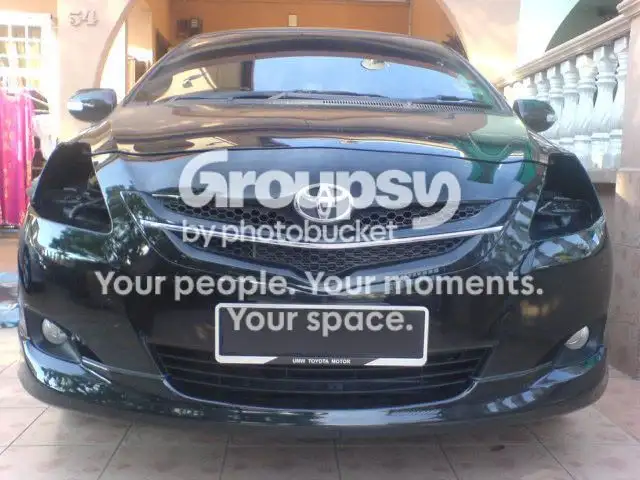


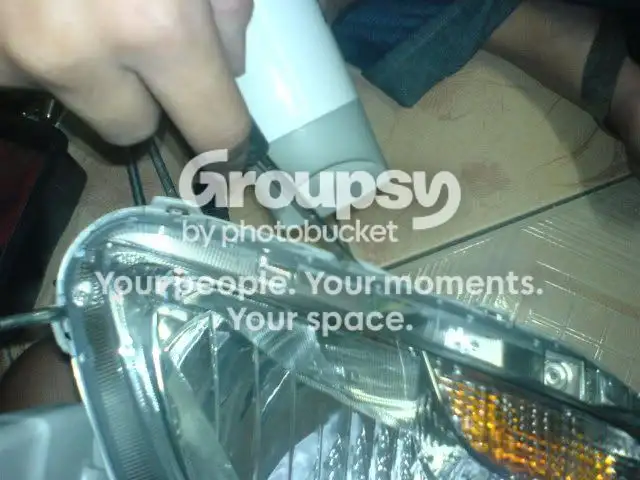
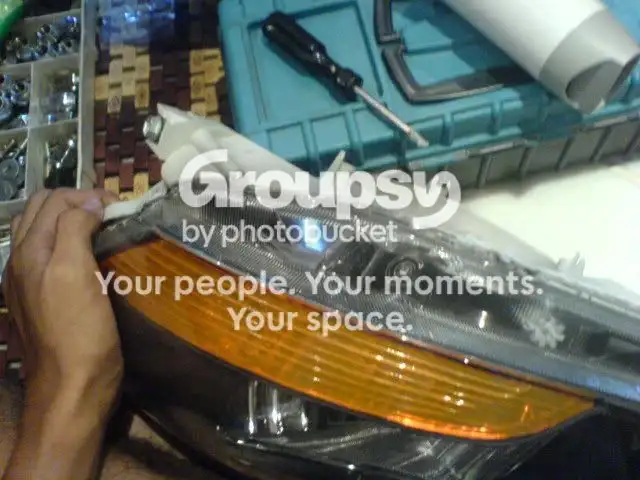
Then, use Hair Dryer to heat up the headlight original glue/sealant.
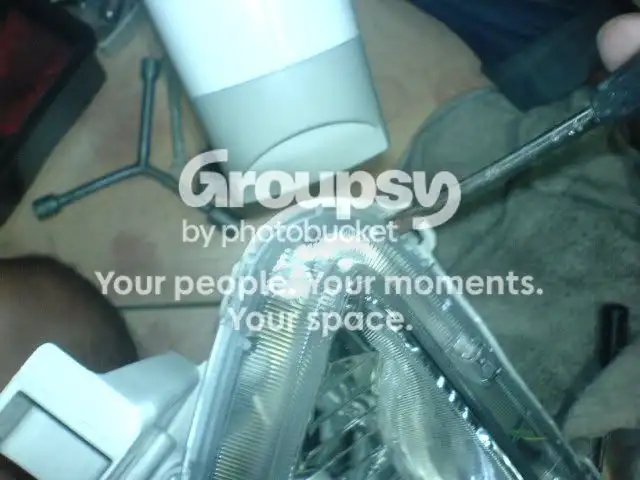


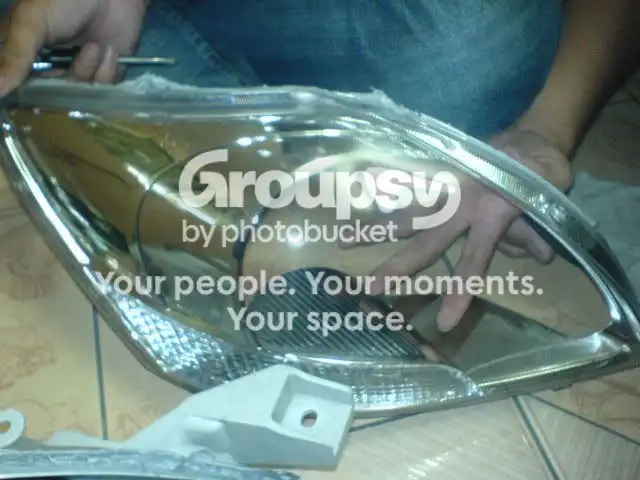
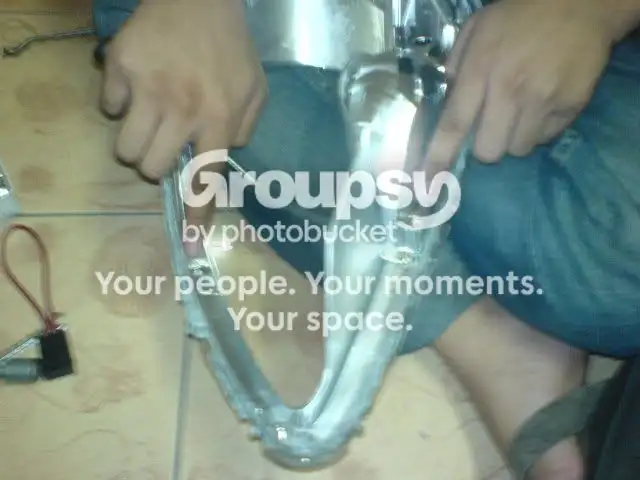
Then carefully take out the housing. Macam kupas durian da..
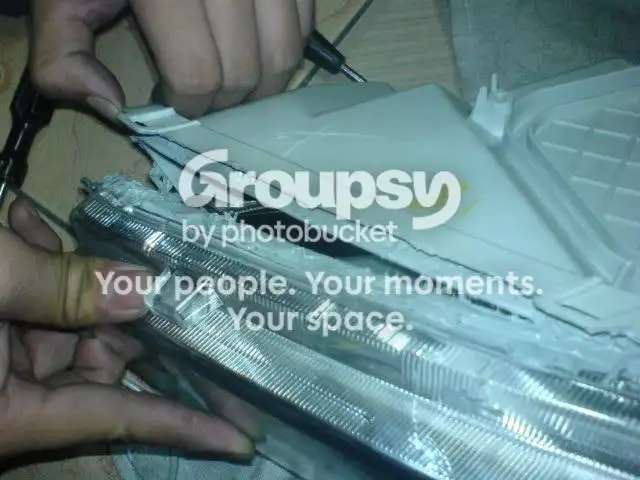


Remember to take out those two bulbs also.
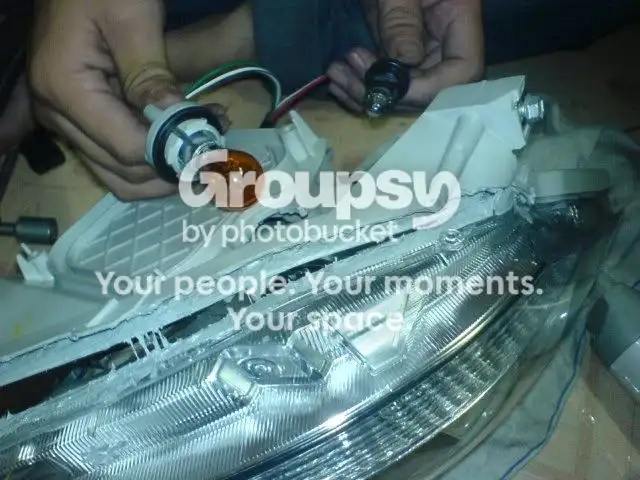


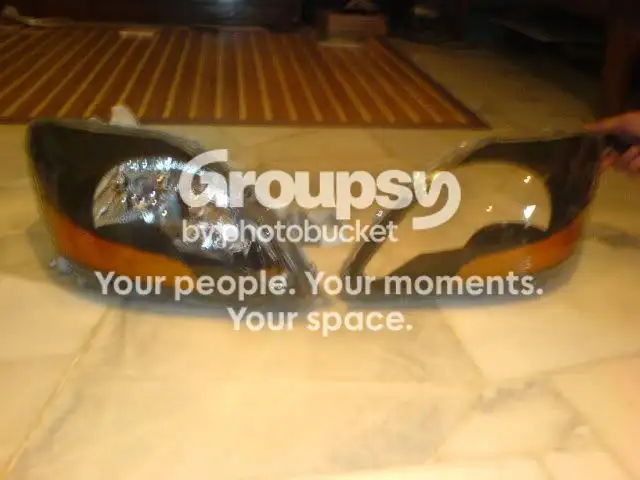
Headlight has been dismantled..
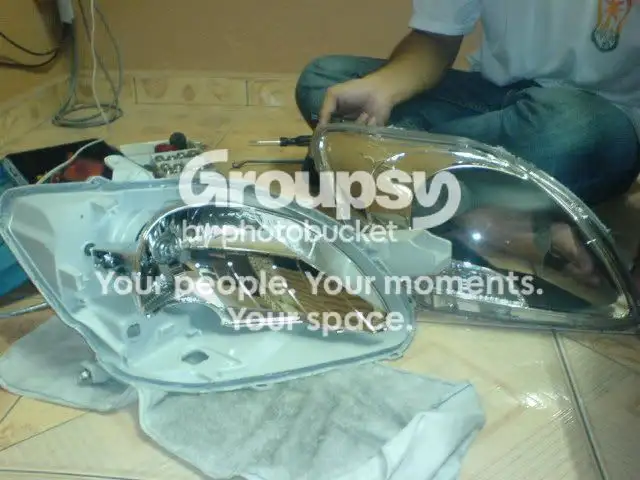


Then, gently remove those 3 tiny scre at the back of the headlight cover.
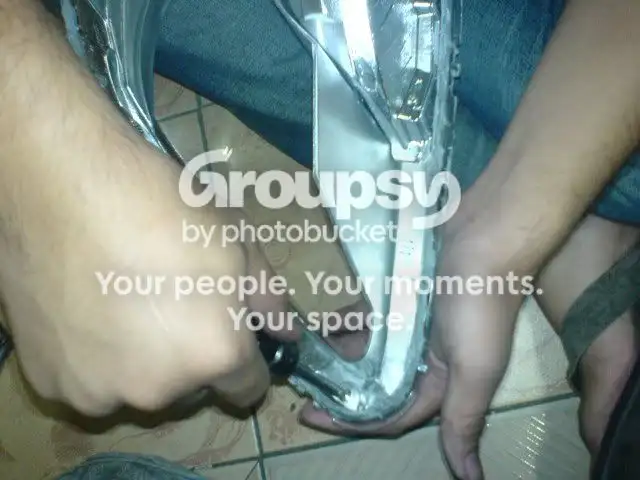


Tadaaaaaa...
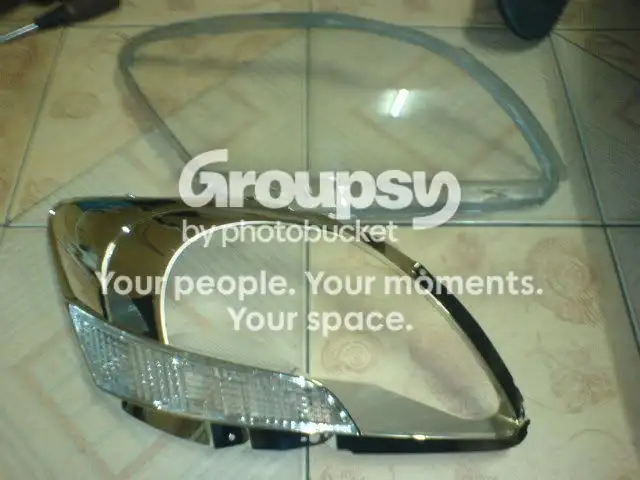

take off everything..
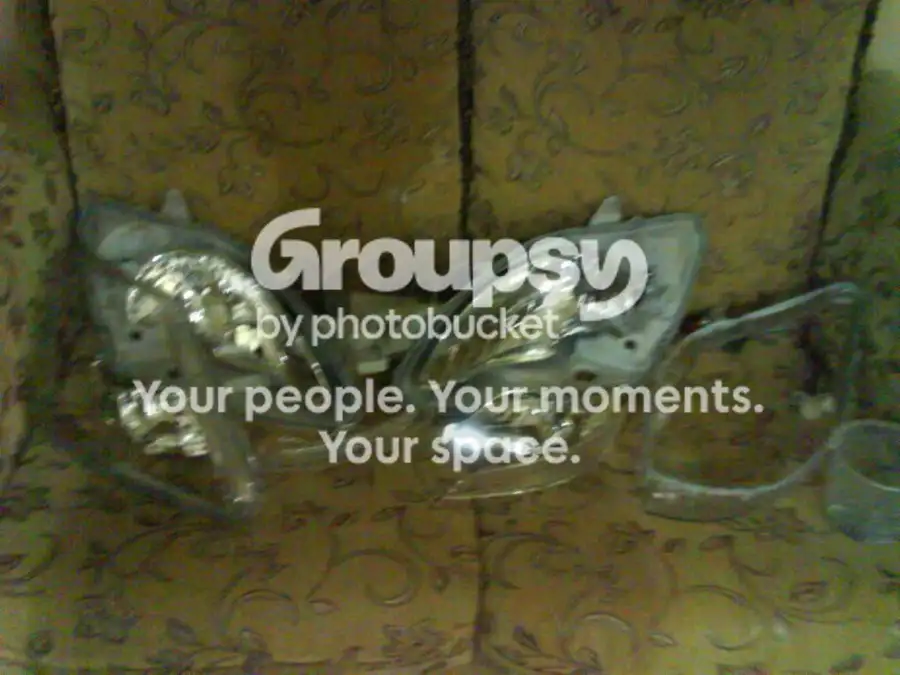

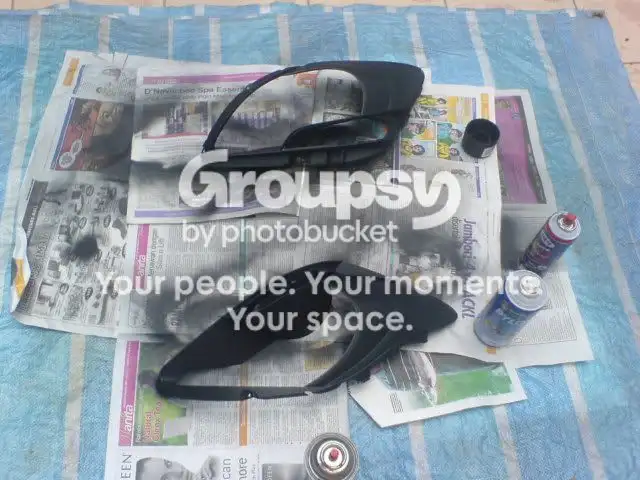
Now the spraying process.



can u spot the differences..
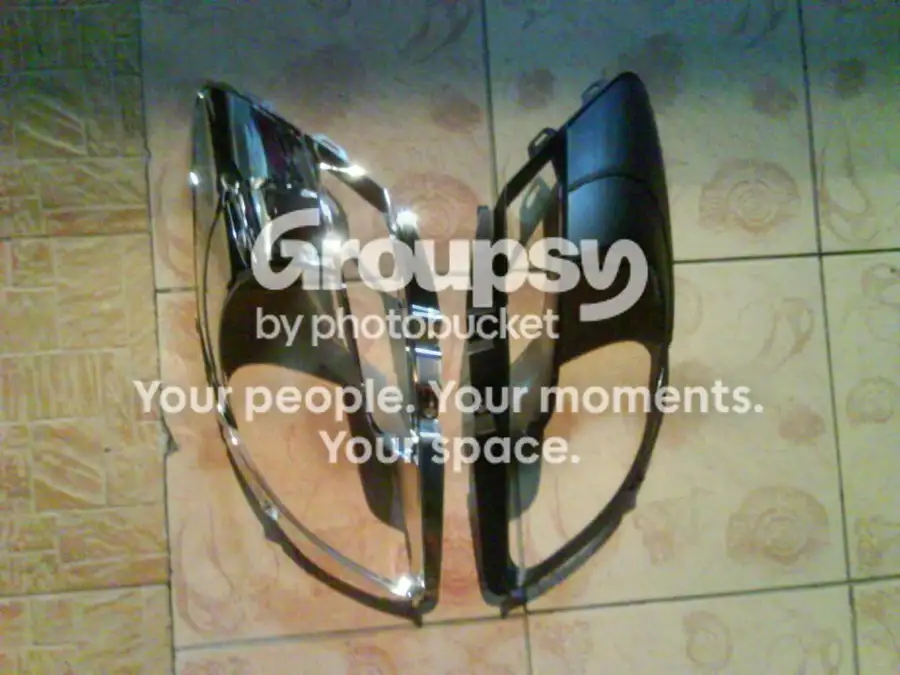


now..leave the paint to dry, go get the sticker. after done doing some outline drawing, cut the sticker...
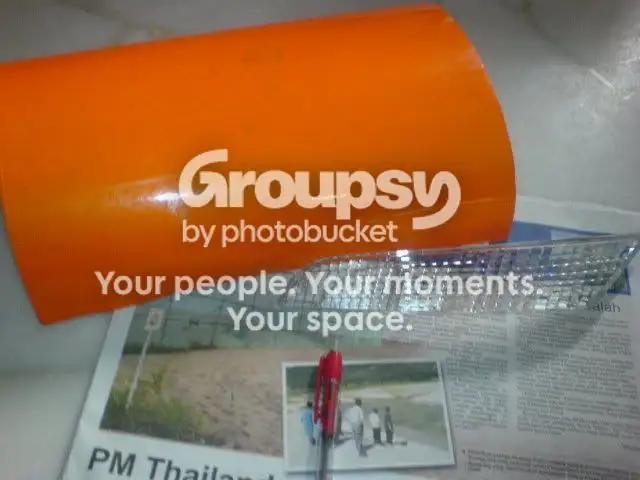




then just fix the sticker at the lens cover. sorry no pics for this part!

Then, go back to the headlight cover. fix it back to the headlight unit, i make it 4 layer.
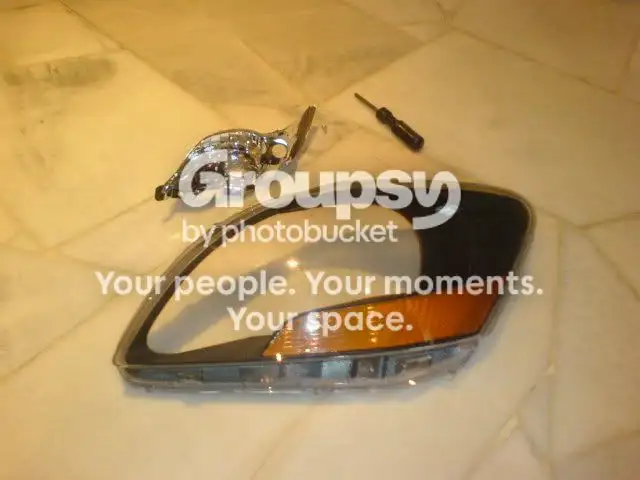


Heat the sealant back in order to fix the headlight unit. once again, hair dryer please..
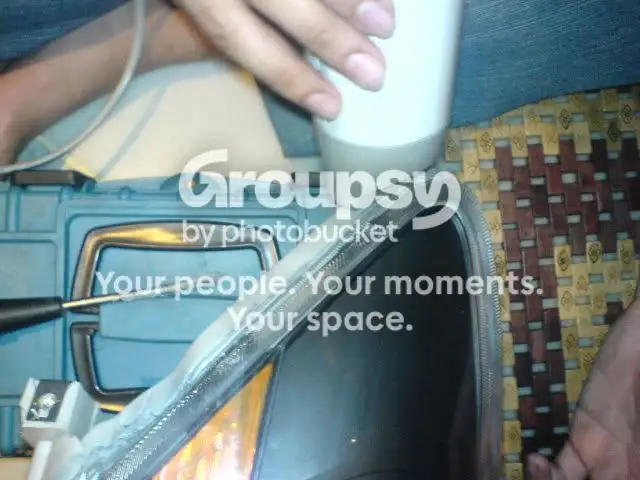


Using sealant to make it seal properly. and leave it to dry for about 15 minutes time.
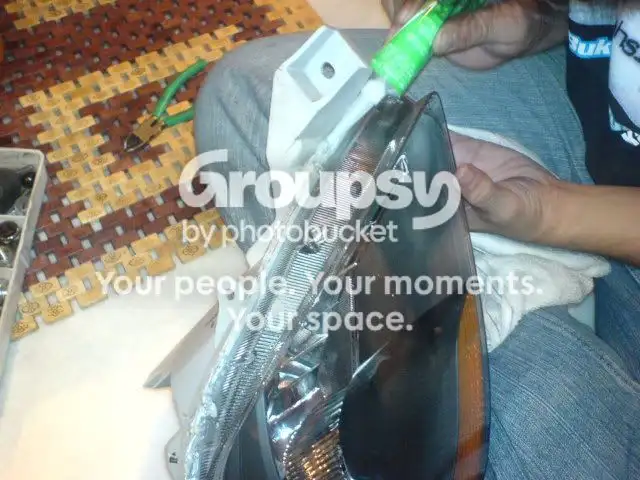


now..attached the headlight unit back to its original place..there you go.
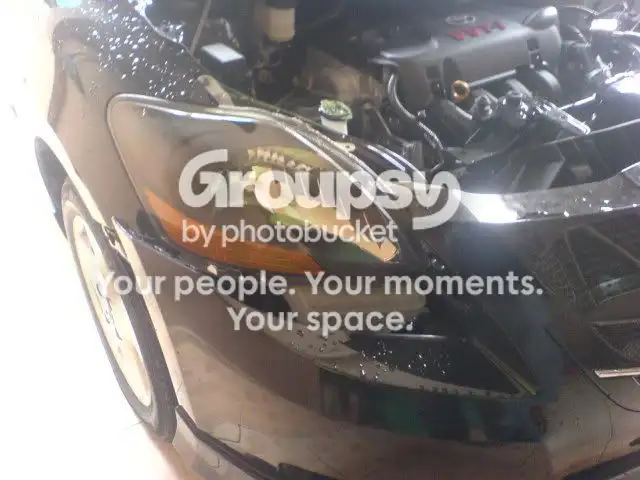


remember to fix all the screw, bolts and clips...then walllllaaaaaa..


Replies 25

yarisugiハワイ · Feb 3, 2009#2
Great DIY! It looks very clean and professionally done.
It's funny how USA wants all-clear headlights while Asian countries prefer headlights with amber signals.
shreifegypt · Feb 5, 2009#3
Great work :D i love the turn signals :D
PETERPOOPOahu · Feb 5, 2009#4
Originally Posted by yarisugi ↑
Great DIY! It looks very clean and professionally done.
It's funny how USA wants all-clear headlights while Asian countries prefer headlights with amber signals.
nice DIY. Most everyone puts the headlights in the oven. Never seen anyone do it with just holding a hairdryer at every section and then prying. I guess that IS safer.

And it's so true about the americans wanting no amber turn signal markers!! I hate mine. I can't believe you put one in yours! hahah, oh wells Good job 👏
eTiMaGoBangkok, Thailand · Feb 5, 2009#5
everybody wants what they don't have 😉

Very nice DIY, thanks!

Peter, about the oven, not very many houses in this part of the world actually have one... It's just not really used in asian cooking... I doubt you could wok the headlights 😆
YarisSedanCalifornia - Bay Area · Feb 5, 2009#6
Dang i was planning on doing this eventually thanks for the in depth diy glad to see its simpler than i expected. I guess i will do this when i have to remove my bumper to install my grill.
ddongbaphay · Feb 5, 2009#7
Dope work bro, but this is black housing, not smoking a headlight.

Bad example, but this is a smoked headlight.

Picture lost · www.ultimateautoaccessories.com
BLAZINBLUEVITZNEW YORK · Feb 5, 2009#8
Originally Posted by yarisugi ↑
Great DIY! It looks very clean and professionally done.
It's funny how USA wants all-clear headlights while Asian countries prefer headlights with amber signals.
know of any friends who want to trade liftback headlights with me???
MUSKOKA800Chatham, Ontario, Canada · Feb 5, 2009#9
Originally Posted by PETERPOOP ↑
nice DIY. Most everyone puts the headlights in the oven.

What oven temp. can they tolerate?
yarisugiハワイ · Feb 5, 2009#10
Usually about 200 degress F for 1- 1.5 minutes. Too long and it will melt and get too hot to handle.
If you put it in the oven, don't forget to place a piece of wood in the middle to support it so the ends don't touch the oven rack.
I once made that mistake of just laying it directly on the rack... I think the hair dryer/ heat gun might be a good approach.

Either way, it's difficult to initially pry it open, but once you have a good gap, it's not so bad.
darkmoon87Vancouver, BC · Feb 6, 2009#11
I did the same thing, but mine is white housing..lol
manbornbergen county, nj, us · Mar 18, 2009#12
i think the orange is hot but is blacking out of the housing improve light projection for let's say an HID upgrade? or is it purely for cosmetic/looks?

don't get me wrong, they look beautiful afterwards- very tempting specially if the change has any lighting improvement
SilverBackEl Monte, Ca · Mar 18, 2009#13
He only painted the shell of the housing and not the inner reflective cone, so light projection wouldn't be effected😉
manbornbergen county, nj, us · Mar 18, 2009#14
still tempting, damn. they're a nice job
cali yarisCanoga Park, CA · Mar 18, 2009#15
awesome DIY -- 300% improvement
falkor_99OC · Mar 18, 2009#16
i love it...i want to leave work right now and do that to my car!!
manbornbergen county, nj, us · Mar 18, 2009#17
Originally Posted by falkor_99 ↑
i love it...i want to leave work right now and do that to my car!!
nice, count me in
nisyotaOrlando, USA · Mar 19, 2009#18
GREAT WRITE-UP

subscribing for future referance... THANX :D
Kaotic LazagnaCentral Valley, CA · Mar 22, 2009#19
I used this guide, but I baked my headlights in the oven for 255 degrees for 8 minute intervals.
manbornbergen county, nj, us · Mar 22, 2009#20
Originally Posted by dikanst ↑
lol, like taking apart a durian. I guess only malays and indos will get that joke.
filipinos too, but im leaning towards scalping a coconut more - no?
ArkhangelPuerto Rico · Mar 23, 2009#21
About the high temp paint, is it a must?
Or will any plain paint do?

Nice Job, its on my list of to do :D
ArkhangelPuerto Rico · Mar 24, 2009#22
^??
Kaotic LazagnaCentral Valley, CA · Mar 25, 2009#23
Originally Posted by Arkhangel ↑
About the high temp paint, is it a must?
Or will any plain paint do?

Nice Job, its on my list of to do :D
I would, as I did. You don't want the paint to start flaking/cracking. It's only like 4 bucks for a can, and that's more than enough. In fact, I even refinished my grill.
ArkhangelPuerto Rico · Mar 28, 2009#24
Originally Posted by Kaotic Lazagna ↑
I would, as I did. You don't want the paint to start flaking/cracking. It's only like 4 bucks for a can, and that's more than enough. In fact, I even refinished my grill.
Thanx was just wondering, had some flat spray paint laying around
NorkotikEl Monte CA · Mar 29, 2009#25
damn i really wanna do that to mine
crolandizTrujillo, Peru · Jan 14, 2011#26
Hi, I opened my headlights, paint and install the projectors. After 3 weeks, water or condensation appeared in the left headlight, remove the headlight for two days I let it dry and apparently went all the moisture so I went back to put silicone around.
Wash the car today morning and in evening note that the two headlights had moisture in and also the left angel eye is not starting.
What do you recommend or suggest? How can I solve this problem and prevent the more moisture?

Thank you.