 Yarisworld
Not yet. I hope to have a pair in a week.
Scion XD LED mirror install pics aplenty
74 posts · 55,750 views · page 2 of 2
Replies continued
I picked up a right side one for $20 shipped. Now I just need to find a cheap left.
thanks guys ill wait for those steps :) hopefully soon:)
awesomeeeeeeeeeeeee thanksssss i'll be using this guide in a few weeks. soooon as i get it! =)
hi guys, i have a dude respect to my car a toyota echo 2000 sedan, please might say if this awesome mirros put in my car... thanks a lot for the answer.
i read about the scion xd could work, but i don't wanna spend money if this don't work for me.
i read about the scion xd could work, but i don't wanna spend money if this don't work for me.
The project continues....picking up my repainted covers tomorrow.
nice! you'll be the second person to do it :P
updated with second gen TC side mirrors fitting
updated with second gen TC side mirrors fitting
Nice. I bought one (the passenger side) for $20, but haven't found the other side yet for a reasonable price.
Yea....I paid to much but far less than new from the dealer.
if its around 100 bucks for both, in my eyes its justified.
It's to bad the pics for the door card tutorial aren't there anymore. I could have used those.
its pretty simple. if you have manual windows, that's the hard part. getting something behind the roller and pop that stupid pin out..other than that just pull hard from the bottom.
No, I'm like you in that everything is power.
oh, then its much much easier! heres another insert removal diy. just ignore the winding windows part, everything else is the same. except you have a harness to unplug.
30 seconds door panel removal (Liftback)
30 seconds door panel removal (Liftback)
Got them in. Just got to wire the lights. Apologies for not re-sizing the pics.
Added: I want to give kudos to the Rick Hendrick Toyota body shop Of Fayetteville NC. Staff was very kind in that they did the paint work in a day at no charge to me.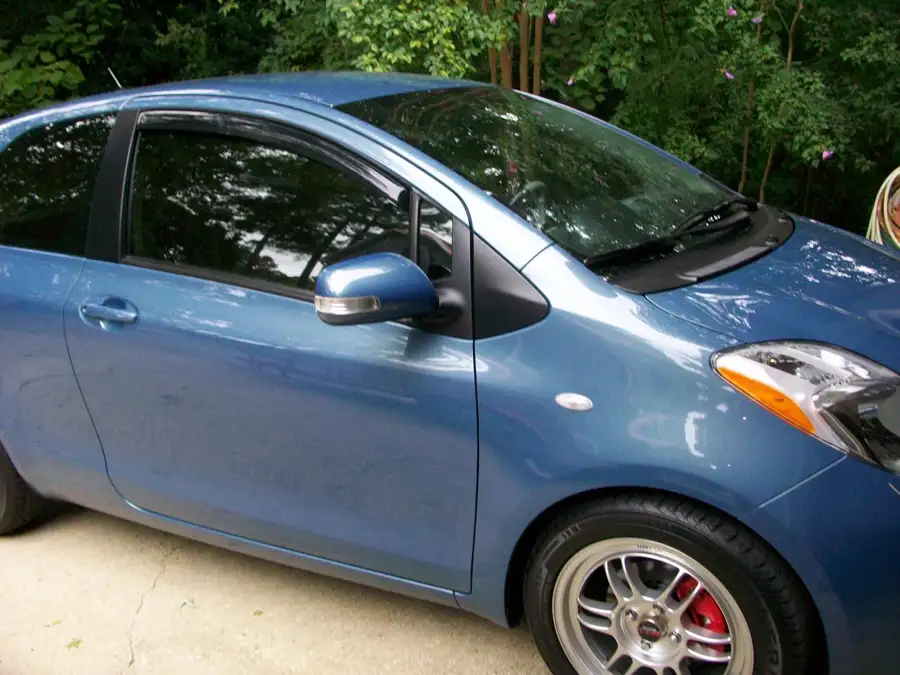
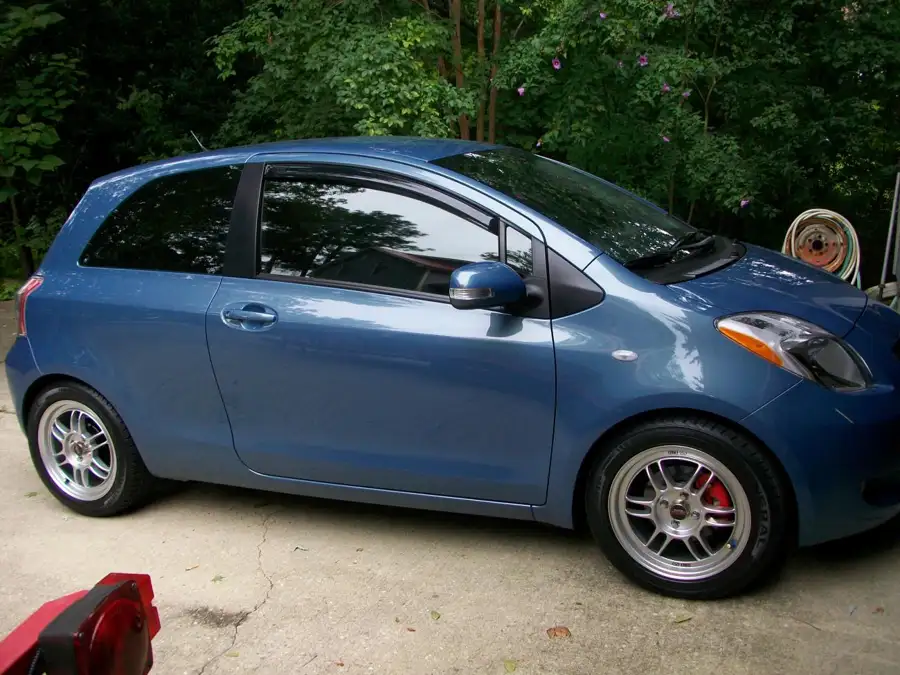
Added: I want to give kudos to the Rick Hendrick Toyota body shop Of Fayetteville NC. Staff was very kind in that they did the paint work in a day at no charge to me.
Looks great.
Klink10 - looks good. BTW, are those Weathertech side window deflectors or another brand?
Thanks. the visors are AVS in channel “Ventvisors” (Blue Ribbon Motoring)
Lights are functional now. In depth follow up forthcoming. To tired to get into it now.
awesome job man! its how our cars SHOULD have been in the first place lol.
Necro Thread this for someone asking about it
does this mod apply to a 07 sedan or just the hatchbacks?
Why not just wire to side markers.Thats what I will be doing.Originally Posted by CTScott ↑Door Connections:
There is a single 5-wire connector on both the Yaris and xD/xB mirrors. Three wires are used for the mirror movement and the other two are for the turn signal. On the Yaris mirrors, that connector only wires in 3 positions.
The picture below is of the Scion mirror connector. The red black and white wires are the motion wires (and they directly mate to the wires with the same functions {but different colors} on the Yaris).
The blue (ground) and yellow (+12 V) are the turn signal wires. Because the indicator is an LED, the polarity is important (i.e. they won't light if you reverse them). On the 06-08 Yaris, the connector on the door has no wires in the positions of the blue and yellow, so you must connect a wire to each and run it through the door, through the rubber boot, and into the car under the kick panel. You have to two wires, since the sheet metal of the door is actually not grounded to the rest of the chassis.
Attachment 42241
On the 09+ Yaris, there is a violet wire in the position of the blue mirror wire and a white/black stripe wire in the position of the yellow wire. These wires run through the door to the kick panel connector, and then dead-end at a junction connector way up under the dash. Since they save the hassle of running the two wires through the door, it is worth while to use them. The two wires have to be reversed at the connector though, since the white/black stripe wire is grounded at the kick panel.
In this picture of an xD mirror plugged into the connector on a 2010 the yellow wire (+12 to the LED) is connected to the white/black stripe wire (chassis ground). You can flip the blue and yellow wires by popping the pins or by simply cutting the wires and reconnecting them to the opposite wire (as shown in the second picture below):
Attachment 42243
Attachment 42242
Kick Panel Connections:
Access the kick panel by simply pulling up the door skid plate and then pulling the kick panel cover straight back.
09+:
Connect a wire to the violet wire shown below on the drivers side (note that there are two violet wires on that connector, so insure that you are on the correct one). Run the wire up to the under dash fuse panel area.
Attachment 42244
Connect a wire to the violet wire shown below on the passenger side (note that the passenger side connector only has one violet wire). Run the wire under the dash across to the under dash fuse panel.
Attachment 42245
On the 09+ the ground connection is already complete with the connection of the blue wire to the white/black stripe wire.
06-08:
Run your door wires to the kick panel area. Connect the wire that is connected to the mirror's blue wire on either side to the 10mm ground bolt in the kick panel using a 1/4" ring terminal. Run the other wire on either side to under dash fuse panel.
Fuse panel Connections (all years):
Connect the left side wire to the light green wire in connector 4B-14.
Connect the right side wire to the dark green wire in connector 4B-31.
Attachment 42246
Attachment 42247
Just got mine wired up and working... Slightly disappointed with how they perform in day light. But they are more than visible at night.